Einleitung

To remove the fan, first the keyboard must be removed as well as other components such as the display.

  1. JfdUMYfPI4mlYxCU
    • It is advised to work on the device only when it is powered off so as to avoid electrocution risks.

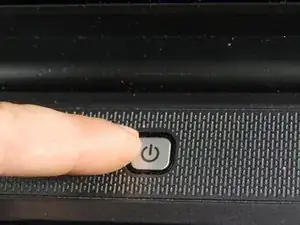
    • Turn off computer by pressing and holding the power button.

  2. XZecBGNuMYKpToAT
    XZecBGNuMYKpToAT
    Nwi3OGtwgvOBJEMU
    lHZ1gcaRK1AxmUo2
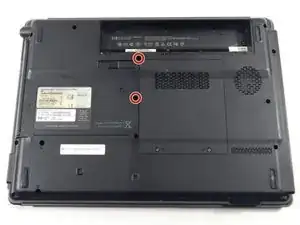
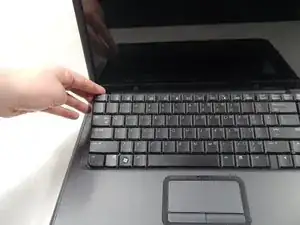
    • Locate and unscrew the two screws on the back marked with a small keyboard. These screws hold the keyboard in place.

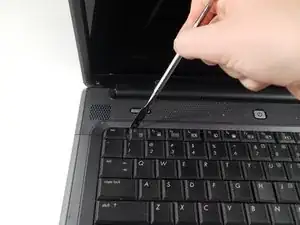
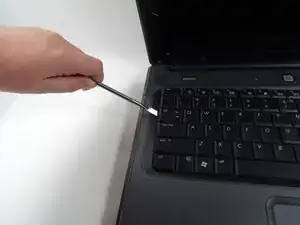
    • Locate the metal hooks where the keyboard connects to the laptop and use a metal spudger to gently pry up the keyboard.

    There is a 3rd screw under ram door

    Noah Galegor -

  3. pQPBg5RTPRlgFXIV
    • Gently lift up and remove the keyboard.

  4. 4LlXmk5VCjvMcmNF
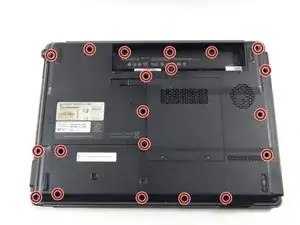
    • Turn the laptop over so that you see the bottom.

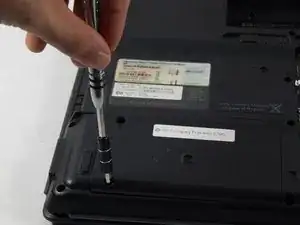
    • Locate the twenty 3 mm Phillips head screws.

    • Unscrew them using the PH0 screwdriver

  5. PYvC4LtUENYIJuG1
    • After unscrewing the 3 mm screws, remove the hard drive covering by lifting upward.

  6. MOjBxJMmSanmvjfW
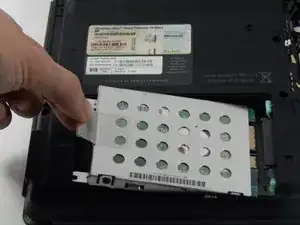
    • Remove the hard drive by pulling on the plastic tab and lifting upward.

  7. DQeMSoxDBbUW5U2M
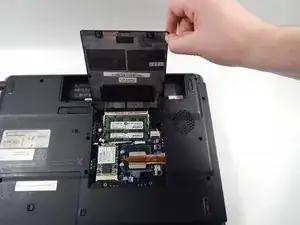
    • Remove the covering that houses the RAM modules.

  8. r61jALdqtxLeVLth
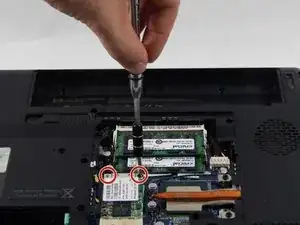
    • Locate and unscrew the two Phillips head 3 mm screws on the wireless card.

  9. ITbMS1EiTqHKRkiJ
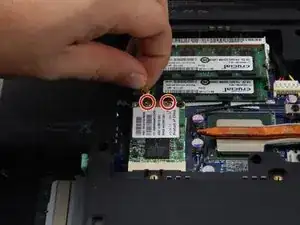
    • Unhook the two wires connecting to the wireless card by gently pulling them out.

  10. CGAVFjjwTdBcoG4j
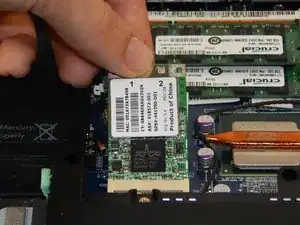
    • Gently lift and pull out the card.

  11. gqeXdN2FFmjRBORw
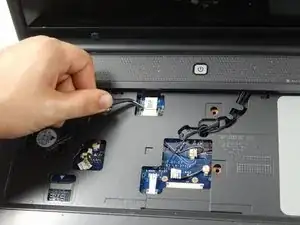
    • Locate the power button connector wire. (This can be found where the keyboard sits.)

    • Using the tweezers, unhook the wire.

  12. YqWjjfeD3sLbZLxp
    YqWjjfeD3sLbZLxp
    fPqxQbeYKuCGgiCN
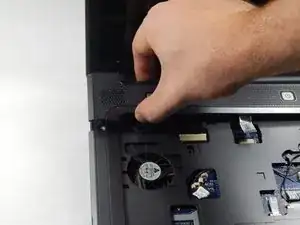
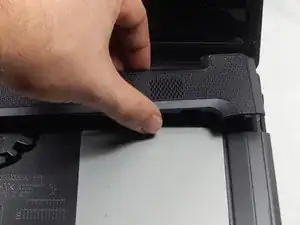
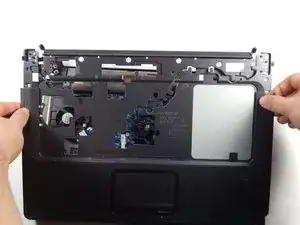
    • Press and hold the lock to pop the panel piece above the keyboard and pull up to remove it.

  13. hPYEo3RRwwRlqItw
    hPYEo3RRwwRlqItw
    AfP65aBZvZ3KT3ZS
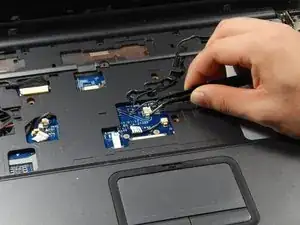
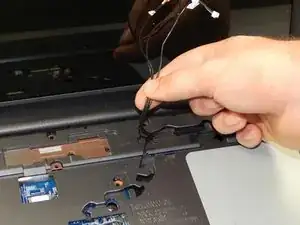
    • Unplug the remaining wires using the tweezers.

  14. JCbKgGgiYOX1IUZK
    • Gently pull out the three wires.

  15. cH1XOjiL1VDWGFSS
    cH1XOjiL1VDWGFSS
    3GRmpcEkxXkNNnR4
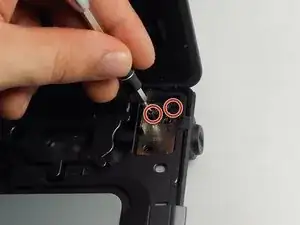
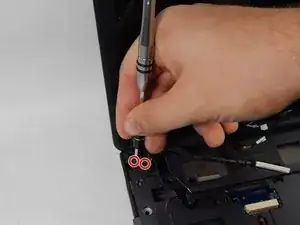
    • Locate the four 3 mm Phillips head screws.

    • Unscrew them using the PH0 screwdriver.

  16. uFEUHJRNmC5AbWFq
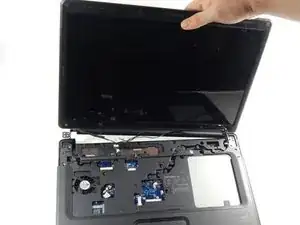
    • Unhook the display connector wire.

  17. nQXO5LAqonsEVRoR
    • Gently disconnect the display by pulling it upwards.

  18. Tss2KtBvcuNccqPh
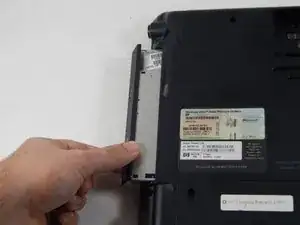
    • Locate the disk drive on the side of the device.

    • Remove it by pulling it all the way out.

  19. vQKlCbvZwk1JUDXH
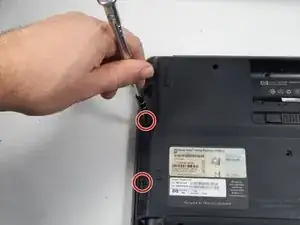
    • Use the PH0 screwdriver to remove the two 3 mm Phillips head screws in the disk drive port.

  20. lWRXboLdIbXKdVwf
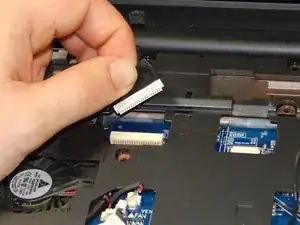
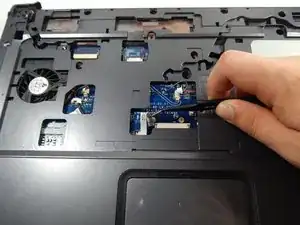
    • Locate and unplug the touchpad connection using the tweezers.

  21. N6LMCPI3UkwXtEOP
    N6LMCPI3UkwXtEOP
    BjlJwDrtHfCc6eAF
    ZGnW2T1FpEp2CReY
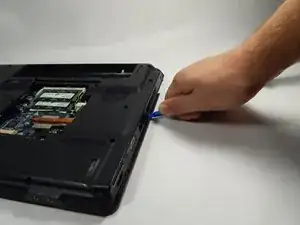
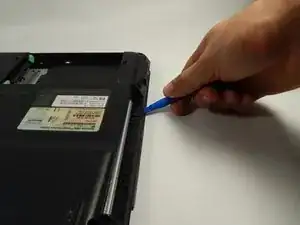
    • Using the Opening tool, gently pry up the cover and remove it.

  22. FYNfDSEvwCNdnp6H
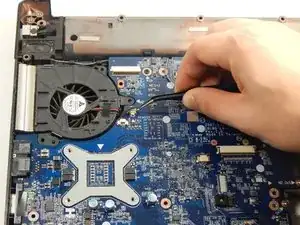
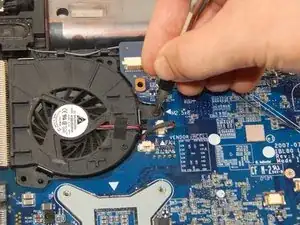
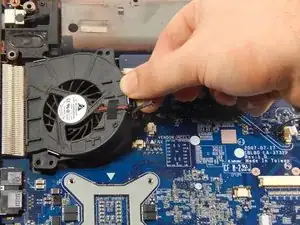
    • Unplug the fan wire connection using the tweezers.

  23. bk6lVZW2S2MBONSF
    • Locate the 3 mm Phillips head screw.

    • Unscrew it using the PH0 screwdriver.

  24. EybZitXWomiiAtFE
    EybZitXWomiiAtFE
    vlqOWmk4FpA3QOnn
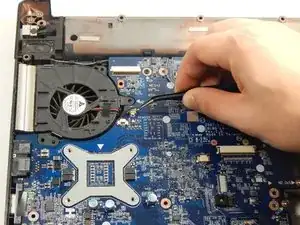
    • Using the opening tool, gently pry up and remove the fan.

Abschluss

To reassemble your device, follow these instructions in reverse order.
Taylor Johansen

Mitglied seit: 20/10/16

666 Reputation

0 Kommentare