Einleitung
Werkzeuge
-
-
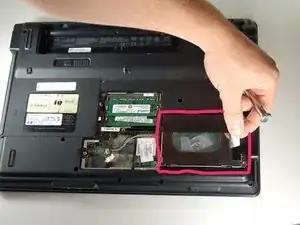
After removing the backs of the memory card and hard drive cover, gently remove the silver screen.
-
-
-
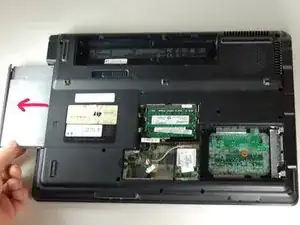
After removing the back of the memory card and the back of the hard drive, remove the CD Drive by gently pulling it all the way out of the device.
-
-
-
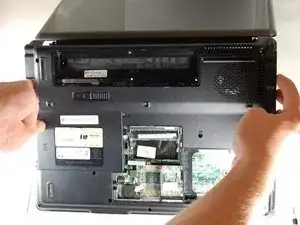
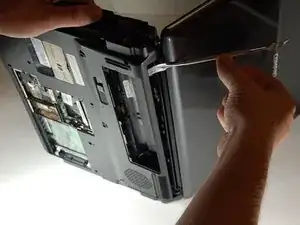
After all components are removed, use your hands to separate the base plate form the main housing. If your fingers can not separate the 2 pieces; insert the metal spudger to create space.
-
-
-
After all screws are removed use metal spudger to pry the plastic housing away from the ports to separate.
-
-
-
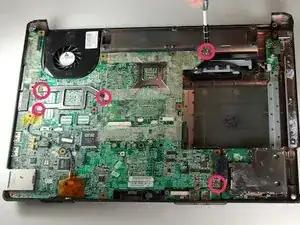
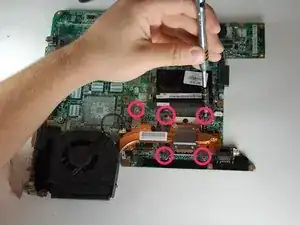
Remove designated screws
-
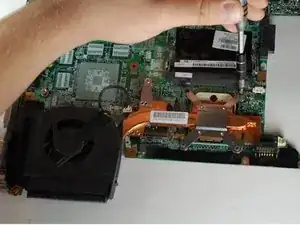
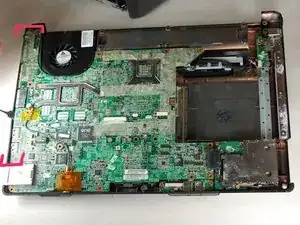
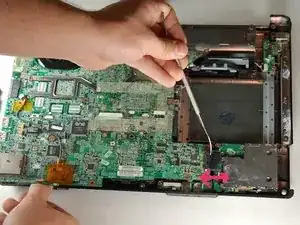
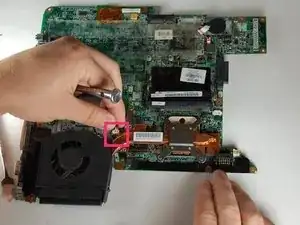
Unplug the ribbon connecting the cooling fan to the motherboard.
-
After unplugging and unscrewing you will be able to detach cooling fan
-
To reassemble your device, follow these instructions in reverse order.
