Einleitung

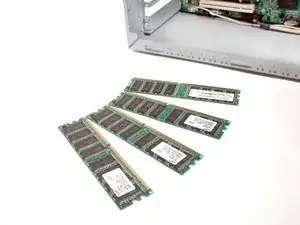
RAM, or random access memory, is short-term storage for your Compaq dx2000MT. RAM is used by your processor for immediate use as-needed, unlike long-term files written to a hard disk drive. If your computer has slowed considerably or you’re looking for a boost, replacing/upgrading the RAM is a fairly simple and inexpensive first step. The Compaq dx2000MT laptop comes standard with 4GB of RAM and can be upgraded to a maximum of 8GB with its two (DDRSD) slots.

  1. QqUIfbEFgWEoENc2
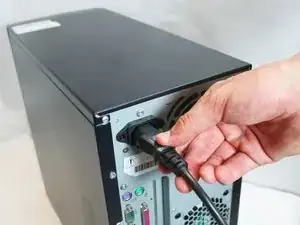
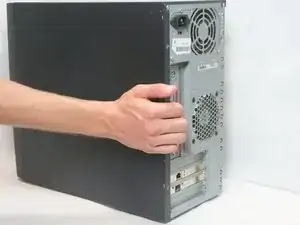
    • Turn off your computer and remove the power cable by pulling it straight out of its socket.

  2. TZBMYGU5xmCouAHI
    TZBMYGU5xmCouAHI
    XXkhfrfYF5k3YXoN
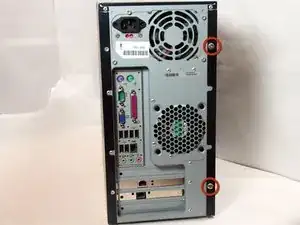
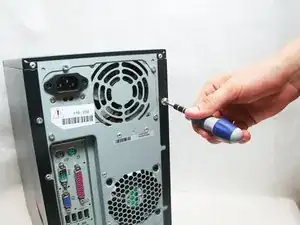
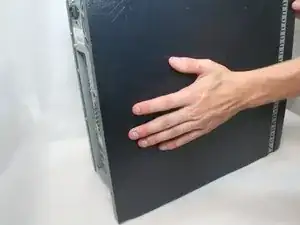
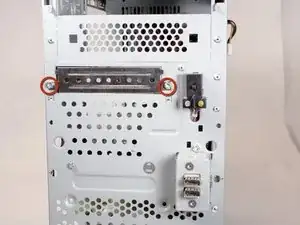
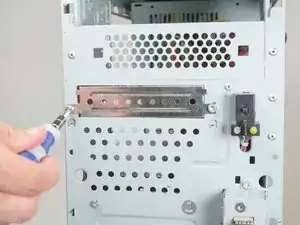
    • Remove the two Phillips #2 screws that secure the case door to the device.

  3. 3OpvPkfn4SA6ynv3
    3OpvPkfn4SA6ynv3
    UuZilQWYmFN4VQTC
    NEhXURB4ZrJWoWTA
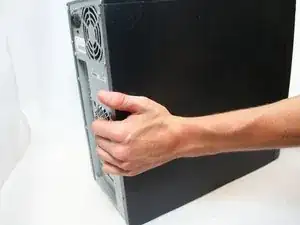
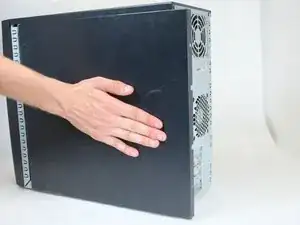
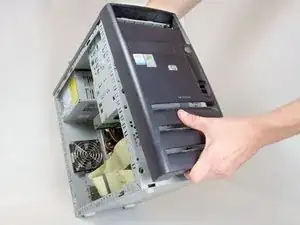
    • Remove the side case door by pushing towards the rear of the device with your hand.

    • This may take considerable force so keep pushing!

    • Once you slide the door back, remove it by pulling it outwards from the device.

  4. N5AQDkScGdcXVN1O
    N5AQDkScGdcXVN1O
    VeMOUrXheEXxLxBu
    cFBdm1RJSZlEaPYp
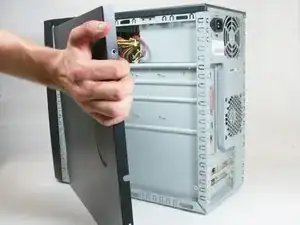
    • Remove the side case door by pushing towards the rear of the device with your hand.

    • Once again, this may take considerable force.

    • Once you slide the door back, remove it by pulling it outwards from the device.

    it’s useless my friends

    bisous sur les fesses de ta mamaa

    Albert einstein -

  5. YlTsWEvvFXsthwwI
    YlTsWEvvFXsthwwI
    df1BADbwR2Y4sTNs
    ymruFWI5VgfeAOmB
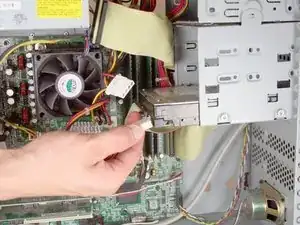
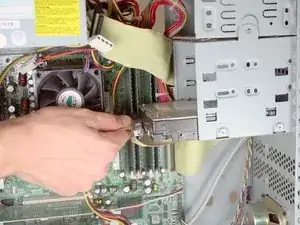
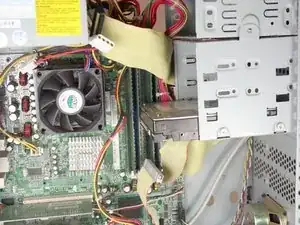
    • Remove the IDE data and power cables from the hard drive.

  6. mOGkXKRJo2jZRCSQ
    mOGkXKRJo2jZRCSQ
    kuEnmwudGGBaAUrM
    QE2WRlykPv26TPQK
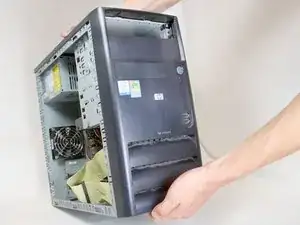
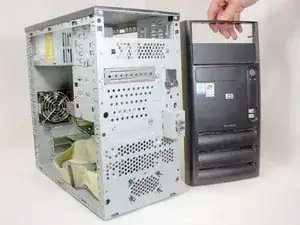
    • Remove the front bezel by pulling upwards and out from below the lowest air vent.

  7. ALGLFvojgVjNZDYs
    ALGLFvojgVjNZDYs
    D1s3WYyghUF6H1eU
    GFF6KRsSyq3uQ4YN
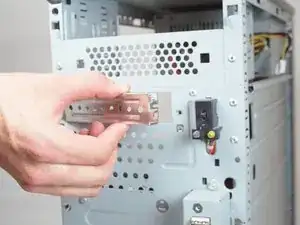
    • Remove the external drive faceplate by removing the two Torx T15 screws.

  8. WZHZk5w5oCVPxTJG
    WZHZk5w5oCVPxTJG
    hEuTvFaV4qHEnDBa
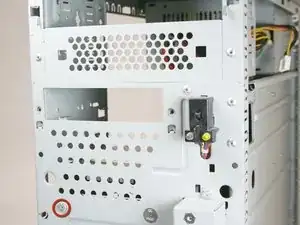
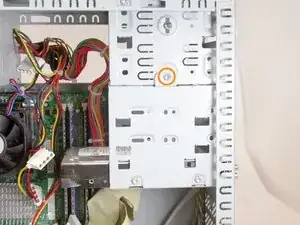
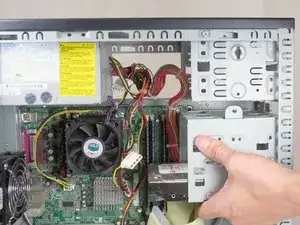
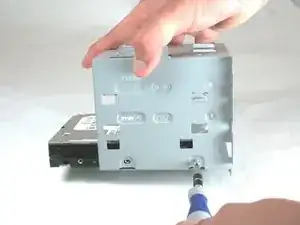
    • Remove the following screws:

    • Front Torx T15.

    • Torx T15 mounting the hard drive cage to the optical drive bay.

  9. DsBynyY5GiRva26b
    DsBynyY5GiRva26b
    fcPQNlNcTNHf2Ilr
    LDdNQJFxEdjMGLGI
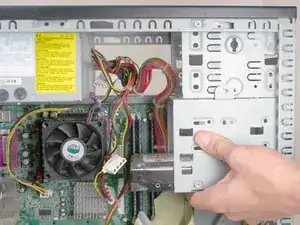
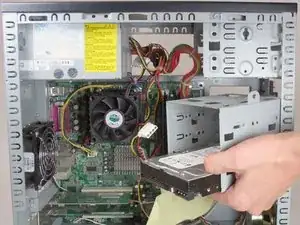
    • Fully remove the hard drive cage by sliding it towards the back of the device and pulling down.

  10. uDGVShdaJdNKuMAH
    uDGVShdaJdNKuMAH
    BalIkIIkHl6YtcsC
    2ITYXbnyQU6UHjGT
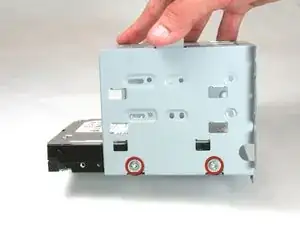
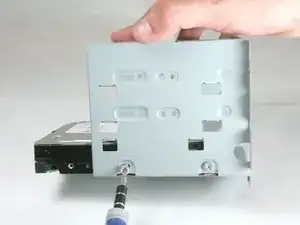
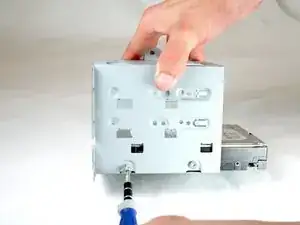
    • Remove the two Torx T15 screws holding this side of the hard drive in place.

  11. uEHwOgCpSPxQ1VQm
    uEHwOgCpSPxQ1VQm
    4UQISvVGc1hCiZRV
    ihoCHSGYjnRkogH5
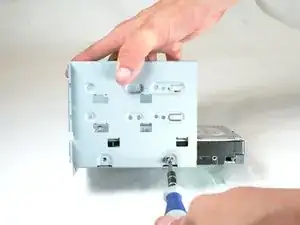
    • Proceed to the other side of the hard drive cage.

    • Remove the two Torx T15 screws holding this side of the hard drive in place.

  12. HaBSOIGR2JSgdQUT
    HaBSOIGR2JSgdQUT
    TXTggEonrZmwoESD
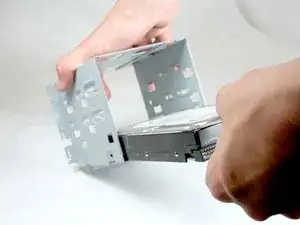
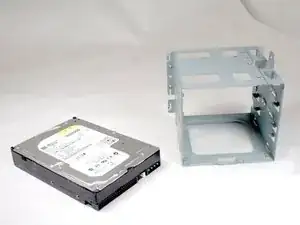
    • Remove the hard drive from the hard drive cage by pulling it outward from the cage.

  13. f5PbAP6sW4ICFuko
    f5PbAP6sW4ICFuko
    GLDgntIahxSpGLp3
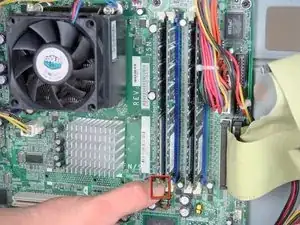
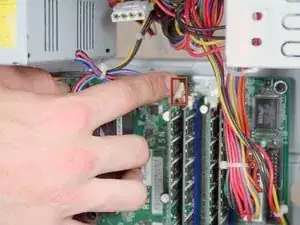
    • Release the lower portion of the RAM by pushing down on the bottom tab.

  14. jIhIZwlaMQW6AYvu
    jIhIZwlaMQW6AYvu
    U2ukexhIq5DMDEAp
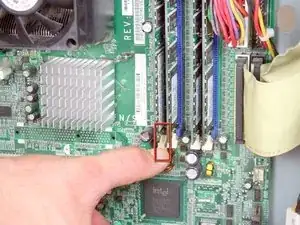
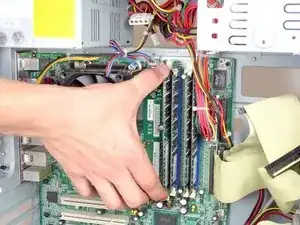
    • Release the upper portion of the RAM by pushing down on the upper tab.

  15. FLrAbpxTUCniQMIh
    FLrAbpxTUCniQMIh
    Ct4EKADUdRjKdZSO
    ytZHWiNe2xvrLD4t
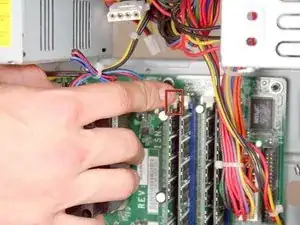
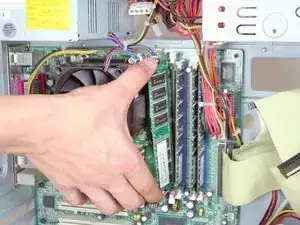
    • Remove the RAM by pulling it out towards the side of the device

    • Be careful about touching the top (right) and bottom (left)sides of the RAM! The static electricity in your fingers could short it. If you can, only touch the top and bottom of the RAM.

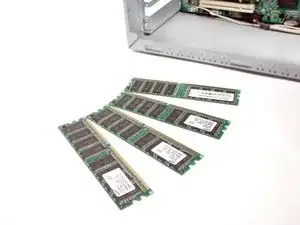
    • If replacing RAM, make sure it is the right type, speed, and size for your computer. Otherwise the RAM may not fit or your computer may not start up.

    Really long time to remove only 1 stick of ram.The easy way is just remove the door and directly ram

    martinovdimitar -

Abschluss

To reassemble your device, follow these instructions in reverse order.
Logan Pace

Mitglied seit: 12/10/11

2197 Reputation

0 Kommentare