Einleitung

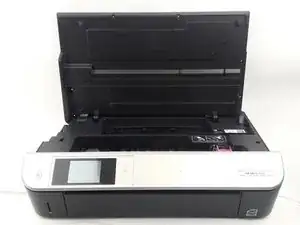
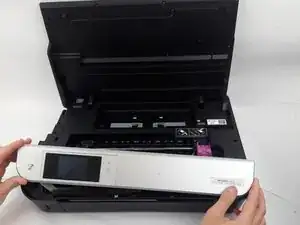
The panel is what holds the screen in place. Before removing the panel make sure the printer is unplugged.

Werkzeuge

  1. ELnykX3EqqOhZXwV
    • Lift up printer screen.

  2. iWcMhvnRXp2V2nJT
    iWcMhvnRXp2V2nJT
    BxMQXPPPYyJxykck
    VwDeRDepp365PZev
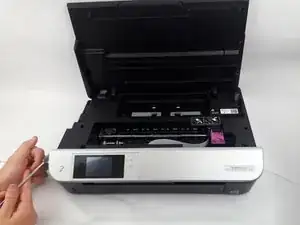
    • Use the Metal Spudger from the IFIXIT Toolkit to pry the left corner of the front panel.

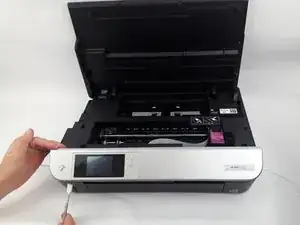
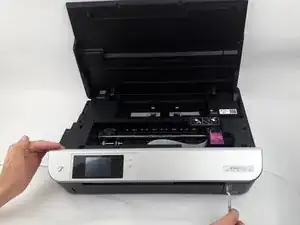
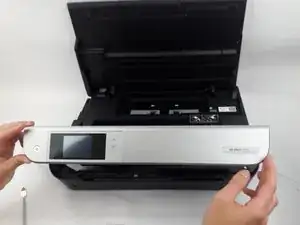
    • Slowly pry the front panel by sliding the Metal Spudger along the border of the front panel.

    On some printer version, you may find a single torx 10 screw under the right sticker.

    Remove it and then slide the panel to the right then to the top.

    Easy as said!

    No need to use any spudger.

    Learned it the hard way ;)

    Cecil His Mahier -

  3. ngdE2DLNMVvjvDTW
    ngdE2DLNMVvjvDTW
    ye4pJHaGOMTUcQAx
    • Remove the front panel by lifting each corner up.

    • Replace the front panel.

    There’s a screw undcer the model label on the right. Peel the label up right to left to expose the screw, remove the screw to lift the front panel off.

    sel full -

Abschluss

To reassemble your device, follow these instructions in reverse order.

Elizabeth Surface

Mitglied seit: 27/08/15

1447 Reputation

3 Kommentare

My HP Envy 5530 had a screw hidden beneath the label on the right side of the front panel. I used a knife to lift the label to access the screw.

rndymike -

Is the front panel from a 5532 compatible with the Envy 5530?

Armando Pagan -

Wish I would have seen the comment about the screw… fix your post… at least protect others from making the same mistake

Azpatch -