Einleitung

When your computer gets hot, the fans run at higher speeds to prevent the device from overheating. Oftentimes, the fans in these devices will stop working. This guide will show you how to replace the fans in your device.

  1. hoxmURcD2HKHVKOb
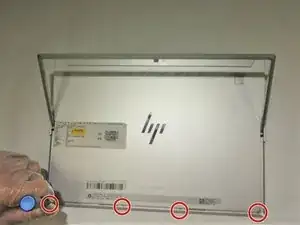
    • Flip the device over so the base is facing the ceiling.

    • Lift up the tablet stand.

    • Remove the four 2 mm screws from the tablet using a T5 Torx screwdriver.

  2. t1GpcS6FOjBZQfqC
    t1GpcS6FOjBZQfqC
    CSYLc1cvVm5j5OYK
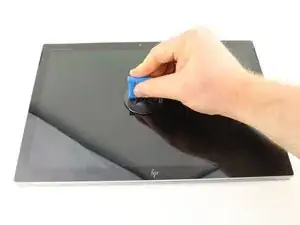
    • Flip the tablet over with the screen facing upwards.

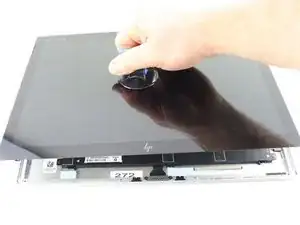
    • Place the suction handle in the center of the screen and slowly lift off the screen until it is at a 30 degree angle, starting by gently prying up the bottom.

    • Do not pull the screen beyond a 30 degree angle. Additional internal components must be disconnected first.

  3. PUXMZBZG5oeXGftX
    PUXMZBZG5oeXGftX
    33OFDH6SjhpwtPQL
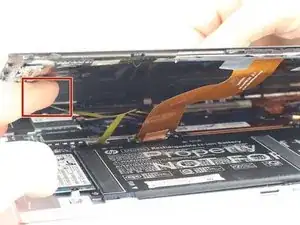
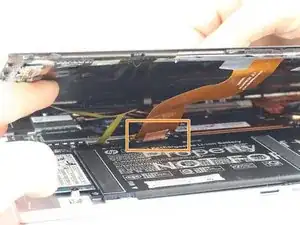
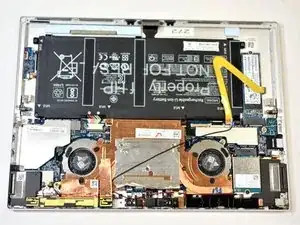
    • With the screen lifted at a 30 degree angle, gently disconnect the yellow ribbon cable at the end connected to the screen.

    • Gently disconnect the orange ribbon cable at the end connected to the bottom plate.

  4. AV4g642TnsnUqoro
    AV4g642TnsnUqoro
    x6cEgDjHVpm6yO3K
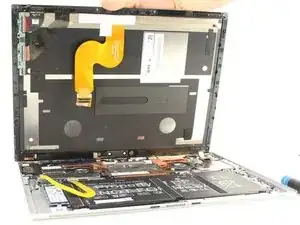
    • Remove the screen from the tablet.

    How does the plastic bezel attach to the screen?

    Alex Hulinsky -

  5. T3W4nX15VgXqGKPq
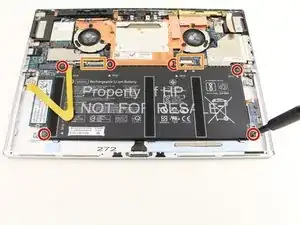
    • Use the Phillips #00 screwdriver to remove the six 2 mm screws.

    • Gently disconnect the two connectors.

  6. ZFp3FMjgf1JwFZ2p
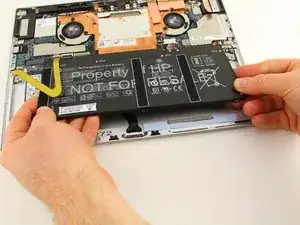
    • Lift the battery out of the housing.

  7. kqlfOxGdO6IAXhIs
    • Undo the two small connectors by pulling gently.

  8. h3qZVEUFjWsWVVTB
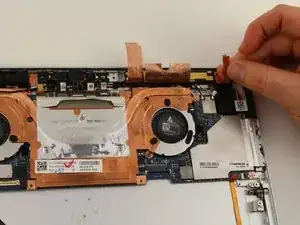
    • Gently peel up three copper pieces of tape as shown.

    • Do not pull off completely.

  9. XWncTthTKJBRnHxG
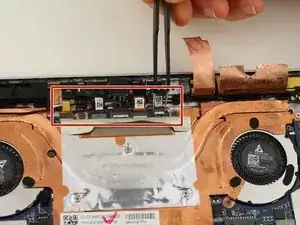
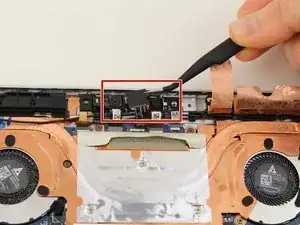
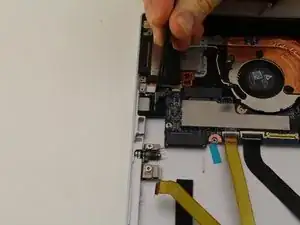
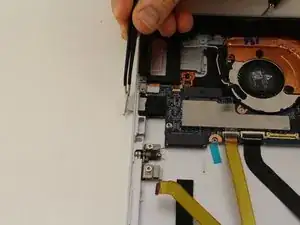
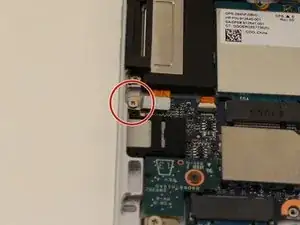
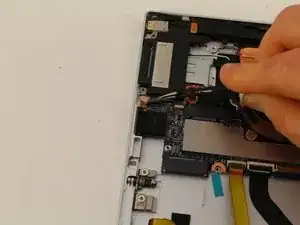
    • Use tweezers or your fingers to carefully undo the indicated five connectors.

    • There will be a number of loose components after disconnecting the five connectors. If any are completely detached, set them aside.

  10. lQ6K3Hjm5cuyXbWD
    lQ6K3Hjm5cuyXbWD
    62WTavFVBhgWBRZe
    • Using tweezers or your fingers, lift up and remove the plastic covering and set it aside.

  11. EEK1GNALlCWh1Osr
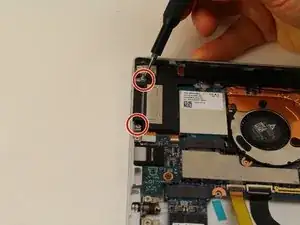
    • Unscrew the two speaker/antenna module mounting 2mm screws using a Phillips #00 Screwdriver.

  12. vDXhbrxjE3BVcCDC
    vDXhbrxjE3BVcCDC
    3KseF4Sa5fIEreUj
    ygHS3IqRhiAlboZD
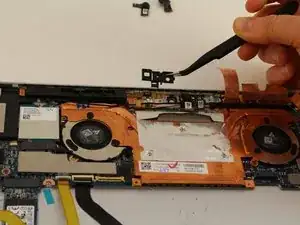
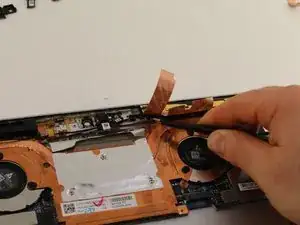
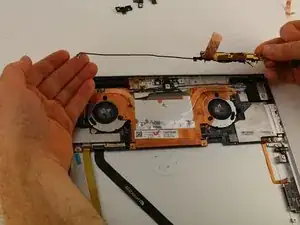
    • Use tweezers or your finger to unclasp and remove the upper right module with the copper tape and wire. Start by popping up the left side of the module.

    • Continue to pry up the module toward the right.

    • At this point, all connectors have been undone in previous steps, but if you notice any wires securing the module, do not keep pulling! Gently undo any connectors before proceeding.

    • Gently lift the whole module out, including the trailing wire.

  13. OPljX6AUhNWuJWBZ
    OPljX6AUhNWuJWBZ
    ImLchGqMS2Hunnqg
    C1rmkyAXMMJMUvLc
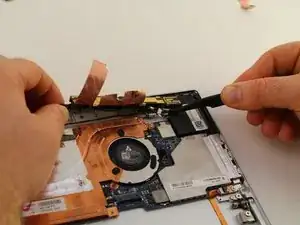
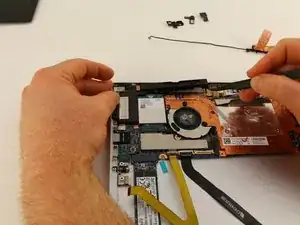
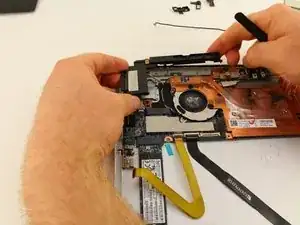
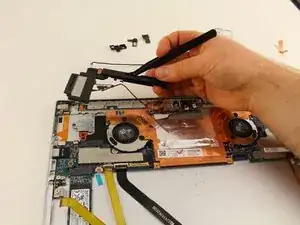
    • Using a spudger, pry the left black plastic speaker/antenna module off of the frame as pictured. Start by lifting up the right side of the module, then slowly work your way down the module towards the right.

    • The slight cracking sound you will hear is the sounds of plastic clasps.

  14. ETLMaZgB4eoBsJNK
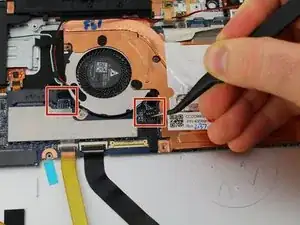
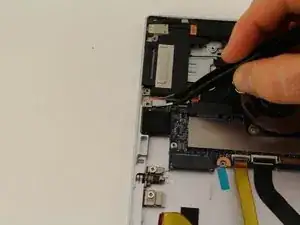
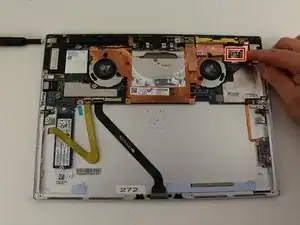
    • Undo the two indicated connectors near the fan using your fingers or tweezers.

  15. peQSNQmSBoCWQCaM
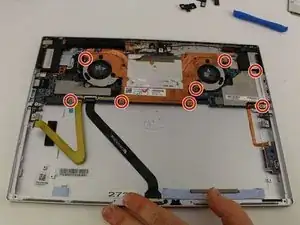
    • Use the Phillips #00 Screwdriver to remove the eight 2 mm screws.

  16. 3aJPGaiJScoGMEKB
    3aJPGaiJScoGMEKB
    yOJZBa2DFwdMrIV5
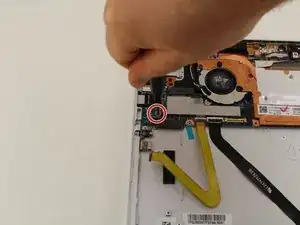
    • Unscrew the single 2mm screw from the peripheral board with the same screwdriver, and remove the peripheral board from the motherboard.

  17. sZBDtydcQGuPckLo
    sZBDtydcQGuPckLo
    wHwywPgoI4GUEPxV
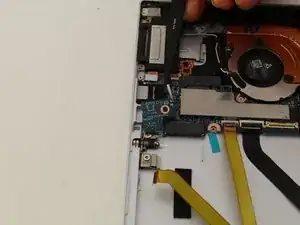
    • Remove the SD Card holder from the motherboard.

  18. RWA35NSx1HJEEAJS
    RWA35NSx1HJEEAJS
    FylINgS1a5oqIsso
    Wryr1gjFhpdAYGBc
    • Using the Phillips 00 Screwdriver, remove the 2mm screw from the ribbon cable bracket.

    • Lift the ribbon cable bracket and connector off of the motherboard.

  19. ZYTqK1xvFdHwo5Yq
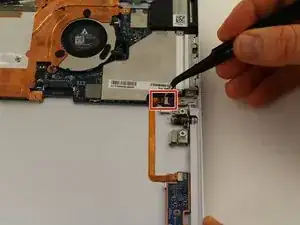
    • Undo the indicated ribbon connector.

  20. ZlJLlchTDWp1DNBm
    ZlJLlchTDWp1DNBm
    odfenTYPsp61fvCh
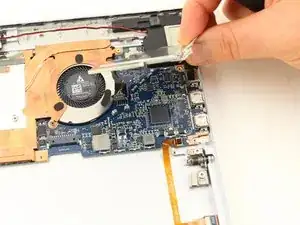
    • Lift up the flap on the right of the indicated plate, and lift the whole covering off.

  21. qJBLvhn43keVRjLe
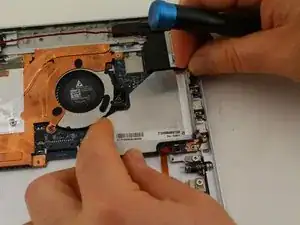
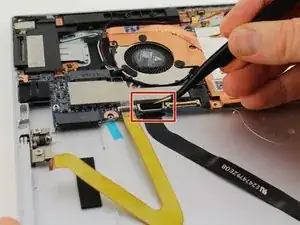
    • Use tweezers or your fingers to undo the black ribbon connector.

  22. OrVpQ4bxs6rjYikQ
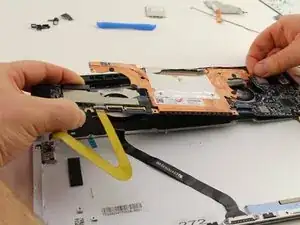
    • Remove the whole assembly, granting access to the fans.

  23. FYUi2hk1JH5bCBnk
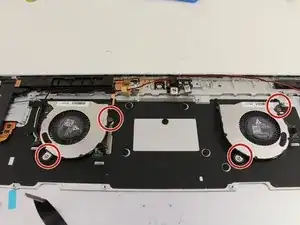
    • Use the Phillips #00 Screwdriver to remove the four 2mm screws.

    • If you are only removing one fan, remove the screws securing only that fan.

  24. EVBsUYsSoCITbTBy
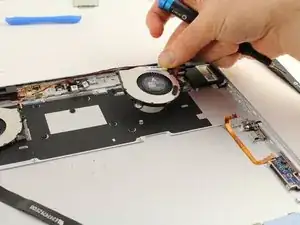
    • Lift the fan out.

Abschluss

To reassemble your device, follow these instructions in reverse order.
Hunter Baird-Wise

Mitglied seit: 18/04/19

447 Reputation

0 Kommentare