Einleitung

  1. TU5jECsBEI1ToHJp
    • Make sure the device is turned off before starting.

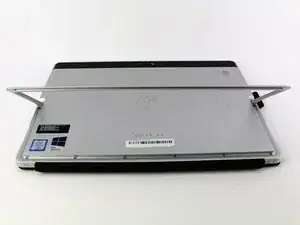
    • Orient the device so the back is facing you, with the kickstand up.

  2. h5PWrA5KwlTIS62m
    h5PWrA5KwlTIS62m
    XvFKKMvUY56INjhU
    WmgDV2Olel2GAvQq
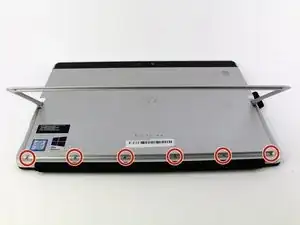
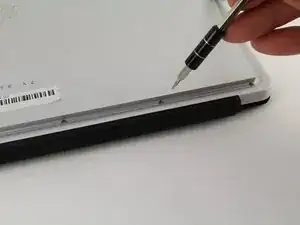
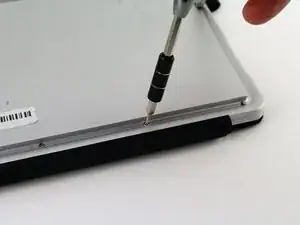
    • Remove the six 3mm Torx T5 screws underneath the kickstand.

  3. WW3R6CeCJypilTrW
    WW3R6CeCJypilTrW
    dGWPUtl2LeVrVURx
    • Turn the device over so the screen is facing you.

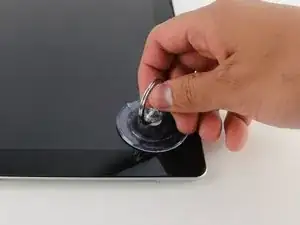
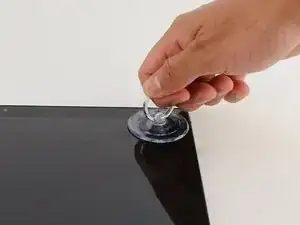
    • Place a suction cup firmly onto a corner of the screen.

    • Lift up gently until you see the screen separate from the casing.

    • Repeat this process for all four corners.

  4. 6gh3ZVmk3Bqqx34R
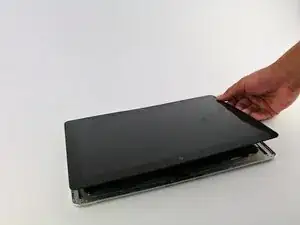
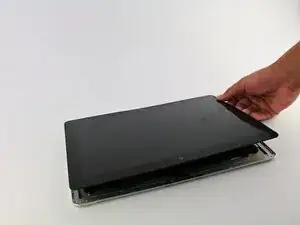
    • Lift the screen up and off of the device.

    • Pry each corner up first, otherwise you may damage or crack the screen.

  5. hIdxdeIxeTqapWHl
    hIdxdeIxeTqapWHl
    KGjyvHT2ReFYrgFa
    HmwRQqKkTp1cBsKl
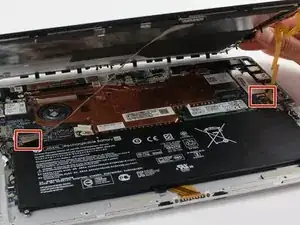
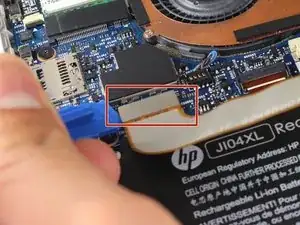
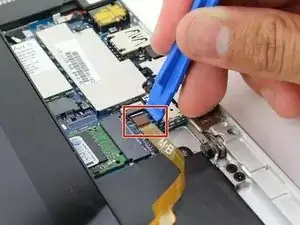
    • Remove the two connectors on the back of the screen by lifting the connector tabs on the motherboard with a plastic opening tool and pulling gently.

  6. R6smdUh1OOgK6ULi
    R6smdUh1OOgK6ULi
    eN1myo6VPvkajva3
    • Remove the screen by gently lifting it off of the device.

  7. LVPWrRdAp5ilTRDD
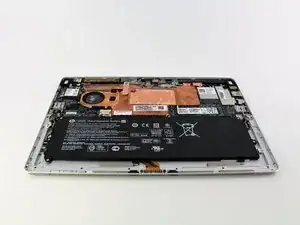
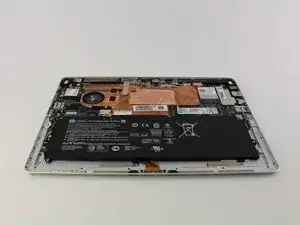
    • Orient the device so that the battery is closest to you.

    • The battery is the large, black rectangle at the bottom of the device.

  8. JisZBO2JR5tcDwcj
    JisZBO2JR5tcDwcj
    Hoiv2wCPXG1wqxjj
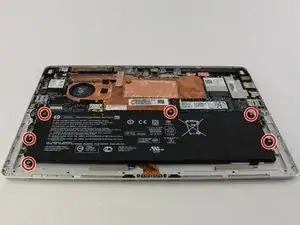
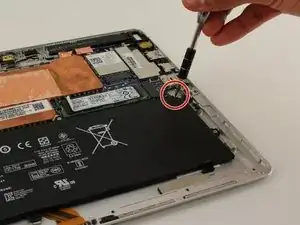
    • Remove all six Phillips 3 mm screws around the battery by rotating in the counterclockwise direction with a Phillips screwdriver.

  9. BYgjwykjqOwYe5Xr
    BYgjwykjqOwYe5Xr
    R625ji1dtZ6VYVp6
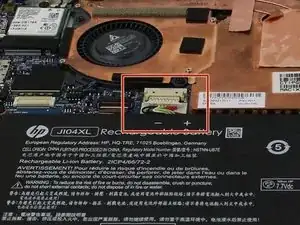
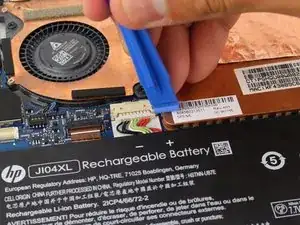
    • Remove the battery's connector by pushing both sides of the tab towards yourself with a plastic opening tool.

  10. ixW1dnTEYiC4dYUj
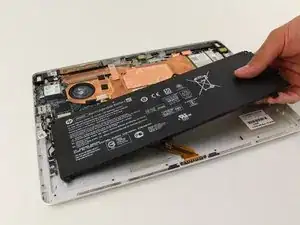
    • Lift the battery out of the device.

  11. SLBksEpVmH1MqI6h
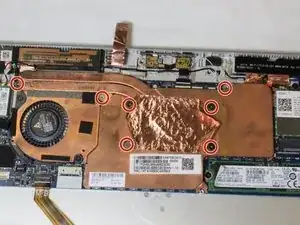
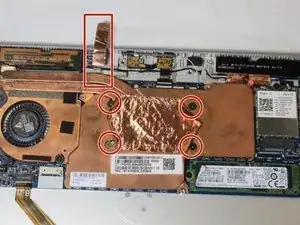
    • Use the spudger tools to lift the copper tape and expose the screws.

  12. kX6AyVsoelYC2rnc
    kX6AyVsoelYC2rnc
    4GEKctZFZSDsO1WH
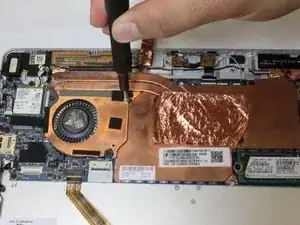
    • Use Phillips #00 screwdriver to remove seven 3 mm screws.

  13. LtWJUZwEUoreYCSG
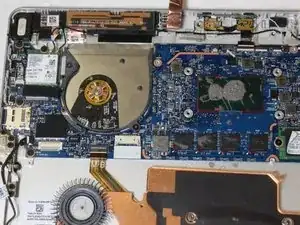
    • Lift the heatsink off the motherboard.

  14. q6mvP1rNOUMyRxki
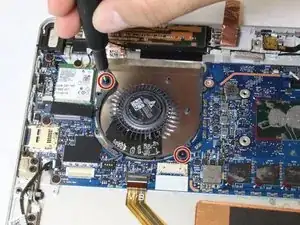
    • Use a Phillips #00 screwdriver to remove the final two 3 mm screws that secure the fan.

  15. NIC5UuVwylHxEQGd
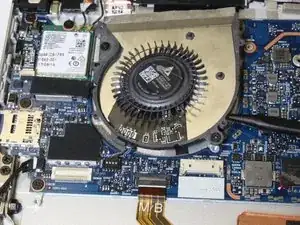
    • Use a spudger to lift the fan from the main unit.

  16. sI4XvI6AUBRiLakj
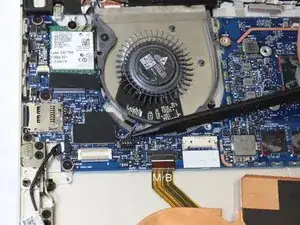
    • Use a spudger to lift the connection for the fan and disconnect the plug from the motherboard.

Abschluss

To reassemble your device, follow these instructions in reverse order.
WesleyEagleson

Mitglied seit: 06/04/19

407 Reputation

0 Kommentare