Einleitung
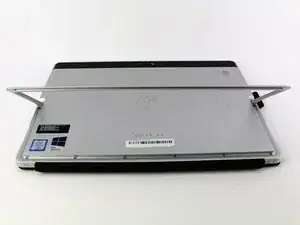
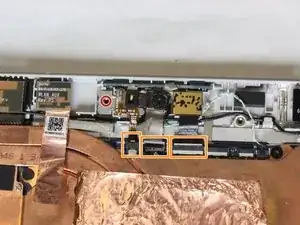
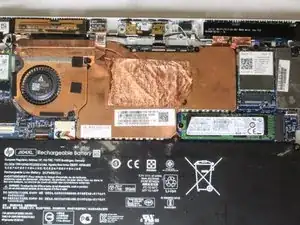
If your rear-facing camera on your HP Elite x2 1012 G2 is broken or not working properly, this guide will walk you through replacing it. Before using this guide, make sure that the rear camera is the source of your problems by troubleshooting the symptoms. Doing the replacement yourself does not require any special skills and only takes a little of your time.
Werkzeuge
-
-
Turn the device over so the screen is facing you.
-
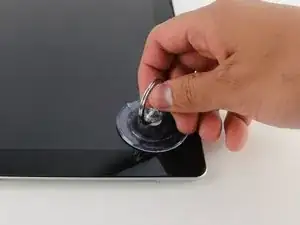
Place a suction cup firmly onto a corner of the screen.
-
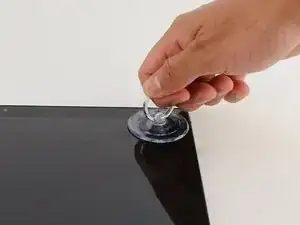
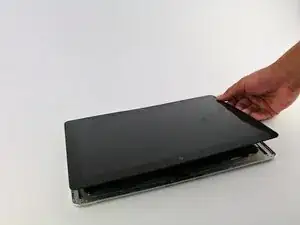
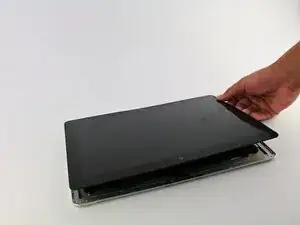
Lift up gently until you see the screen separate from the casing.
-
Repeat this process for all four corners.
-
-
-
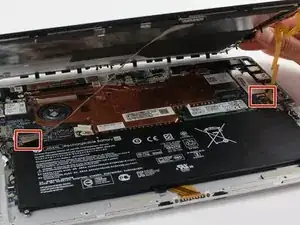
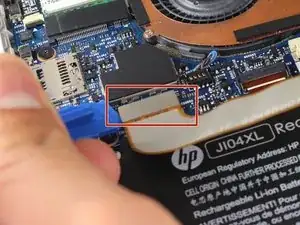
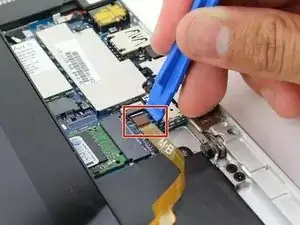
Remove the two connectors on the back of the screen by lifting the connector tabs on the motherboard with a plastic opening tool and pulling gently.
-
-
-
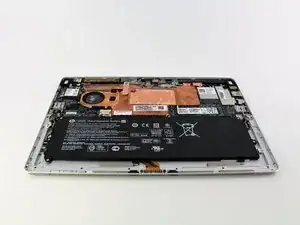
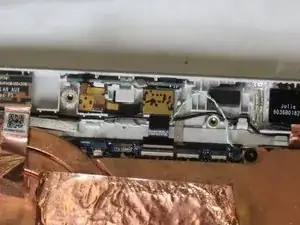
Locate the cameras at the top center of the power and processing unit.
-
Use a Phillips #00 screwdriver to remove the single 3 mm screw.
-
Use a spudger tool to lift up the ribbon cable clamps.
-
-
-
Remove the front-facing camera.
-
Remove the metal bracket securing the rear-facing camera.
-
Remove the rear-facing camera.
-
To reassemble your device, follow these instructions in reverse order.

