Einleitung
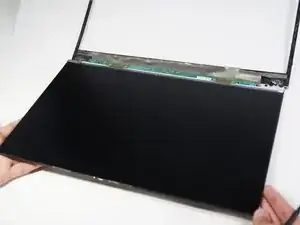
This guide is meant to help those with malfunctioning displays in their HP EliteBook 1050 G1 devices. A device can be identified as being in need of screen repair when it can be turned on while the screen remains completely dark. This issue can be caused by loose wires or missing connections, but in the case the display assembly itself is defective, it requires a full replacement.
Werkzeuge
-
-
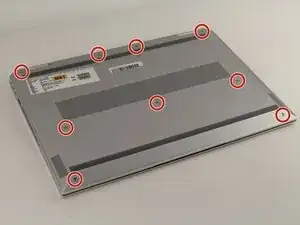
Close your laptop and turn it over so that the side without the HP logo is facing you.
-
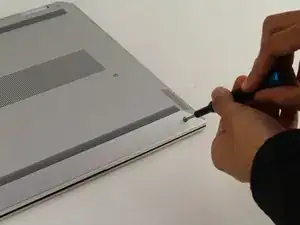
Using the TR9 screwdriver, loosen the nine screws from the base of the device.
-
-
-
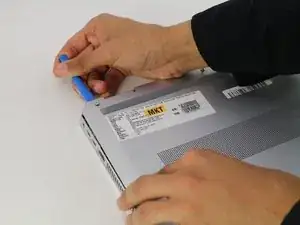
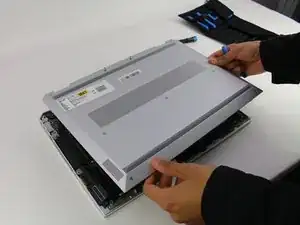
Remove the base by inserting the plastic opening tool into the slit between the two portions of the case and gently prying the metal cover away from the body of the device.
-
Slowly work your way around the edge of the base.
-
Lift the cover of the laptop off of the body of the device.
-
-
-
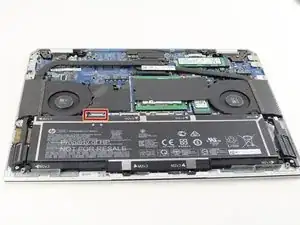
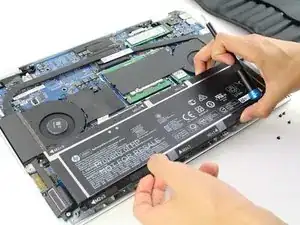
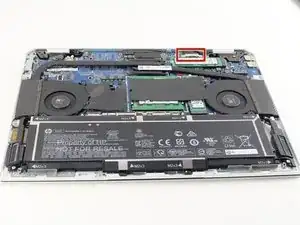
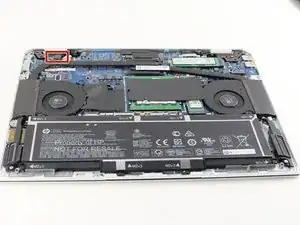
Find the connector between the battery and the device. It is on the left-hand side above the battery.
-
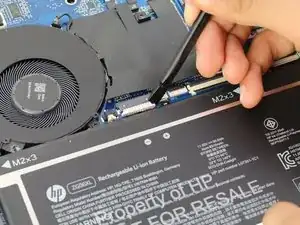
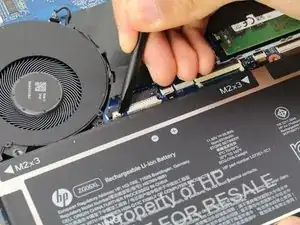
Use the spudger to gently pull the corners of the connector away from the black housing.
-
-
-
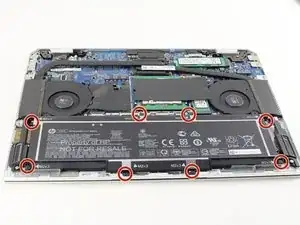
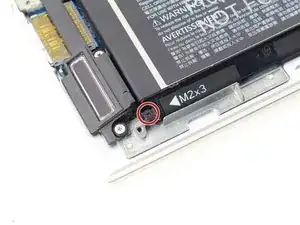
Remove the seven black 3mm Phillips #00 screws next to the M2x3 label along the edge of the battery using the Phillips #00 screwdriver.
-
-
-
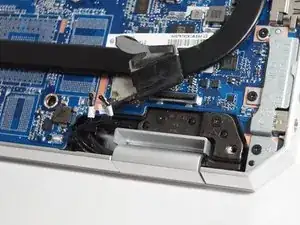
Locate the display cable connector bracket. It is near the edge of the device and the hinge for the screen.
-
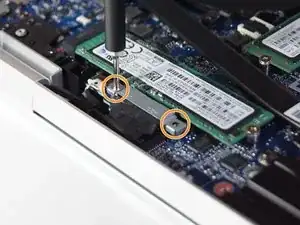
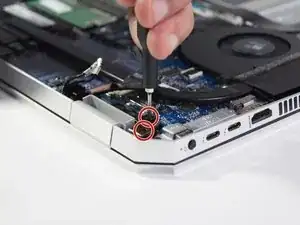
Remove the two silver 2 mm screws from the display cable connector bracket using the Phillips #00 screwdriver.
-
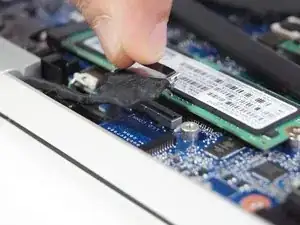
Remove the bracket and unplug the display cable from the board.
-
-
-
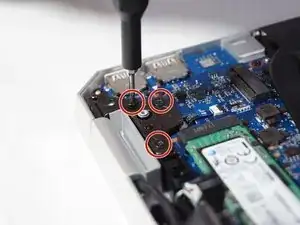
Remove the five black 5 mm screws from the screen brackets near the screen hinges using the Phillips #00 screwdriver.
-
-
-
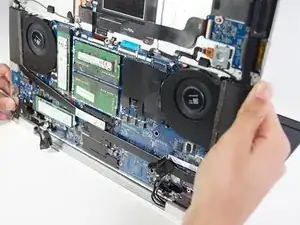
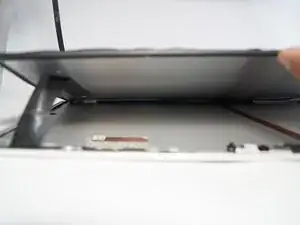
Open the remaining components of the laptop so that the display and keyboard are separated as much as possible.
-
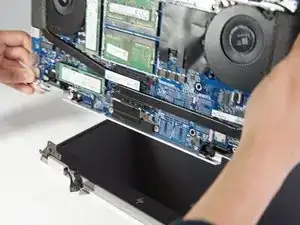
Slide the device upwards off of the screen brackets. The display should separate entirely from the bottom half of the device.
-
-
-
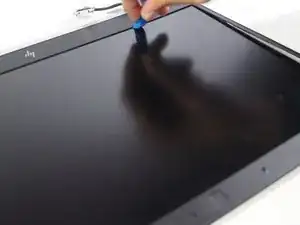
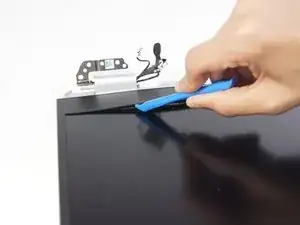
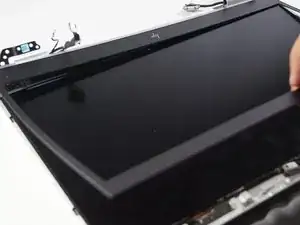
Pry the display bezel away from the screen by using the iFixit opening tool and working it around the edges.
-
-
-
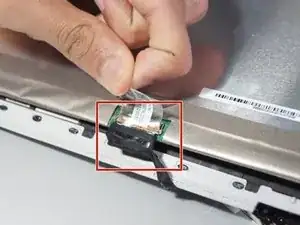
Remove the plastic label covering the cable.
-
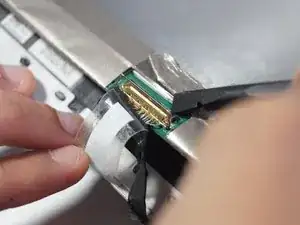
Using the spudger, pry up the small bar that covers the cable.
-
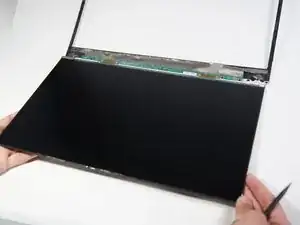
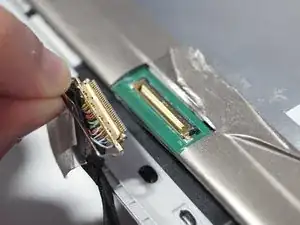
Remove the display cable and the screen will be completely separate from the rest of the device.
-
To reassemble your device, follow these instructions in reverse order.
