Einleitung

  1. NK6CHUkgOxVQoRKM
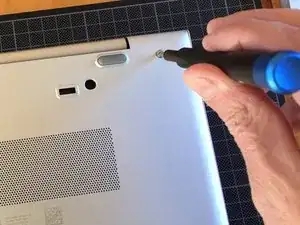
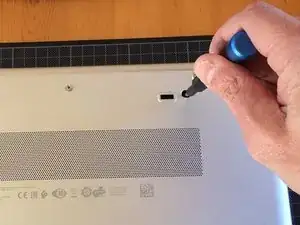
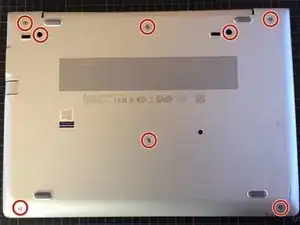
    • Identify the screws.

  2. gijTRACDCEDi4uIy
    gijTRACDCEDi4uIy
    3TKqaUktWBpvKQdS
    • Unscrew the screws.

    • Screws are attached to the back panel.

  3. LJpmwiRbrvGec1Du
    LJpmwiRbrvGec1Du
    5MsZ2HXitsI6WndG
    Kq6DntKQZKsTVAKJ
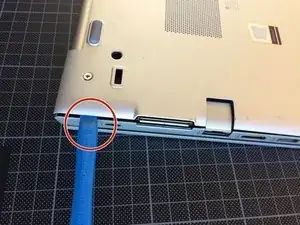
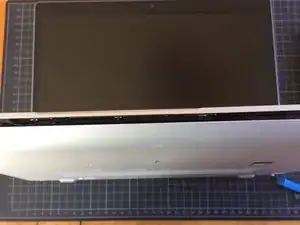
    • Use your fingernail or the iFixit Opening Tool.

    • Start on the far side when prying apart.

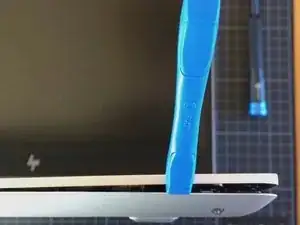
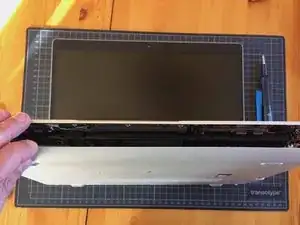
    • Open the computer.

    • The display should face the table.

    • Separate gently the back cover from the front panel (keyboard panel).

  4. 6lMUIdH3SXvJHZ6H
    6lMUIdH3SXvJHZ6H
    mmJMp5QCwFL1HCa1
    YOCihZ1vholrElVV
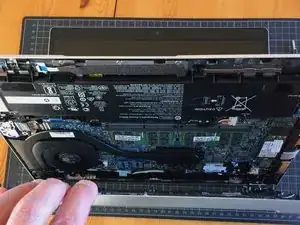
    • Open each side gently (keyboard panel is facing up, the back cover is facing down).

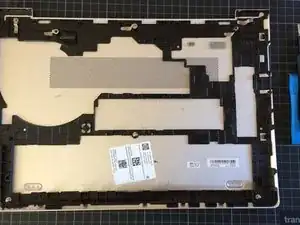
    • Store the back cover.

  5. F5aKtJgvnXYYmFbM
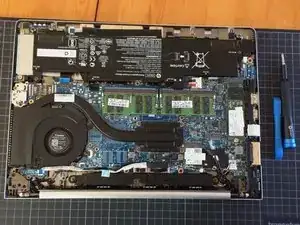
    • You now have access to the mainboard.

    Note that the battery is attached using different screws and you need a corresponding screw driver

    Fritz Rothacher -

Abschluss

To reassemble your device, follow these instructions in reverse order.
Eric MALARTRE

Mitglied seit: 27/12/21

358 Reputation

0 Kommentare