Einleitung
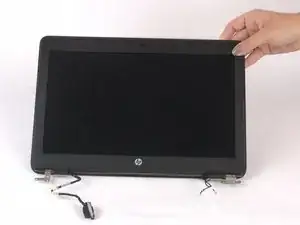
Displays can get easily damaged either with time, or with any liquids or impacts.
Werkzeuge
-
-
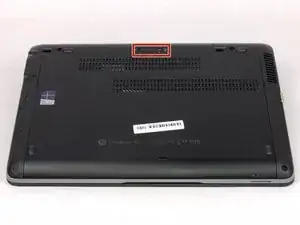
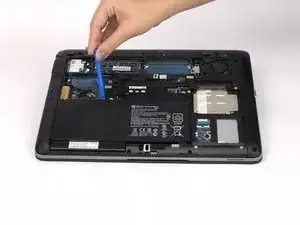
Pry off ten rubber paddings on the outer edge of the laptop to reveal the torx screws.
-
Unscrew the ten 8mm torx screws that are under the rubber paddings using the T7 tip torx screwdriver.
-
-
-
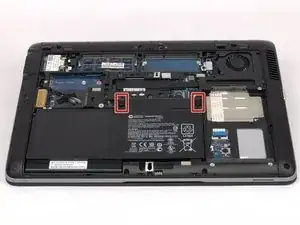
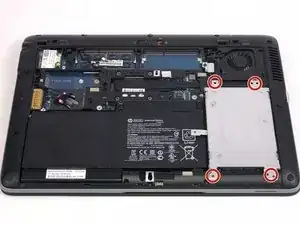
Remove the two 4mm screws indicated by the M2.5X4 using the J00 tip screwdriver.
-
Remove SD card cap by just sliding out to reveal one screw.
-
-
-
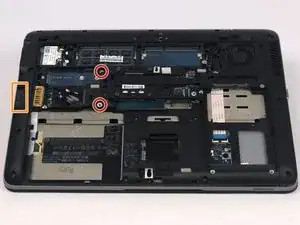
Remove the two 3mm screws indicated by the M2.03 using the J00 tip screwdriver.
-
Remove the 4mm SD card screw using the J00 tip.
-
-
-
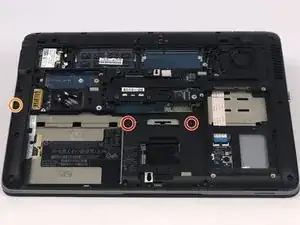
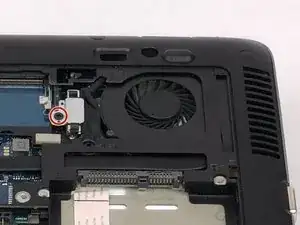
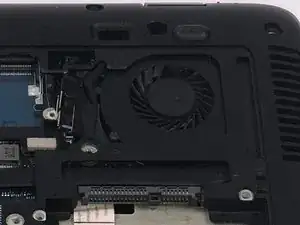
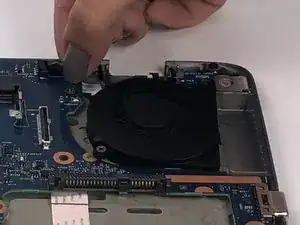
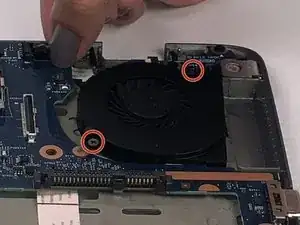
Remove the one 4mm fan screw using the J00 tip screwdriver.
-
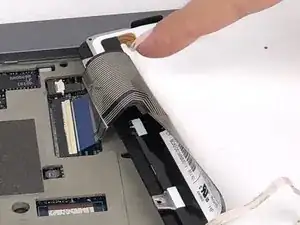
Remove screw and metal plate to expose ribbon cable connector.
-
-
-
Turn laptop over back to normal position as shown in the image.
-
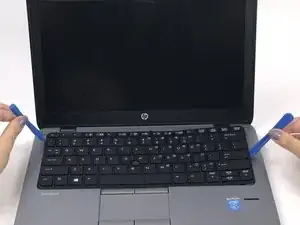
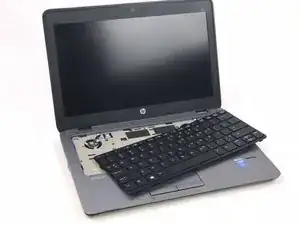
Use opening tools to pry up keyboard.
-
-
-
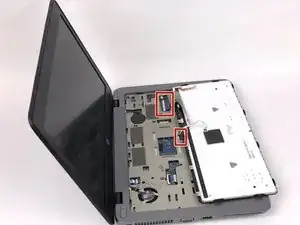
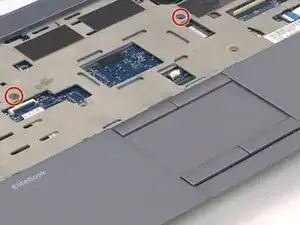
Carefully lift keyboard on one side to expose the two ribbon cables.
-
Use an opening tool to lift up the locking clip and unplug the two ribbon cables.
-
-
-
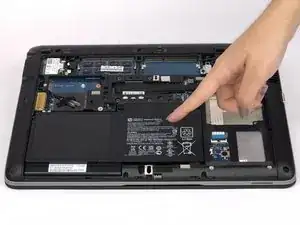
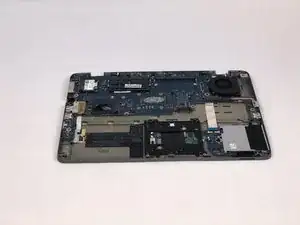
Once keyboard has been fully removed, the system case containing the motherboard can be lifted out easily.
-
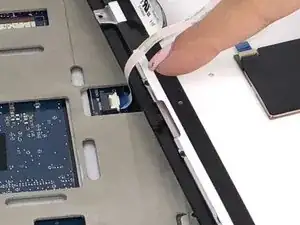
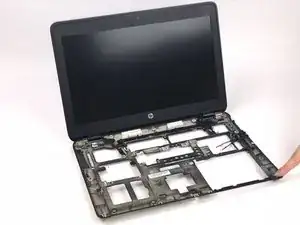
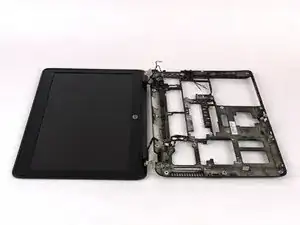
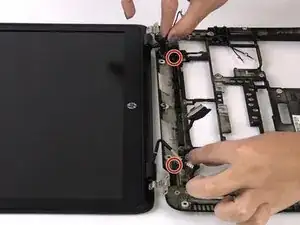
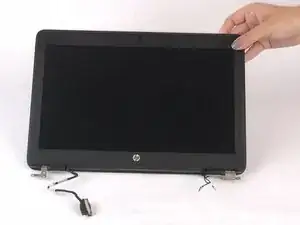
The display is connected to the shell of the laptop.
-
To reassemble your device, follow these instructions in reverse order.
Ein Kommentar
Hello,
I need to replace the inverter as my screen is too much dark.
I cannot see the inverter and even I cannot find any inverter for this model.
Do you know how to access to this inverter? Is it embedded within the screen?
Thanks by advance.
BR
