Einleitung

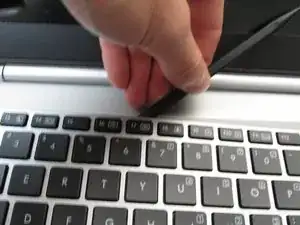
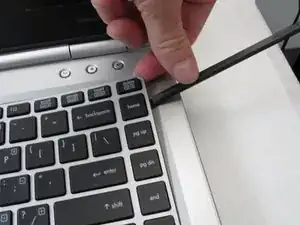
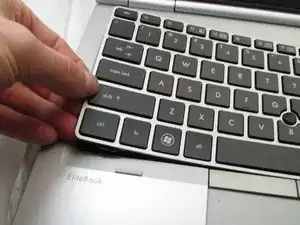
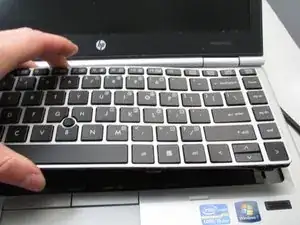
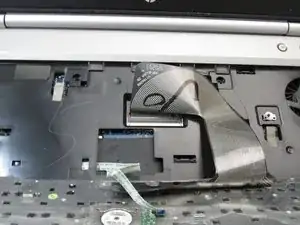
If the keyboard is bad or malfunctioning, use this guide to replace the keyboard or check the keyboard connections on the inside of the laptop.

This guide requires a bit of prying to unsnap the keyboard from the laptop chassis. Following the instructions, pry carefully and do not force anything to avoid breaking any components.

The keyboard has two electrical connectors that attach to the motherboard. Before touching the connectors, make sure you are properly grounded to avoid damaging the motherboard itself.

To complete this guide you will need a Phillips #0 screw driver; an ESD strap; and a thin, sturdy plastic pry tool.

  1. Sh5qQlMTDdKDNAwQ
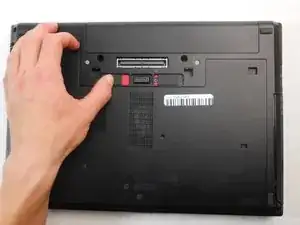
    • On the back of the computer, slide the left switch towards the outside of the laptop until you hear a click.

  2. uYS3eSH6eqe6JNJT
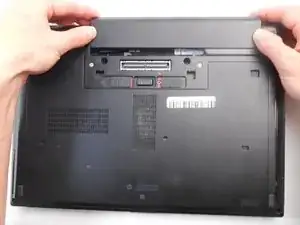
    • Slide the battery away from the switches until it can be lifted away from the laptop.

    • Lift the battery away from the laptop.

  3. NVuRvTc4dwod2cgj
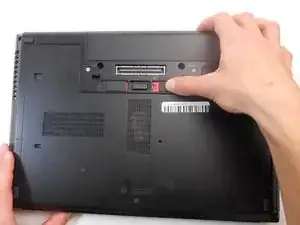
    • On the back of the laptop, slide the right switch toward the outside of the laptop until you hear a click.

  4. FigFljVIeFqYSBPH
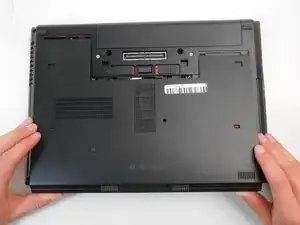
    • Slide the back shell of the laptop away from the switches until it can be lifted up.

    • Lift the shell straight up.

  5. XLNqcuVrm2QSiRWA
    XLNqcuVrm2QSiRWA
    DHCOEwLQFsWSrVSX
    qUaCTxn6seFZcxgH
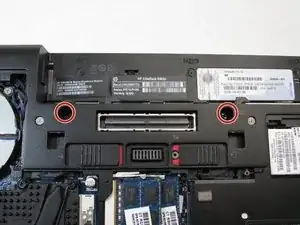
    • Attach ESD strap around your wrist and to a ground.

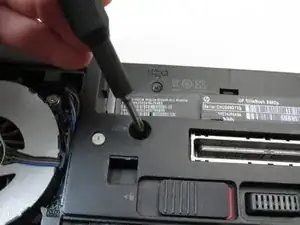
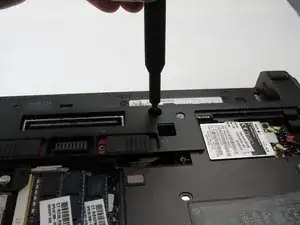
    • Using a Phillips #0 bit, unscrew the two screws in front of the battery slot located on the bottom of the laptop.

    There is a 3rd screw by the CPU fan.

    Winfried Lange -

  6. kEJJLVWe1WYf2PaE
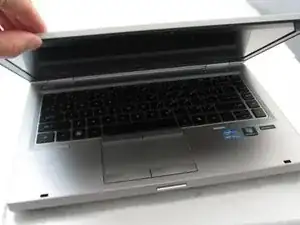
    • Flip the laptop over and open the screen.

  7. CRdUXYB3a2axqimI
    CRdUXYB3a2axqimI
    VBrNBwBuBVIXdEYE
    UTfKHSdEgfOvtP23
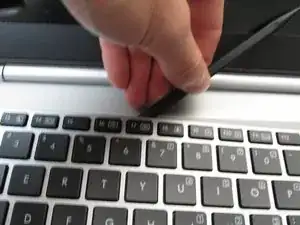
    • Using a spudger, work around the edge of the keyboard and pry it up from the device.

  8. J4sYmeOfgDyfvBVG
    J4sYmeOfgDyfvBVG
    BbJ3sLQTYdBpHp3p
    • Lift the keyboard out of the laptop and flip it over.

    • This exposes two different connectors. Both need to be detached in order to remove the keyboard. The larger connector is the main keyboard cable.

  9. urLKepFgNnEosEnK
    urLKepFgNnEosEnK
    XLNV6QarnNPhfJeW
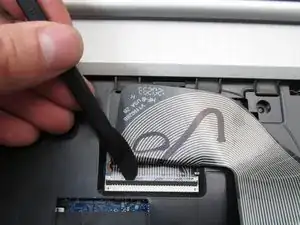
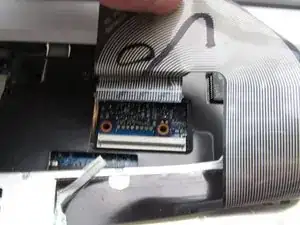
    • Disconnect the keyboard cable on the laptop using a thin pry tool to open the connection.

    • Open the connection by inserting a thin plastic pry tool under the black tab in the connector and flipping it up.

  10. jS4Duwt1l26JjWNx
    jS4Duwt1l26JjWNx
    iyQt5WRAHk2qHCZU
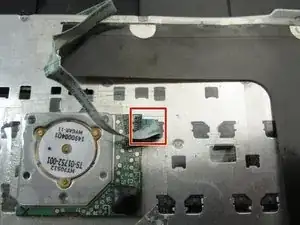
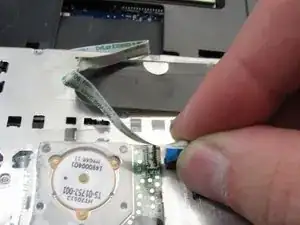
    • Using the spudger again, disconnect the thin ribbon strip on the back of the keyboard.

    In step 5, there is an additional screw that is pictured near the exhaust fan that needs to be unscrewed before the keyboard is able to be removed in step 7.

    compuguy1088 -

Abschluss

To reassemble your device, follow these instructions in reverse order.
Garrett Anderson

Mitglied seit: 16/09/19

1965 Reputation

0 Kommentare