Einleitung
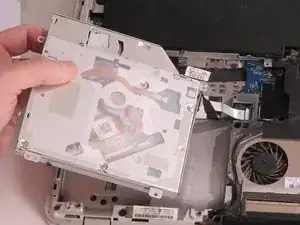
Whether you want to replace your faulty DVD drive or upgrade to a Blue-Ray one, this guide is for you.
Werkzeuge
-
-
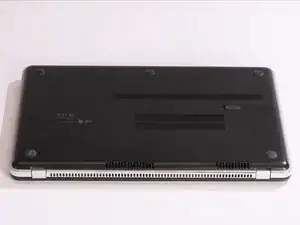
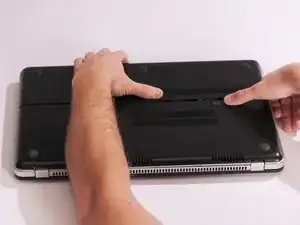
Slide the release latch away from the nearest edge.
-
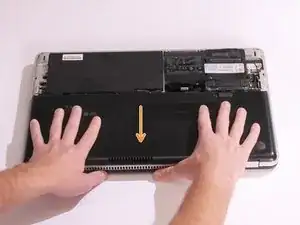
Slide the back cover off of the computer.
-
-
-
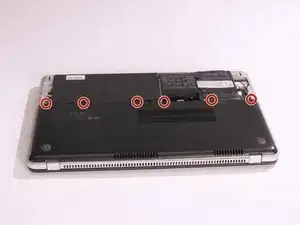
Remove the six 3.7mm Phillips screws.
-
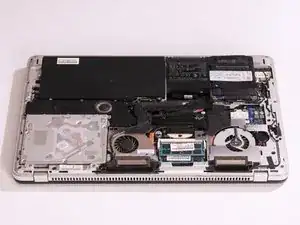
Slide the back cover until it clicks, then lift it straight off.
-
-
-
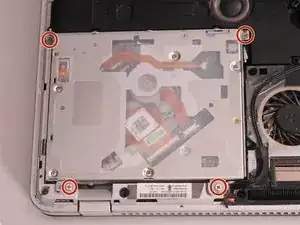
Remove the four 3.7mm Phillips screws that secure the optical drive to the computer.
-
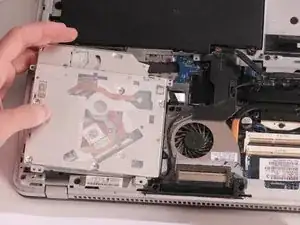
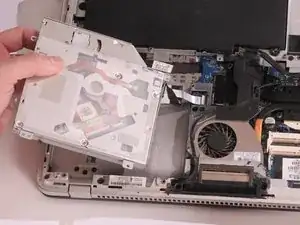
Slowly lift the optical drive away from the computer ensuring that you don't put stress on the connecting cable.
-
-
-
Remove Sub Speaker assembly first in order to remove Optical drive. Carefully disconnect speaker connector.
-
-
-
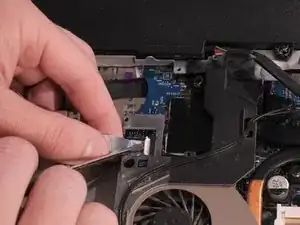
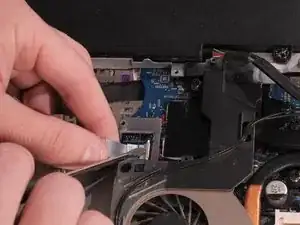
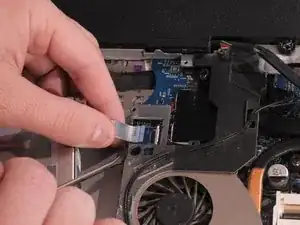
Carefully disconnect the connecting cable by lifting the white clamp with a Flathead screwdriver and pulling on the blue tab away from connector.
-
To reassemble your device, follow these instructions in reverse order.
