Einleitung

Reader will be able to successfully replace their Wi-Fi card in the device. A basic understanding of simple tools such as a screwdriver is needed. Any form of electricity must be removed from device, including the charging cable and battery.

  1. FVYntH2US3TUOXH5
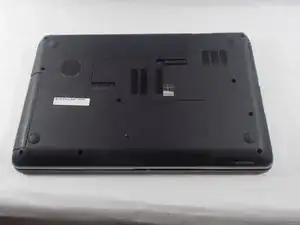
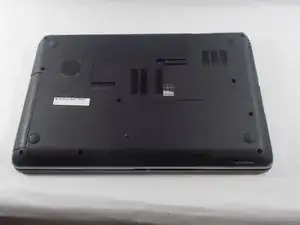
    • Flip the device upside-down so that its bottom is facing up.

  2. YLUl3uYuWynqLSD5
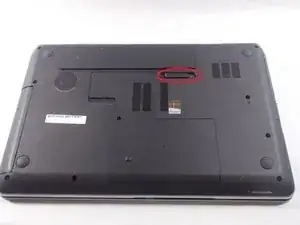
    • Push the lever underneath the battery to the left as shown in the picture.

  3. IkZSLFuKQdtjBuWl
    IkZSLFuKQdtjBuWl
    cSVYL2wJLqTEc1cA
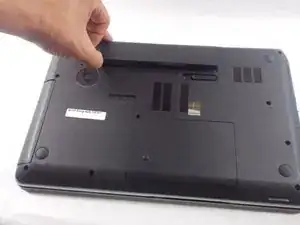
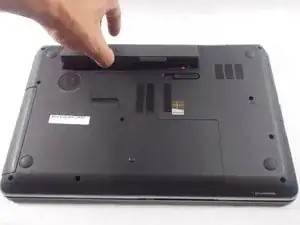
    • Lift the battery up out of its socket.

  4. LNgornZwD56ZtLaN
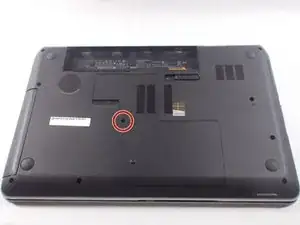
    • After removing the battery, remove the circled screw.

  5. HcIwXa1RsfMk1CR3
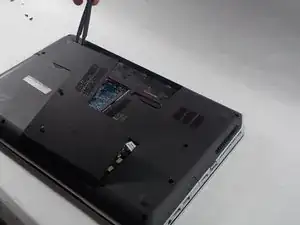
    • Remove the back cover.

  6. ghUaNgRLOvj2nqYx
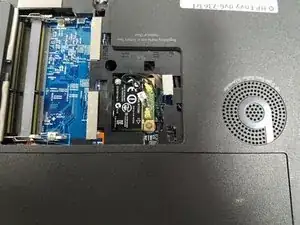
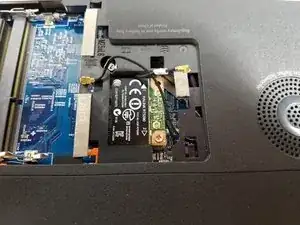
    • With the back cover removed, locate the Wi-Fi card which is positioned next to the Beats logo.

  7. ZSU4X1c4fDOuSOqC
    ZSU4X1c4fDOuSOqC
    cTI1BVeFiIsJcUaR
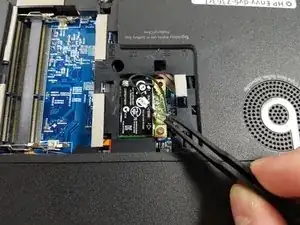
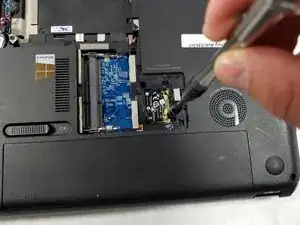
    • Carefully remove gold-headed, black wires from Wi-Fi card with tweezers.

  8. N3WIBLdJ5lOTUNyZ
    N3WIBLdJ5lOTUNyZ
    jLoH46hKhVFMKhCi
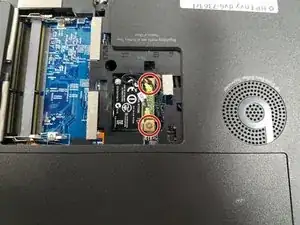
    • After removing wires, remove circled screws from card.

    • Note: Laptop shown only has one screw holding in Wi-Fi card. Some models may have both.

  9. 212sdSHNNEBG2gxF
    212sdSHNNEBG2gxF
    s5Wt3LsMHExMHaQ3
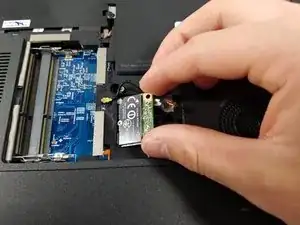
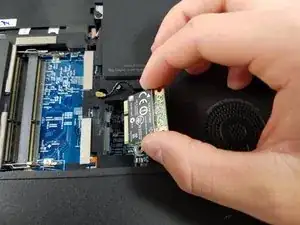
    • Wi-Fi card will raise out of device when screw is removed.

    • Gently pull card to the right to remove from device.

Abschluss

To reassemble your device, follow these instructions in reverse order.
dylananthony

Mitglied seit: 20/10/16

564 Reputation

0 Kommentare