Einleitung
HP Envy m6-1225dx
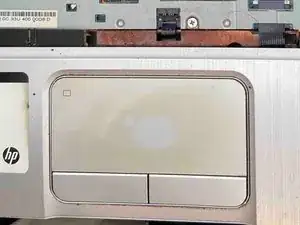
Touchpad buttons are mainly known for clicking around on a laptop, like one would do if they used a desktop computer mouse. The touchpad buttons allow users to precisely click on their device.
The touchpad buttons from the HP Envy m6-1225dx model deal with problems of not clicking effectively or just not clicking at all.
For other issues relating to the TouchPad Buttons check out our Troubleshooting page.
Werkzeuge
-
-
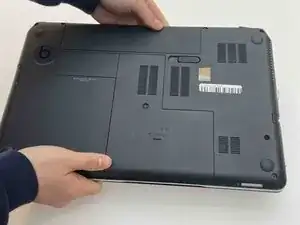
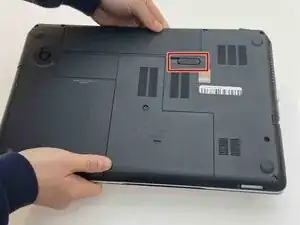
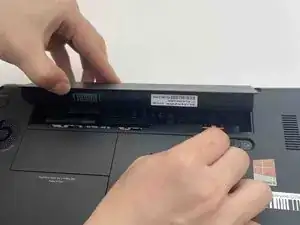
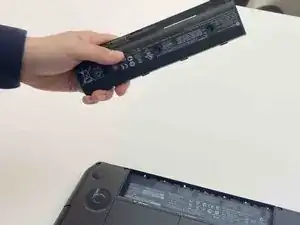
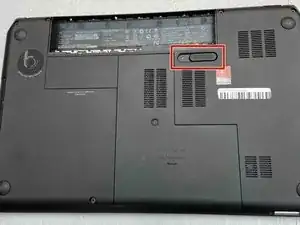
Pull the slide release tab to the left to free the battery.
-
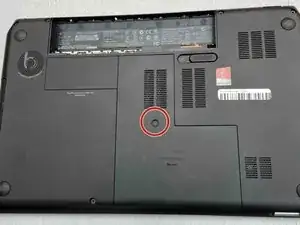
Once the slide release is all the way over, a red icon should be visible.
-
-
-
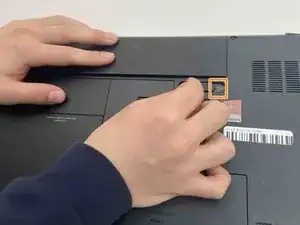
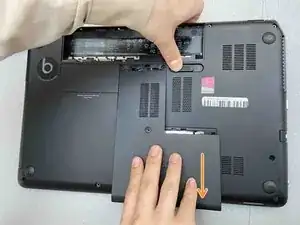
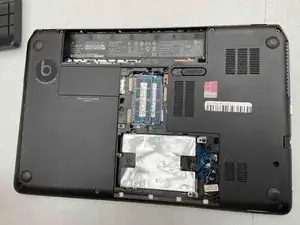
Move the battery slide release latch to the side while pulling the service cover forward.
-
Pull the service cover straight up and out to remove.
-
-
-
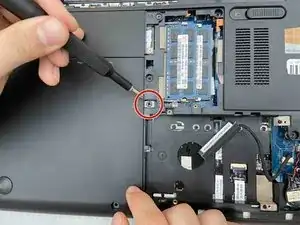
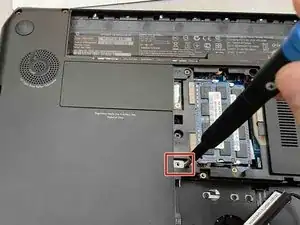
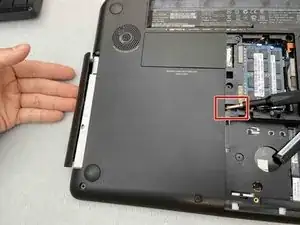
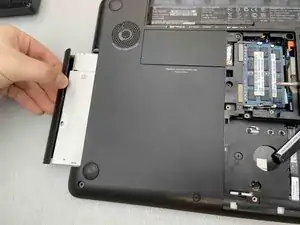
Use a spudger to apply pressure to the tab, while simultaneously pulling out the optical drive.
-
-
-
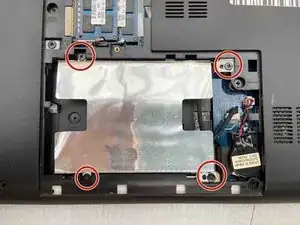
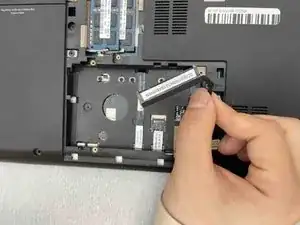
Disconnect the cable from the side of the hard drive and move it to the side
-
Remove the hard drive from the laptop.
-
-
-
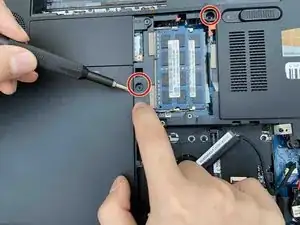
Remove the two screws that secure the keyboard to the laptop using a Phillips #1 screwdriver.
-
-
-
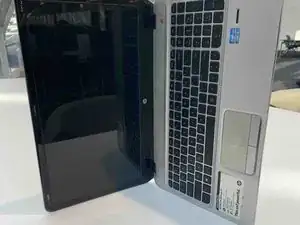
Move the laptop onto its left side with it open.
-
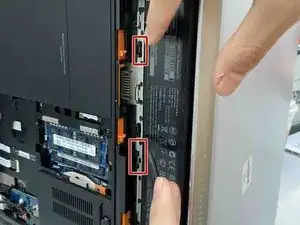
Turn the laptop and look into the empty battery slot for two release holes.
-
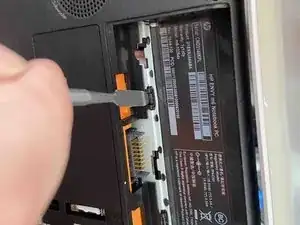
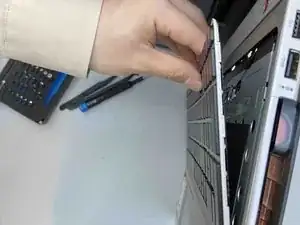
Insert a metal spudger into the release holes and apply pressure to the back of the keyboard till it comes loose of the laptop.
-
-
-
Gently lift the keyboard away from the laptop.
-
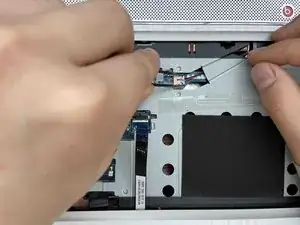
Remove the cable connection from the base of the laptop.
-
Remove the keyboard backlight cable.
-
-
-
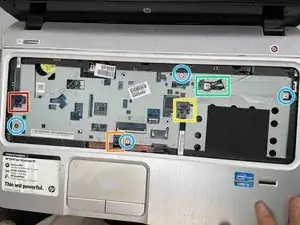
Disconnect the power button board cable using a pair of tweezers.
-
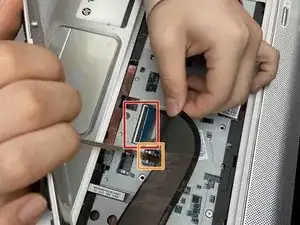
Disconnect the touchpad button board cable using tweezers.
-
Disconnect the fingerprint reader board cable using tweezers.
-
Disconnect the right speaker cable using tweezers.
-
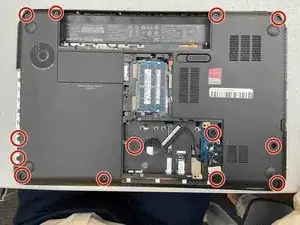
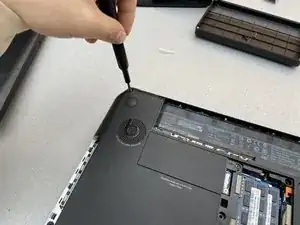
Remove the 4 screws using a Phillips #1 screwdriver.
-
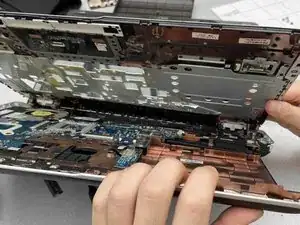
Apply force to the base of the cover to pop if off from the laptop base.
-
-
-
Turn the top cover with the touchpad area facing you.
-
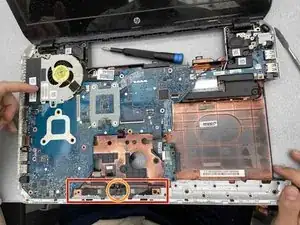
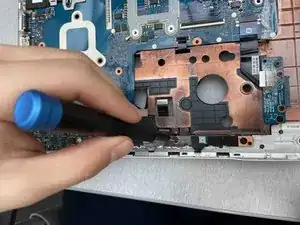
Remove the one screw holding the touchpad buttons down with a Phillips #1 screwdriver.
-
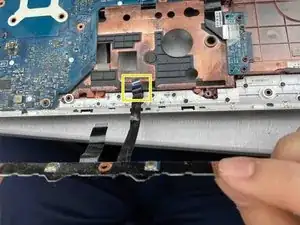
Disconnect the cable holding the touchpad buttons to the top cover
-
To reassemble your device, follow these instructions in reverse order.
