Einleitung

  1. iaUPbTd2HKvJbAZ1
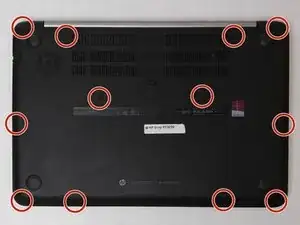
    • There are 12 phillips head screws which need to be unscrewed before removing the backplate of the laptop.

  2. JlXrnpMaDiKH5dtK
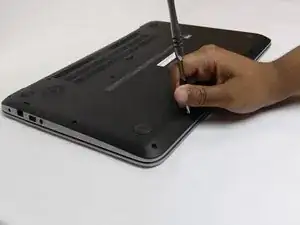
    • Next, use a size PH1 Philips head screw driver to remove the screws.

  3. fCPlnosXSkAsZBTr
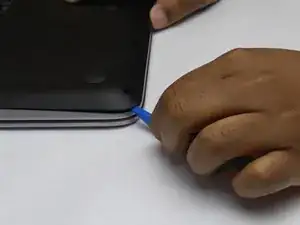
    • Then, use a prying tool to help uncouple the backplate.

  4. nBu5XLNoV2QbXtgO
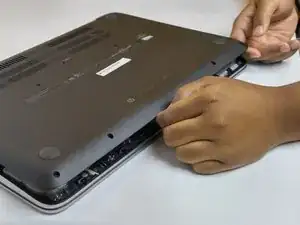
    • Finally, use both hands to lift up and take off the back plate of the computer.

  5. EyFOZf51CuyWxOGd
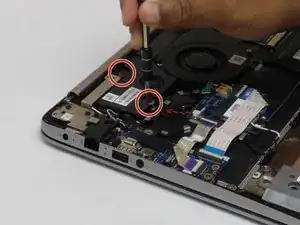
    • Remove the two screws holding the speaker in place.

    • There are two red rubber grommets which stay situated in the screw guide holes; be sure not to lose these.

  6. mHR5bovUBhcU2gLw
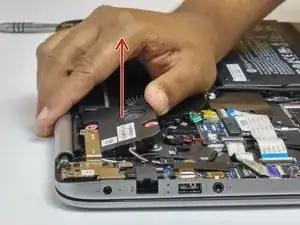
    • Once the screws have been removed, gently lift the speaker straight up, but just enough to dislodge it.

    • There is a cable connecting the speakers to the sound board. Be sure to not tug on this connection when lifting the speaker.

  7. FXpbXXYib2rhpLnJ
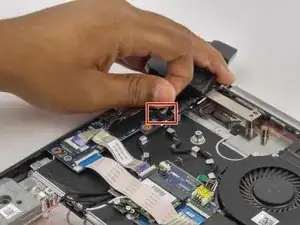
    • Once the speaker is dislodged, gently pull the connecting cable from the sound card.

    • The speaker is now fully removed and ready to be replaced.

Abschluss

To reassemble your device, follow these instructions in reverse order.
Kareem Rigaud

Mitglied seit: 03/03/17

403 Reputation

0 Kommentare