Einleitung
In this guide we will be opening up the HP Envy x2 13-j002dx and replacing the battery. This is an easier repair that can be done by just about anyone. The only screw driver required is a Philips #0 and a Philips #00 screw drivers. You will also need a pair of tweezers and a set of opening picks.
Werkzeuge
Ersatzteile
-
-
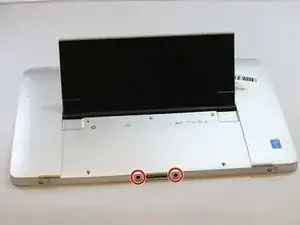
Use a Phillips #00 screwdriver to remove the two 3.5 mm screws from the bottom of the device—one on each side of the keyboard dock.
-
-
-
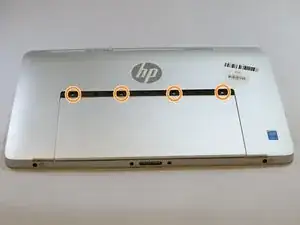
Use a pair of tweezers to remove the screw covers on the bottom of the device.
-
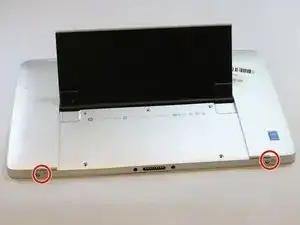
Use a Phillips #0 screwdriver to remove the two 4mm screws.
-
-
-
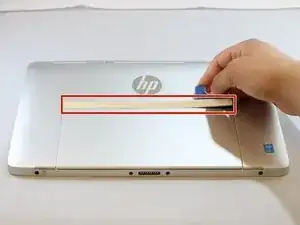
Use an opening pick to remove the plastic cover above the back stand.
-
Pry the cover off.
-
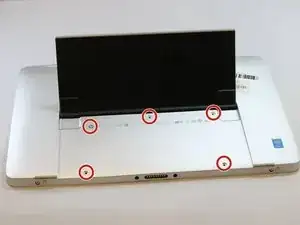
Use a Phillips #0 screwdriver to remove the four 4 mm screws.
-
-
-
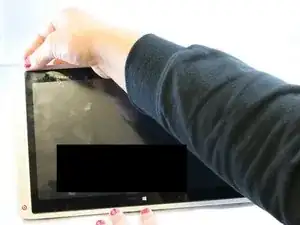
Use an opening pick and a prying tool, and go around the device to remove the back cover from the rest of the assembly.
-
-
-
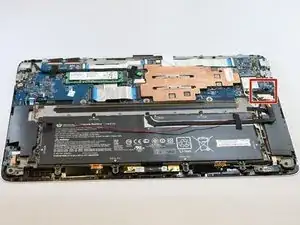
Carefully pull up on the battery connector from the speaker.
-
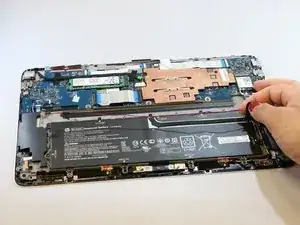
Use a pair of tweezers and remove the taped down wire for the speaker.
-
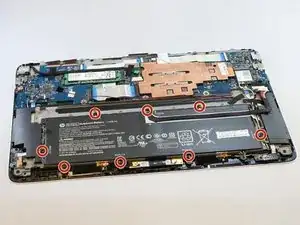
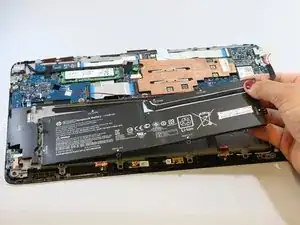
Use a Phillips #00 screwdriver to remove the seven 3mm screws around the battery.
-
To reassemble your device, follow these instructions in reverse order.
Ein Kommentar
For step 2, when I was taking the screws out, they were held in by the magnets that were on either side of them making it difficult to remove. I ended up having to use another magnet to get them out.
