Einleitung
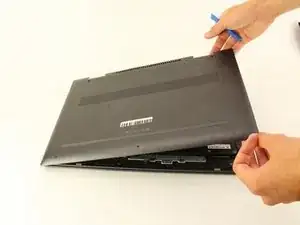
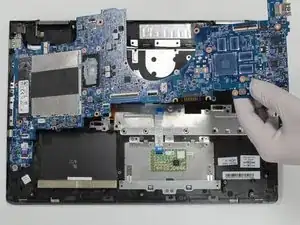
When your daughterboard crashes you do not have to settle for a slow functioning system, when you can replace it. In this guide I will show you how to replace the daughterboard with these detailed steps. As long as you follow my guide step by step and have the tools needed, this repair will have your HP Envy back to the enhanced functioning system you once had. Please be cautions and make sure the battery is drained before fixing as it is a fire hazard if not.
Werkzeuge
-
-
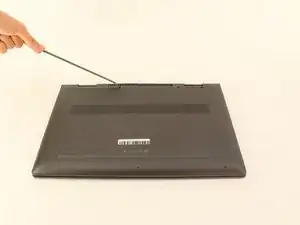
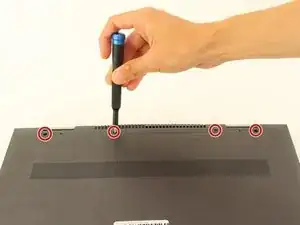
Use a Phillips #1 screwdriver (PH1 bit) to remove the four 6.5mm screws that were underneath the rubber strip.
-
-
-
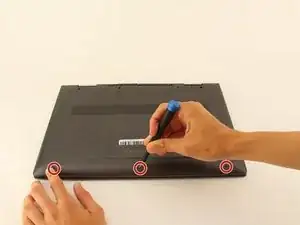
Use a Torx T5 screwdriver (T5 bit) to remove the three 5mm screws near the bottom edge of the laptop.
-
-
-
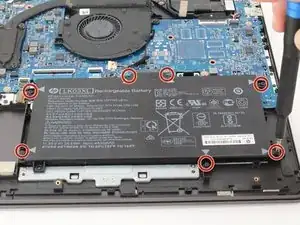
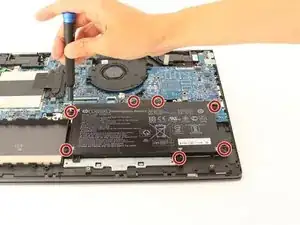
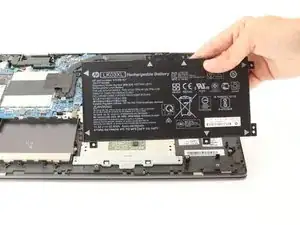
Use a Phillips #1 screwdriver (PH1) to remove the seven 4mm screws indicated by the gray arrows on the battery.
-
-
-
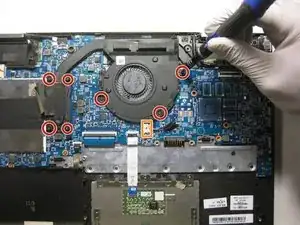
Use a Phillips #1 screwdriver to remove the seven 4 mm screws securing the fan.
-
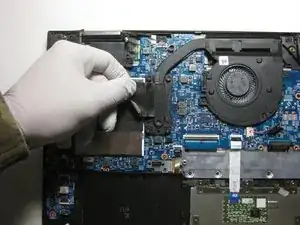
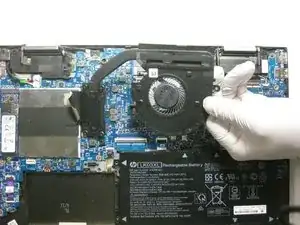
Detach the fan cable from the mother board.
-
-
-
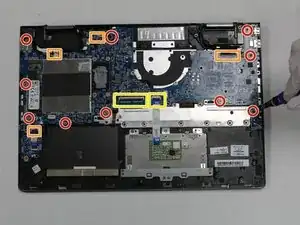
Use a Phillips #1 screwdriver to remove the ten 4 mm screws securing the motherboard.
-
Pull the four cables directly out of their ports.
-
Flip up the lock-bar on the two ZIF connectors, then gently pull the two ribbon cables directly out of their ports.
-
-
-
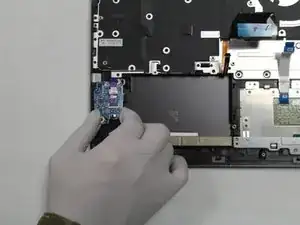
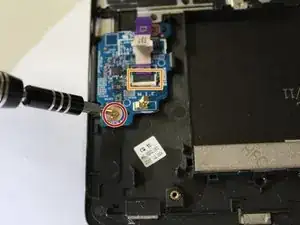
Use a Phillips #1 screwdriver to remove the single 4 mm screw securing the daughterboard.
-
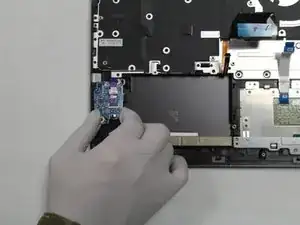
Disconnect the ribbon cable.
-
To reassemble your device, follow these instructions in reverse order.
