Einleitung
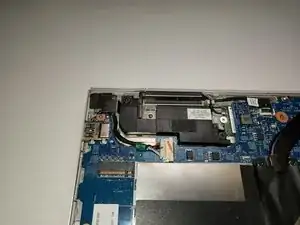
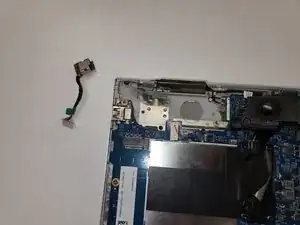
This guide will assist in locating, removing, and replacing the charging port for your HP Envy x360 15m-bp111dx. You may need to replace this component if your laptop is not charging properly. Be sure to troubleshoot your HP Envy x360 15m-bp111dx to ensure that this is not an issue concerning the battery. You can verify this with our troubleshooting guide here.
Be sure that your laptop is powered off, disconnected from the charging adapter, and that the components have cooled before beginning this replacement.
Werkzeuge
-
-
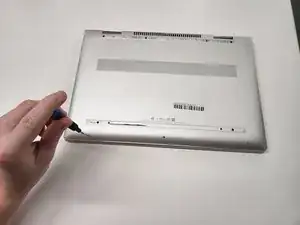
Remove the rubber feet to access the screws.
-
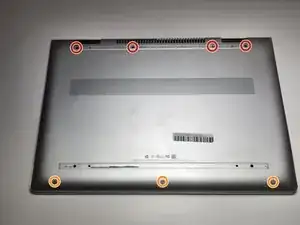
Using a Phillips #0 screwdriver, remove the four 7 mm screws.
-
Using a T5 Torx screwdriver, remove the three 5 mm screws.
-
-
-
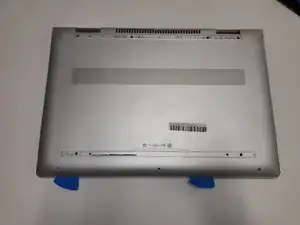
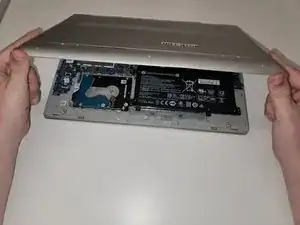
Insert opening picks or an opening tool inside the edge of the chassis to separate the back panel from the rest of the computer.
-
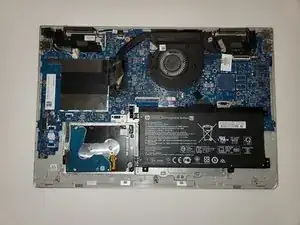
Remove the back case.
-
-
-
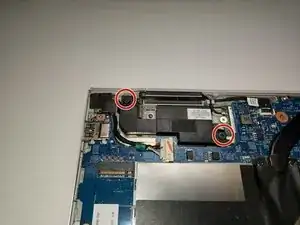
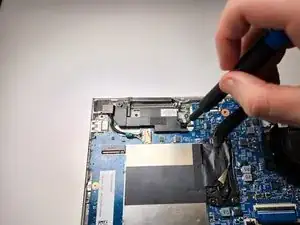
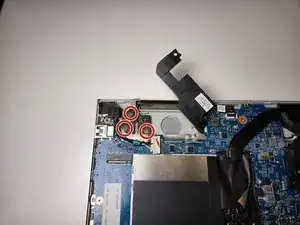
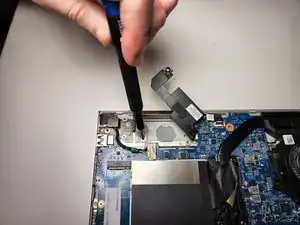
Use a Phillips #0 screwdriver to remove the two M2x3.1 screws that secure the speaker in place.
-
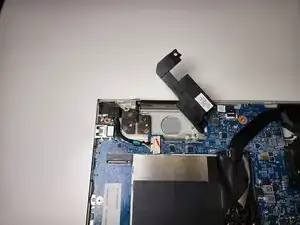
Lift and move the speaker to the side.
-
-
-
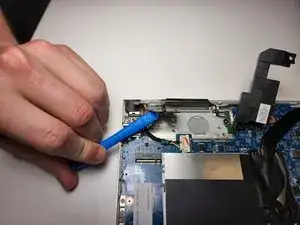
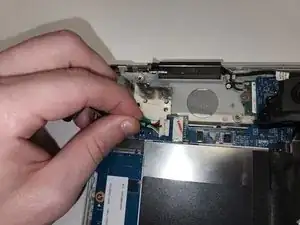
Use the opening tool to raise the hinge.
-
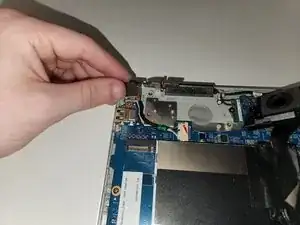
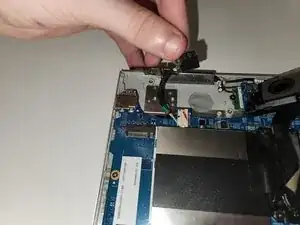
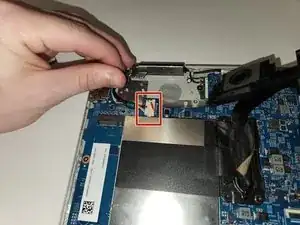
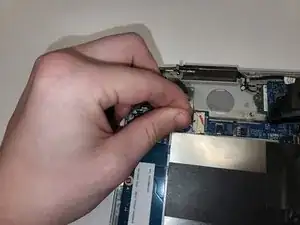
Then lift the hinge by hand to provide enough clearance to remove the charging port.
-
To reassemble your device, follow these instructions in reverse order.
