Einleitung
This guide shows how to remove an HP Envy x360 15m-bq021dx touchpad. The touchpad of this model of laptop is fixed beneath the palm rest, so it must be removed from behind. Hardware malfunction may not be the only reason that a touchpad stops working. Check this resource to be sure that the touchpad itself is indeed faulty before removing it.
If you're having trouble clicking with your touchpad, but otherwise it functions normally, check to see if your battery is swollen. Swollen batteries can displace internal components and often disrupt touchpads.
Discharge the battery and unplug your laptop before beginning.
Werkzeuge
-
-
On the back panel of the device, remove the four (4) M2.5xL6 screws at the top of the photo using a Phillips #0 screwdriver.
-
Unscrew the three (3) screws at the bottom of the photo using a T5 Torx screwdriver.
-
-
-
To remove the back cover, use the black spudger to lift up on the edges of the cover.
-
Use a suction cup to assist in lifting the back cover
-
-
-
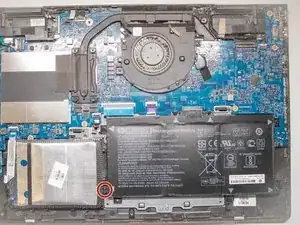
Using the Philips #0 screwdriver, remove the final screw from the battery connected to the SSD storage unit.
-
-
-
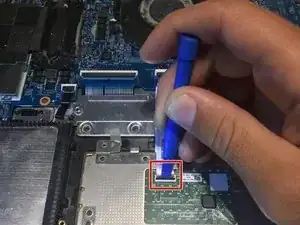
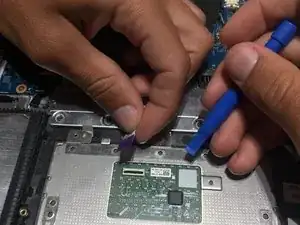
Use the blue opening tool to detach the purple tab on white strip from the black electrical insert.
-
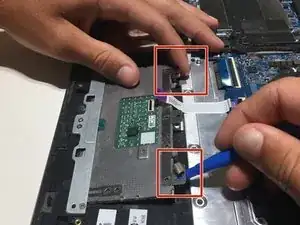
Pull the white strip up and out of the black insert.
-
-
-
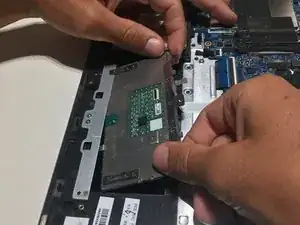
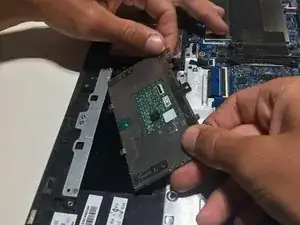
Use the blue opening tool to lift the screw tab in order to grasp the touch pad instrument.
-
To reassemble your device, follow these instructions in reverse order.
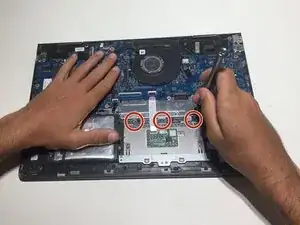
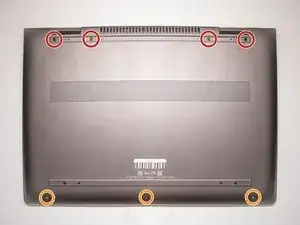
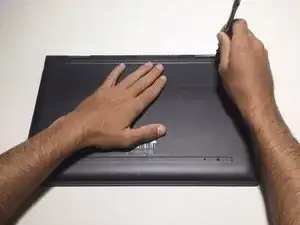
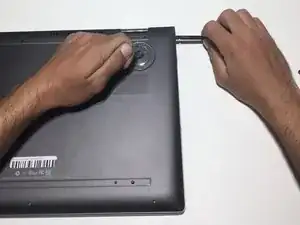
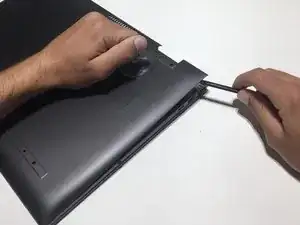
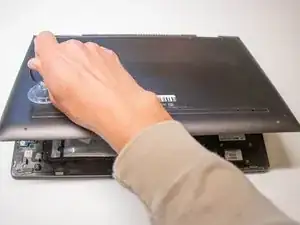
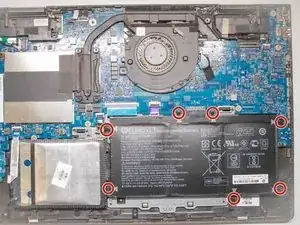
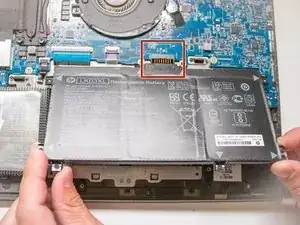
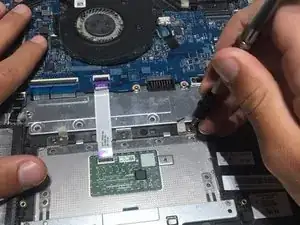
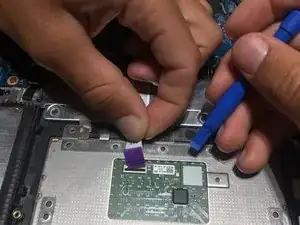
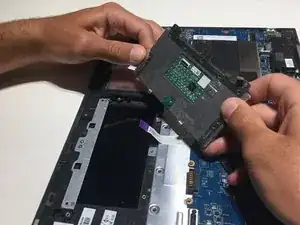
In the second step the photo looks like the laptop is still in the same position as the first step, which means, according to the first image, the second image shows someone removing the four screws at the top of the laptop. To be accurate to the text in Step 2, the barcode would appear at the top of the image.
lkmemphis -