Einleitung
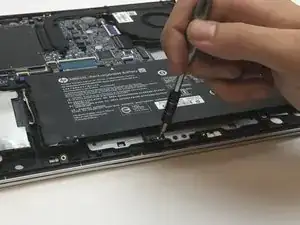
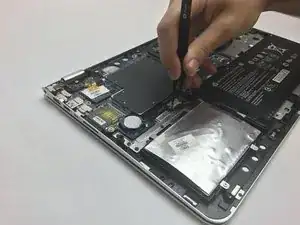
The battery is the main power source for the laptop when not plugged in. The battery may contain a small amount of electric charge, so this guide will provide assistance in the battery's proper and safe removal.
Werkzeuge
-
-
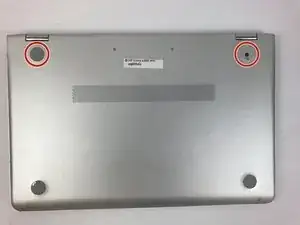
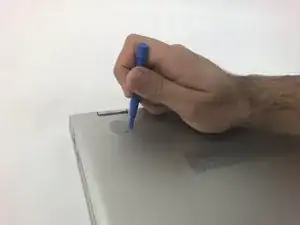
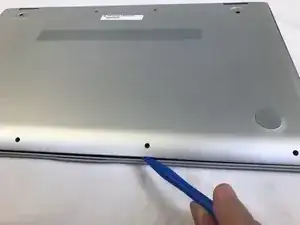
Use the plastic opening tool to remove the gray rubber pads on the bottom of the laptop. For our device we only needed to remove the two at the top.
-
-
-
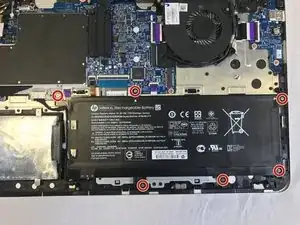
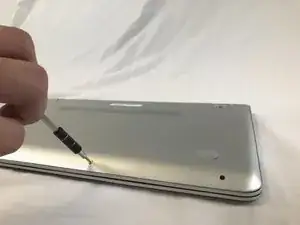
Use a Torx T5 screwdriver to remove the six 5.1 mm screws.
-
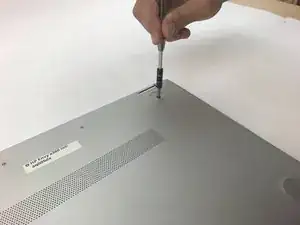
Use a JIS #1 screwdriver to remove the two 7.2mm screws.
-
-
-
Use a plastic opening tool to pry open the case. Go slowly around the edge. You will hear popping noises, such are due to popping open the small joints that keep the cover attached.
-
To reassemble your device, follow these instructions in reverse order.
3 Kommentare
Step 3 was the toughest!!! Case was difficult to separate.
Bo Hagen -
Thank you!!!! This made it sooooo easy to replace my battery!
Excellent guide, many thanks for posting it.
