Einleitung
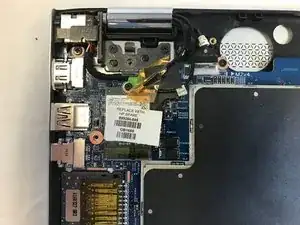
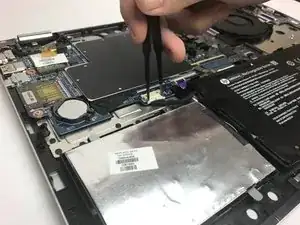
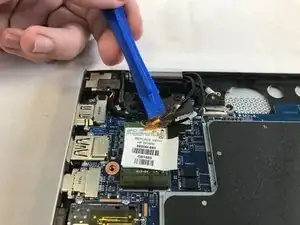
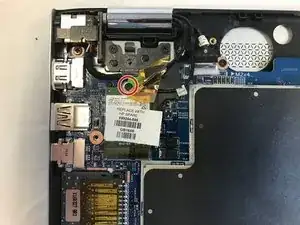
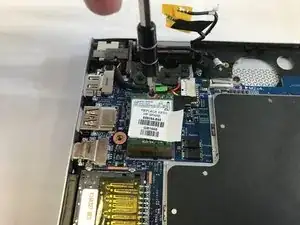
The WiFi is an important part of the laptop's wireless internet connection allowing the device to transmit and receive information over the internet. This guide provides the steps to properly remove the WiFi component.
Werkzeuge
-
-
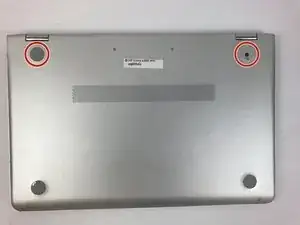
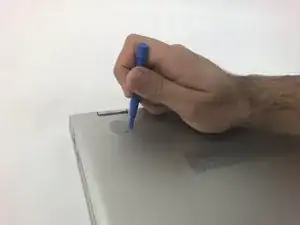
Use the plastic opening tool to remove the gray rubber pads on the bottom of the laptop. For our device we only needed to remove the two at the top.
-
-
-
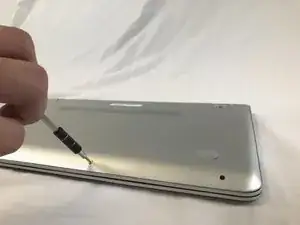
Use a Torx T5 screwdriver to remove the six 5.1 mm screws.
-
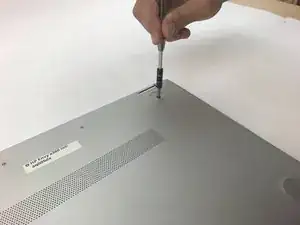
Use a JIS #1 screwdriver to remove the two 7.2mm screws.
-
-
-
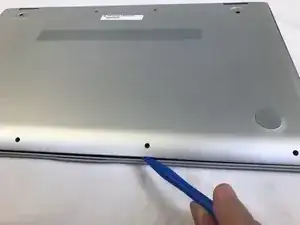
Use a plastic opening tool to pry open the case. Go slowly around the edge. You will hear popping noises, such are due to popping open the small joints that keep the cover attached.
-
Abschluss
To reassemble your device, follow these instructions in reverse order.
