Einleitung
This guide is a step by step instruction on how to replace your optical disc drive. You may need to do this if your laptop is not reading disks or if it is damaging them.
Werkzeuge
-
-
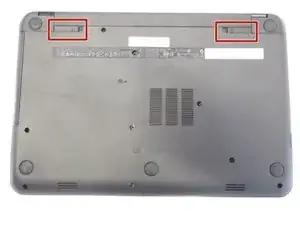
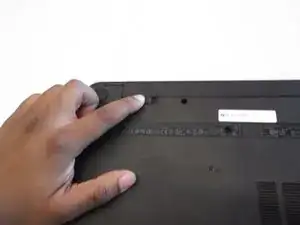
On the underside of the laptop towards the hinge for the screen there are two rectangular slide switches located inside of rectangular tracks.
-
-
-
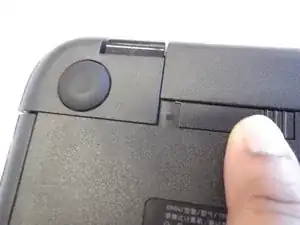
The left switch is the battery unlock switch.
-
Inside the rectangular track of this switch there is an image of a closed lock that should be visible. Push this switch to the other end of the track and an image of an open lock should be visible.
-
-
-
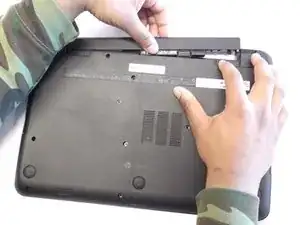
Then take and slide the other switch to the other end of its track which will pop out the battery.
-
Grab the battery and pull it out of the slot.
-
-
-
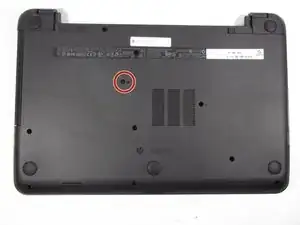
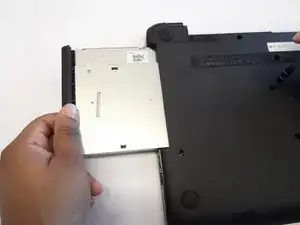
Remove the 4mm Phillips #1 screw located towards the middle of the laptop slightly towards the right with the picture of the CD next to it.
-
To reassemble your device, follow these instructions in reverse order.
