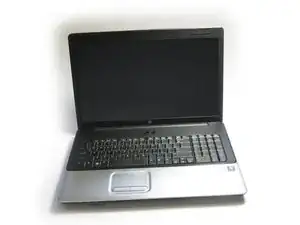
Einleitung
Have the replacement keyboard ready to install before disassembly.
Werkzeuge
Ersatzteile
-
-
Ground yourself by either touching an unpainted metal surface or by using the Anti-Static wrist strap.
-
Turn off the computer and remove the charger from the charging port.
-
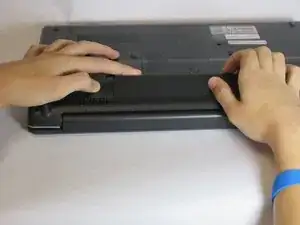
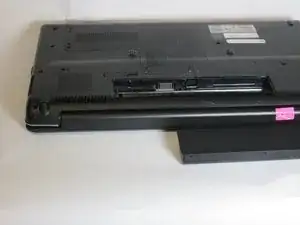
Turn the laptop over and slide the battery release catch to the right. The battery will pop up from its slot. Remove it using your fingers.
-
-
-
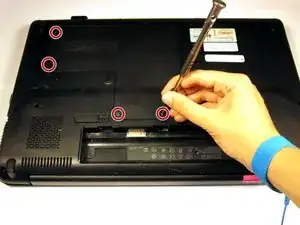
Use a Phillips #0 screwdriver to remove the four screws from the indicated cover.
-
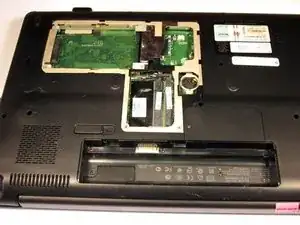
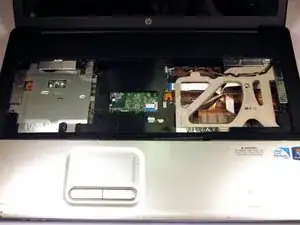
Gently lift and remove the cover.
-
-
-
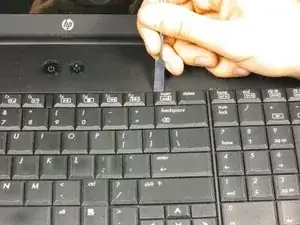
Pry the keyboard off with a spudger. Be careful not to apply too much pressure and damage any components.
-
-
-
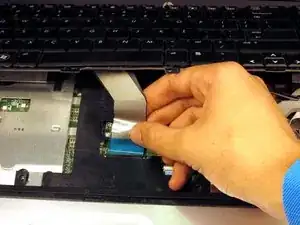
Disconnect the clip attaching the keyboard wiring to the motherboard. Lift and remove the keyboard.
-


To reassemble your device, follow these instructions in reverse order.