Einleitung
The HP Mini 110 comes stock with a 160GB hard disk drive. Whether it needs replacement due to failure, or it is desired to upgrade it to a larger size or replace it with a solid state drive, this guide is applicable.
Werkzeuge
-
-
Power-off the netbook fully before attempting to remove the battery.
-
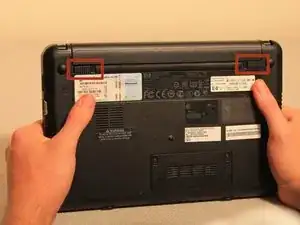
Flip your netbook upside down, and locate the sliding tabs near the battery.
-
Slide both tabs inward so that the battery visibly moves away from the case of the computer.
-
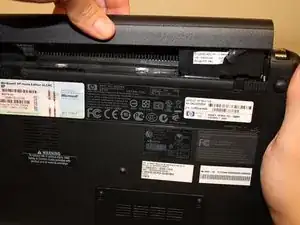
Release the tabs and pull the battery out.
-
-
-
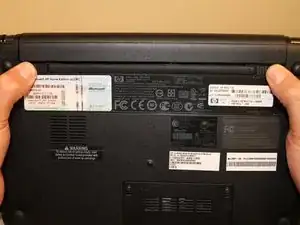
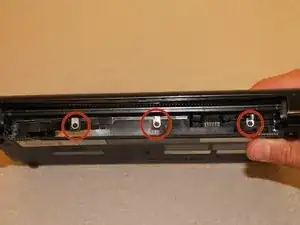
With the screen closed, turn your netbook around so that the battery slot is facing you.
-
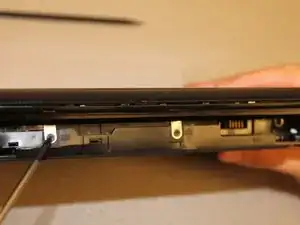
Remove the three 2.9mm screws in the battery slot.
-
This step can be made easier by using a magnetic screwdriver.
-
-
-
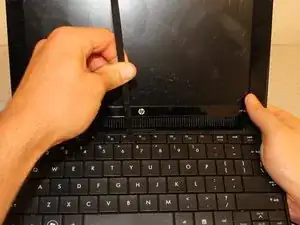
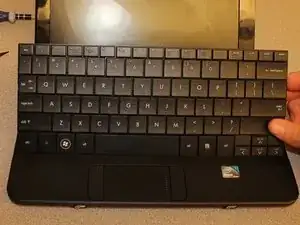
Flip the netbook upright, and open the screen as far as it will go.
-
Pry up the keyboard from the middle of the top edge.
-
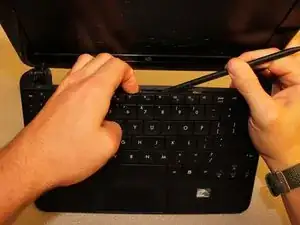
Insert the flat end of the spudger between middle of the the top edge of the keyboard and the plastic frame behind it.
-
Pry the keyboard up until it pops out or until you can grab it with your fingers, and then pull gently until it pops out on both sides.
-
-
-
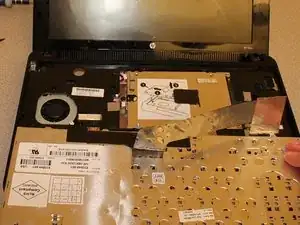
Flip the keyboard over (toward you) by pivoting it about the lower edge, and lay it upside down on top of the touchpad area to reveal the ribbon cable.
-
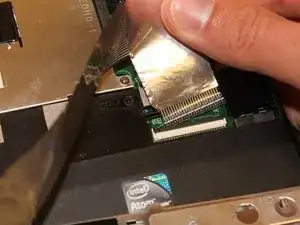
Lightly pull up on the black tab on top of the keyboard ribbon cable until it hinges toward you and releases the ribbon cable end.
-
Pull the ribbon cable backward and out of the receptacle. This should not require any effort.
-
-
-
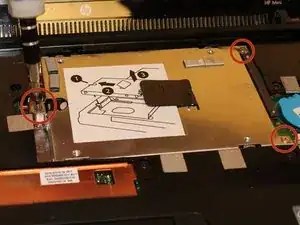
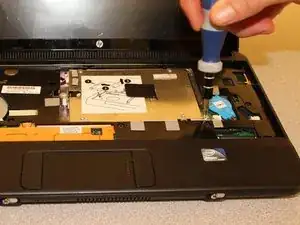
Remove the three screws holding down the hard drive. Use a Phillips PH0 screwdriver for the two silver, 3.4mm screws on the right, and use a PH1 for the black, 10.3mm screw on the left.
-
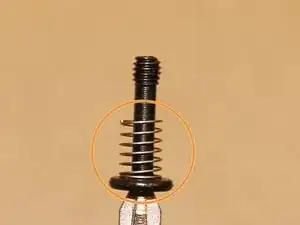
It is not necessary to fully remove the 10.3mm screw, but if you do, be careful to not lose the spring.
-
-
-
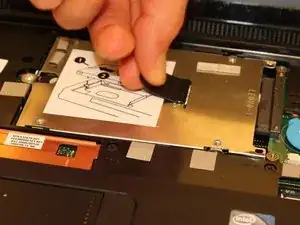
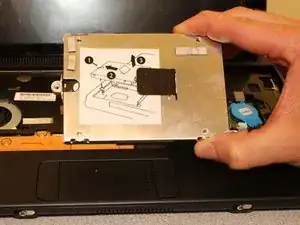
As shown on the top face of the hard drive itself, pull hard drive left using the black tab until the hard drive is unplugged and entirely released from its receptacle.
-
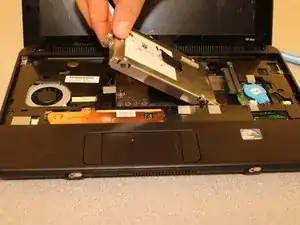
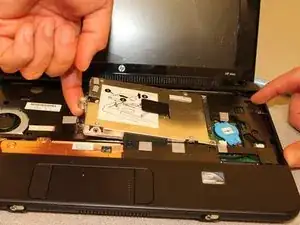
Lift the hard drive out of the laptop.
-
Place the hard drive in an anti-static bag to reduce the likelihood of damaging it with static electricity.
-
To install a new hard drive or re-install the old one, follow these instructions in reverse order.
Ein Kommentar
Appreciate the article well Done !!!
jpc6517 -
