Einleitung
Werkzeuge
-
-
Power off the laptop before trying to remove the battery.
-
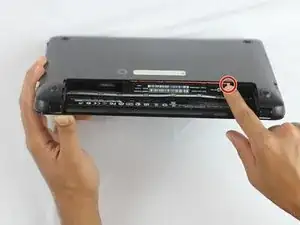
Turn the laptop upside down, and locate the sliding tabs on the battery.
-
Slide both tabs in an inward direction, then slide the battery away from the laptop.
-
-
-
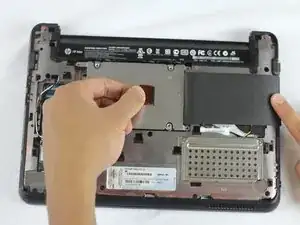
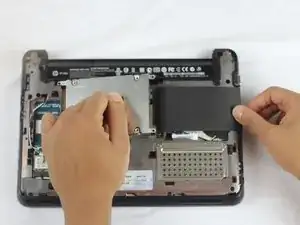
To remove the bottom cover pull the orange tab to the right until it clicks.
-
Carefully disconnect the clips as you lift the bottom cover.
-
-
-
Lift the black flap covering the hard drive then slide it towards the left using the orange tab until it's released from its receptacle.
-
Pull the hard drive out of the laptop.
-
-
-
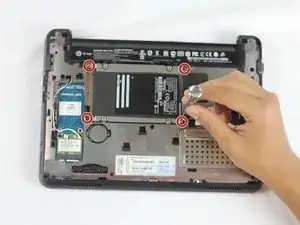
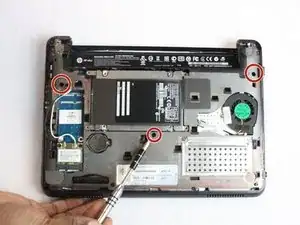
Remove the three black screws marked by the keyboard symbol using a Phillips #1 screwdriver.
-
-
-
Turn the laptop upright and open it.
-
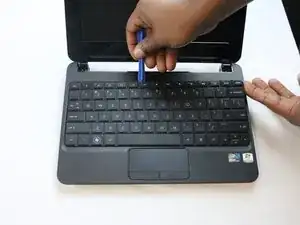
Disconnect the clips located around the perimeter of the keyboard.
-
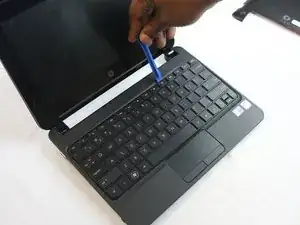
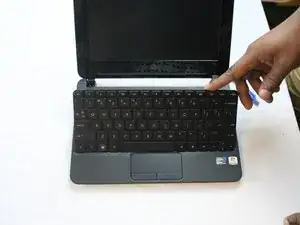
Slide the iFixit opening tool between the top edge of the keyboard and the plastic bezel.
-
Pull the keyboard with your fingers until it comes out on both sides.
-
-
-
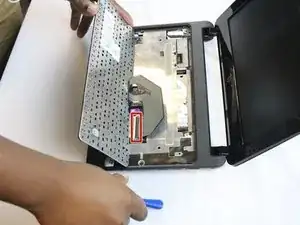
Tilt the keyboard toward you to reveal the ribbon cable.
-
Lift up the black tab on top of the keyboard ribbon cable to release the ribbon cable.
-
Pull the ribbon cable out of its container.
-
-
-
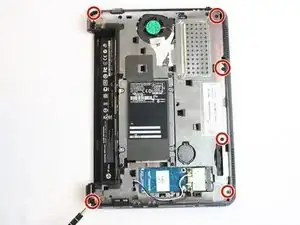
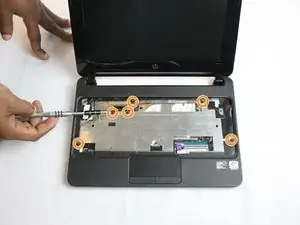
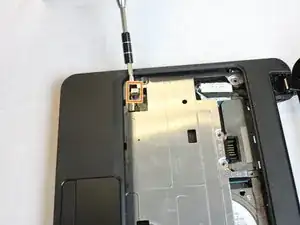
Remove the six black screws around the perimeter of the laptop using a Phillips #1 screwdriver.
-
Flip the laptop over and remove the six black screws.
-
-
-
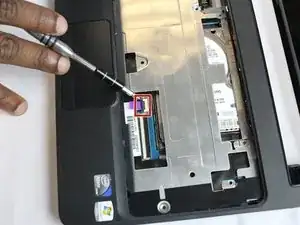
Using your fingernail or the iFixit opening tool, flip the black tab up to release the ribbon cable that connects the touchpad and motherboard.
-
Disconnect the red and black wires from the motherboard on the left-hand side of the bezel using your fingernail or iFixit opening tool.
-
-
-
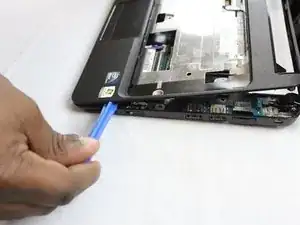
Lift the keyboard bezel from the back end and slide the iFixit opening tool around the perimeter of the bezel until it is fully released.
-
To reassemble your device, follow these instructions in reverse order.
