Einleitung

The hard drive cage holds the hard drive and needs to be taken out in order to replace the hard drive. It is also important to remove it because this allows access to other parts of the laptop for replacements.

  1. BwAmodoDWKTuOCZV
    BwAmodoDWKTuOCZV
    43I1CCWUYHP1KpxY
    Rt5qfTUw2jUscrBa
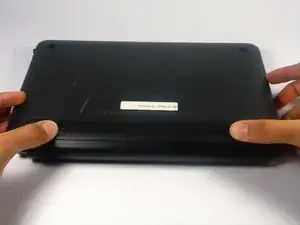
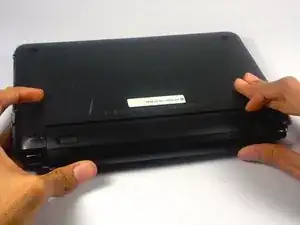
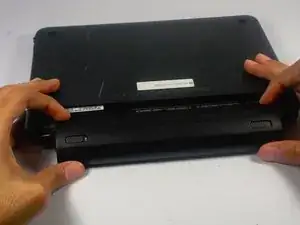
    • With the bottom of the HP Mini facing up, slide both switches inward towards each other.

  2. BSHMANJXwLuPiEWL
    BSHMANJXwLuPiEWL
    MtUaHbMXTBGDS2eZ
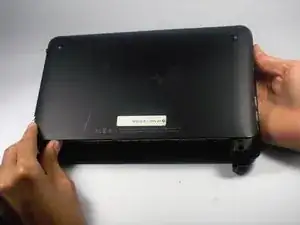
    • With the left switch still pushed inward, pull the battery towards you to remove it from the computer.

  3. YaSeuINfnEaYHHAK
    YaSeuINfnEaYHHAK
    2EyEdTktdNFsfEuM
    eISmeRZ4KauTdJVe
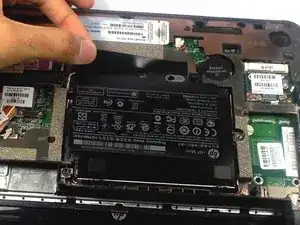
    • Pull upward from under the back cover via the missing battery area.

    • Best to start from one of the corners.

  4. UB3kvallZwKvgEAS
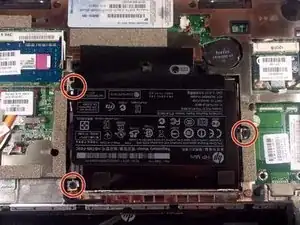
    • Remove the three 5.0 mm screws holding the hard drive cage in place using a Phillips #1 screw driver.

  5. SjUhVNHkrtMM4lQM
    SjUhVNHkrtMM4lQM
    DFeDgGuErX2LIOU3
    bJGJLvejGGSXMi1S
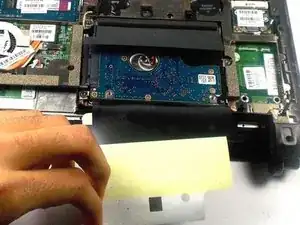
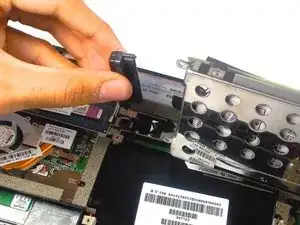
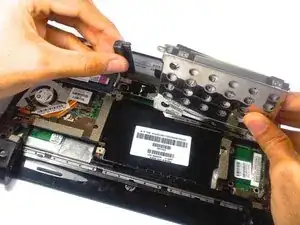
    • Lift the hard drive cage by pulling the tape upward.

    • Start by pulling the tape from the side with the keyboard symbol.

  6. AaMFcijLRJZjreql
    AaMFcijLRJZjreql
    ouT6QlAaQPUF6QgF
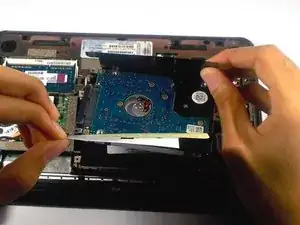
    • Unplug the cable connecting to the hard drive.

Abschluss

To reassemble your device, follow these instructions in reverse order.
Tyrone Williams

Mitglied seit: 10/03/16

905 Reputation

0 Kommentare