Einleitung
The case of the HP Mini 210-1199DX needs to be removed in most circumstances for any computer repair or replacements. This guide will show the user
how to complete this task.
Werkzeuge
-
-
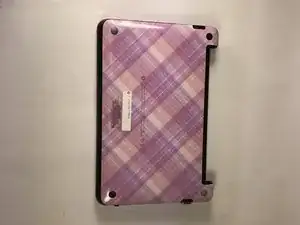
Unplug the netbook.
-
Secure the netbook in a upright position.
-
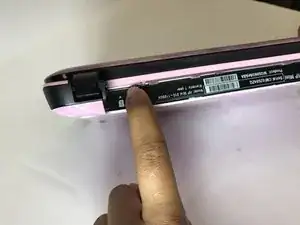
Slide the plastic battery latch that secures it into the netbook.
-
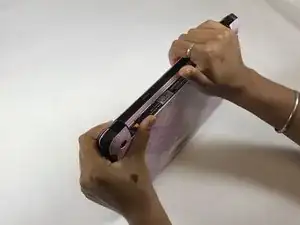
Keep thumb secure on the right tab as you begin to remove the battery.
-
-
-
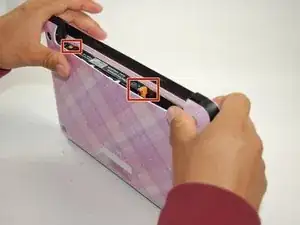
Press down on the two orange buttons to release.
-
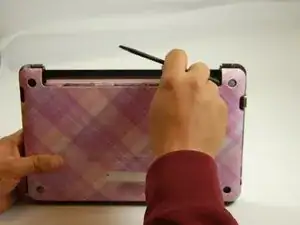
If the case does not pop off, begin to use Spudger to pry the case off the back.
-
-
-
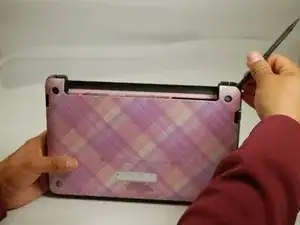
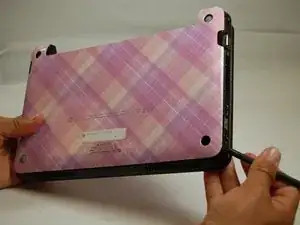
Place the spudger on corners and openings in order to begin removal of the back.
-
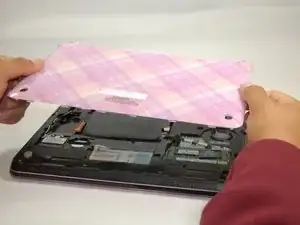
Continue this on all corner until the case comes fully off of the back.
-
To reassemble your device, follow these instructions in reverse order.
Ein Kommentar
Awesome tip about the release buttons. Once I got it off I noted the eject latch only runs halfway down the device and the rubber feet are actually attached to the frame not the bottom cover which just has holes for them to protrude through.
I wanted to get the bottom off in order to verify the AC adapter Voltage, Amperage and Polarity (which I think ios the same for the whole 210 line.
I guess I’ll upgrade to an SSD and increase the RAM while it’s open..
Power specs for my model: HP Mini 210 1075CA: 19.5Vdc, 2.05A, with polarity being ++''inside & - -''outside .
