Einleitung
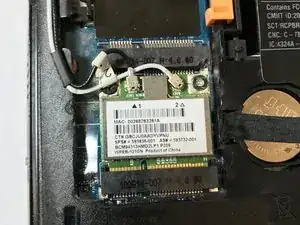
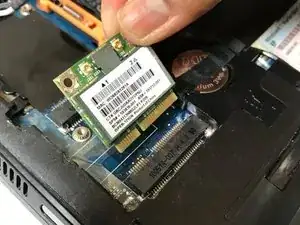
In this guide you'll be able to locate and remove or change out the Wireless Card of the HP Mini 210-1199DX.
Werkzeuge
-
-
Unplug the netbook.
-
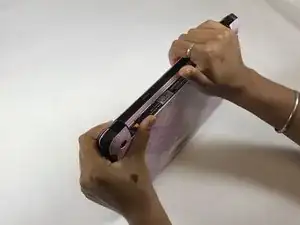
Secure the netbook in a upright position.
-
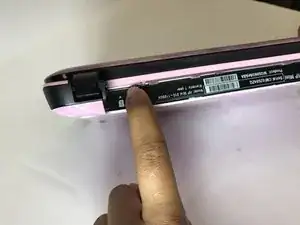
Slide the plastic battery latch that secures it into the netbook.
-
Keep thumb secure on the right tab as you begin to remove the battery.
-
-
-
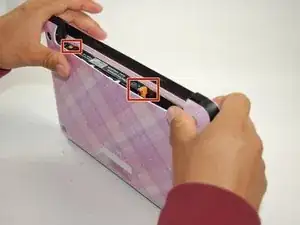
Press down on the two orange buttons to release.
-
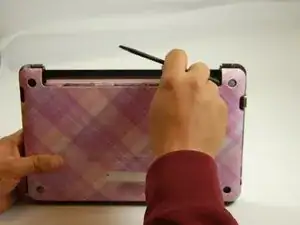
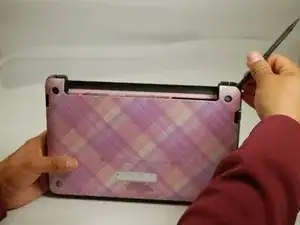
If the case does not pop off, begin to use Spudger to pry the case off the back.
-
-
-
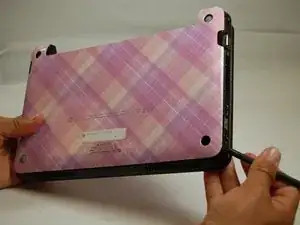
Place the spudger on corners and openings in order to begin removal of the back.
-
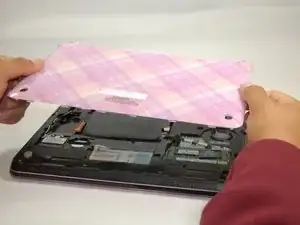
Continue this on all corner until the case comes fully off of the back.
-
-
-
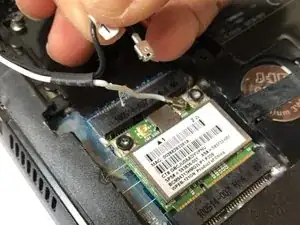
With fingers or tweezers, carefully pull the black and white wire connectors from their sockets and move them to the side.
-
-
-
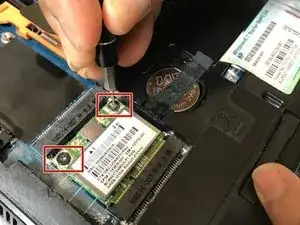
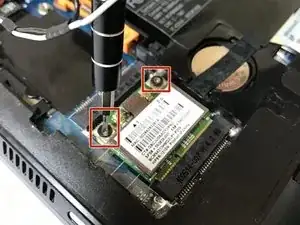
With a Phillip's Screwdriver, firmly but slowly remove the two screws from the top of the wireless card.
-
Be careful not to strip the nail head.
-
To reassemble your device, follow these instructions in reverse order.
