Einleitung
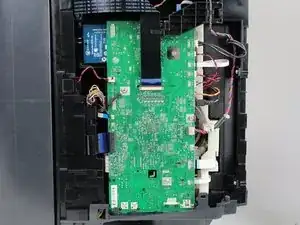
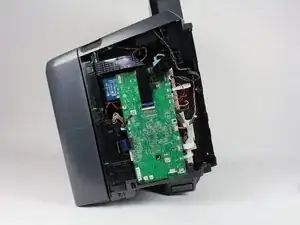
The left panel gives access to a variety of parts, Including the Motherboard, CMOS Battery, Power Brick and several others.
You will need a T9-Torx Screwdriver for this project.
It is recommended that you organize the screws using a magnetic white board or your preferred method.
Werkzeuge
-
-
Turn off the printer and remove the power cable.
-
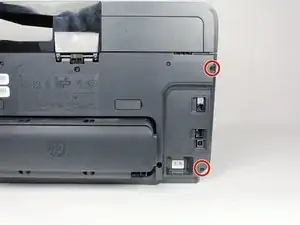
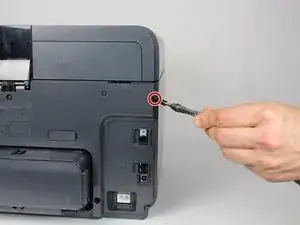
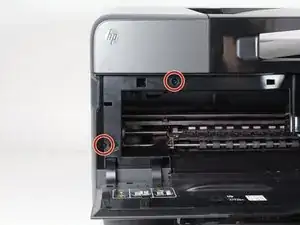
Remove two 13mm T9 screws using a T9-Torx screwdriver. Turn counterclockwise until the screws are released.
-
-
-
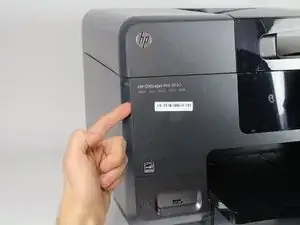
Open the front door by placing your finger on the indented groove on the left side of the printer and pulling down
-
-
-
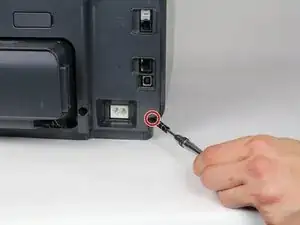
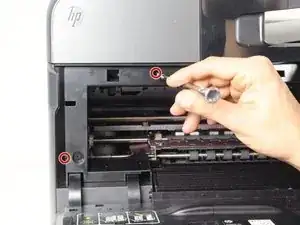
Remove the two 13mm screws with a T9-TORX screwdriver by turning counter-clockwise (left).
-
-
-
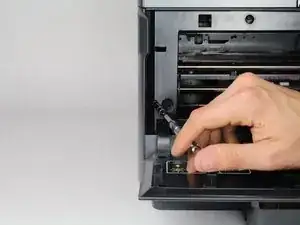
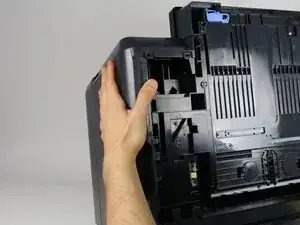
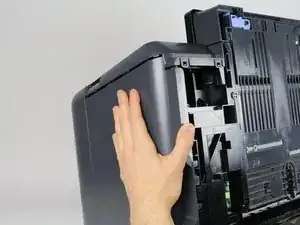
Gently remove the left side panel by placing your palm flat against the surface and pulling down.
-
To reassemble your device, follow these instructions in reverse order.