Einleitung

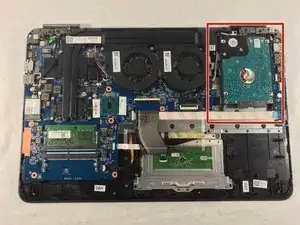
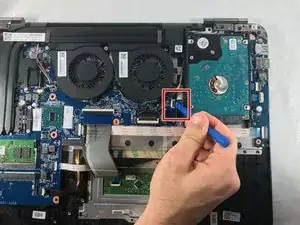
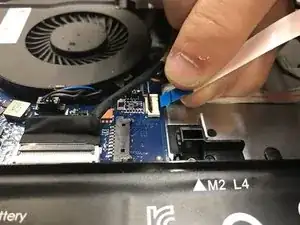
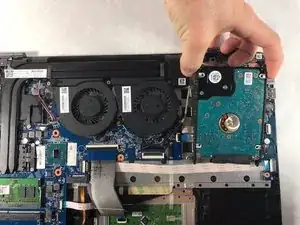
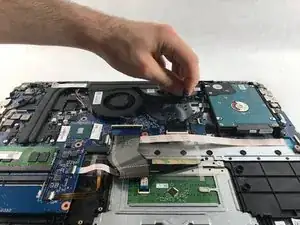
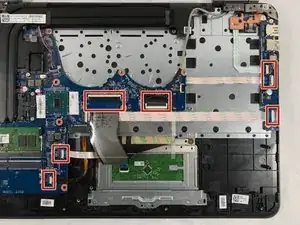
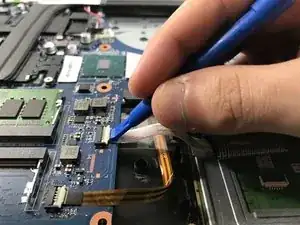
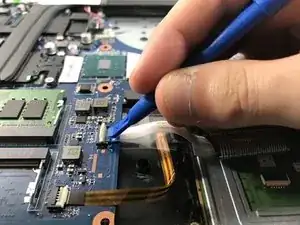
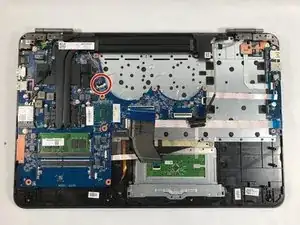
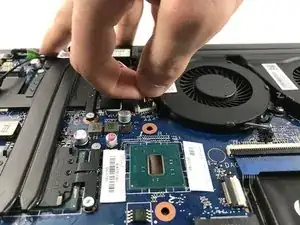
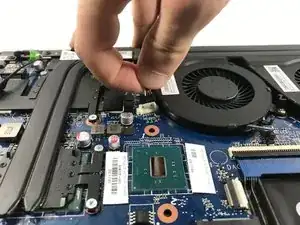
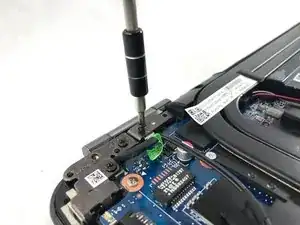
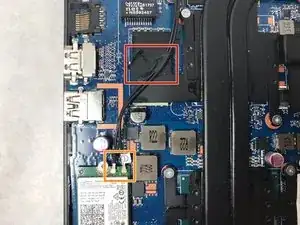
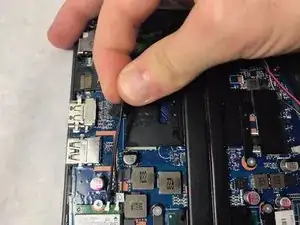
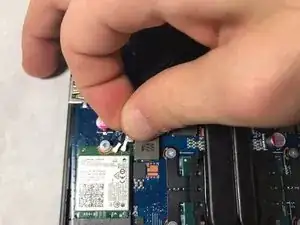
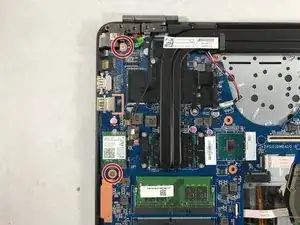
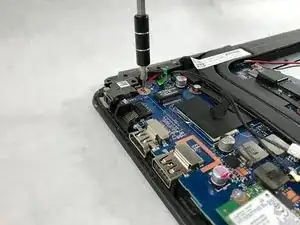
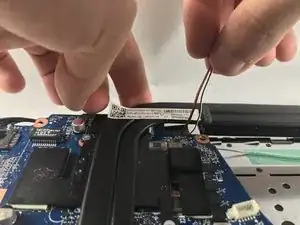
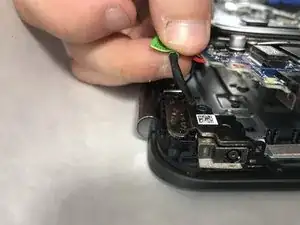
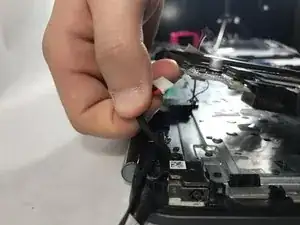
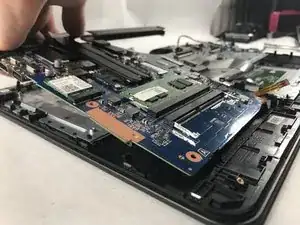
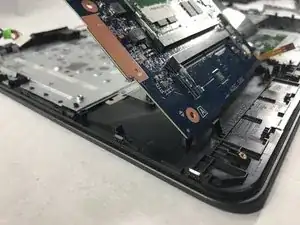
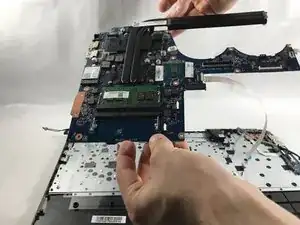
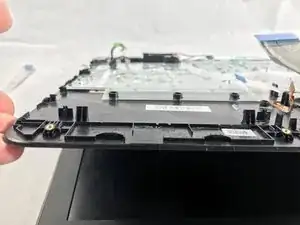
Is the speakers on your HP-Omen computer not working and you found out it costs a lot to have them fixed? Well you are in luck. The following guide consist of the 20 total steps to remove the speakers from the computer while also showing you the pre-requeste steps to be able to remove the speakers. You will be removing the battery, hard-drive, ventilation fans and disconnecting the mother board from the laptop. You will only need two types of tools, a Philips #00 screw-driver and a plastic opening tool. This guide will take approximately 20-40 minutes to complete and has a moderate difficulty. This guide allows you to to replace your speakers yourself for free rather than having to pay someone to do it.

  1. sqYLAkW13oymy2ey
    sqYLAkW13oymy2ey
    HuFQqffkKBNAIufB
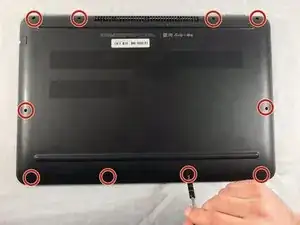
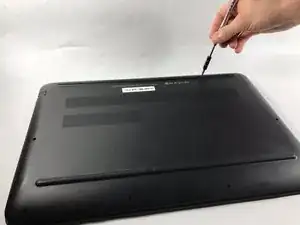
    • The rear panel is secured by 10 screws. Using a #00 Phillips Screwdriver, remove the ten 1.2 mm screws.

    • The screwdriver should be inserted at the same angle as the screws.

    • Be sure to keep track of the screws and where they came from. Some only fit in to one spot.

    Isn’t the plastic plug toward the center, and screw beneath it, a problem?

    risorcurt -

    There is no screw under the center plug, the bottom is just held on by clips after all 10 screws have been removed

    Nigel Bancroft -

  2. Vm5K5o1PLTHKDGLY
    Vm5K5o1PLTHKDGLY
    vqkveDwc25UGbOi6
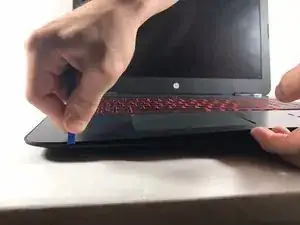
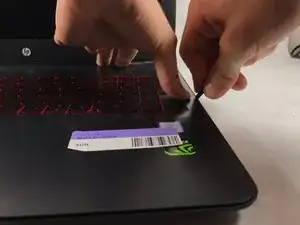
    • Insert a plastic opening tool between the rear panel and the top case. Pry the opening tool upwards to separate the top case from the bottom case.

    • Slide the opening tool along the case perimeter to loosen the bottom case.

    • Gently pull the bottom case away from the laptop.

  3. VV1gPJ2rBJKanEQm
    VV1gPJ2rBJKanEQm
    xMwMANPKbY1Qb2dZ
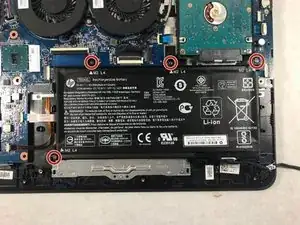
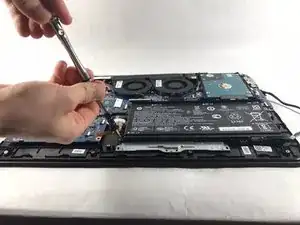
    • Remove the four 1.2 mm Phillips #00 screws around the battery.

  4. BvqBvHra2fA1VRYc
    BvqBvHra2fA1VRYc
    26RgNlCmpIf1mGJc
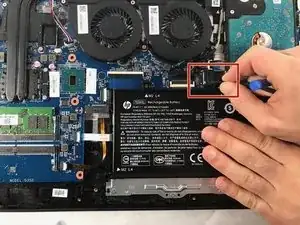
    • Pull the battery cable out from its motherboard socket.

    • Pull parallel to the motherboard, not straight up.

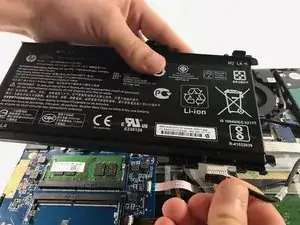
    • Remove the battery.

    • Disconnect the power cord from the battery and transfer it to your replacement battery.

  5. cmqxMOMcBHLZFtJQ
    • After the battery is removed, the hard drive will be easier to access in the top right hand corner.

  6. CwR3SDrJ5fTDvKD3
    CwR3SDrJ5fTDvKD3
    AWU4RrftTbxFj2tT
    ZYtl3xuoVW3OnthF
    • With a opening tool, flip open the switch that locks in the hard drive ribbon cable into the device.

    • When lifting the cable out, lift straight up and out to prevent damage to the connector or cable.

  7. Nogk2R3DDdJyfaEk
    • Lift the hard drive up to remove from the device

  8. 2fgYJEDNWnKVV66M
    2fgYJEDNWnKVV66M
    Pa1dQ2ZpUunBiHxG
    bdXTaGnQNKnGCV1M
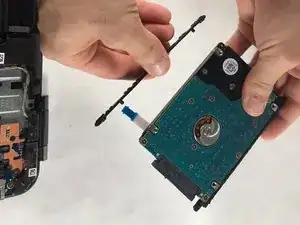
    • Remove the rubber guards on the side of the hard drive.

    • Gently pull the plastic connector out from the hard drive.

    • The hard drive can now be disposed of if needed.

    • Save the guards and connectors from this hard drive, they will be used on the replacement part.

  9. hvYJcnJx1suBGGxu
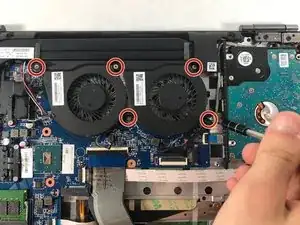
    • The two ventilation fans are secured with the system by 5 screws. Unscrew these five 1.2 mm screws using the Phillips #0 screwdriver.

    • When removing the screws, use a magnetic screwdriver to prevent the screws from falling behind the motherboard

  10. yuuWYaKlhFRZehRo
    yuuWYaKlhFRZehRo
    juavv2uKcZqaISXB
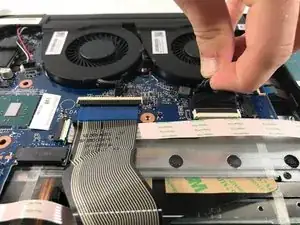
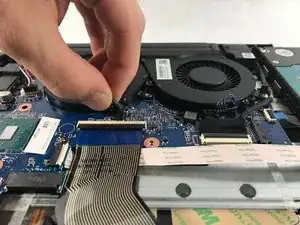
    • After removing all 5 screws, the fans are still connected with the system through 2 cables.

    • Carefully pull the fan cables out of the connectors on the motherboard.

    • Be cautious when pulling by the wires, this can permanently damage the fans beyond repair.

    I'm facing difficulties when trying to disconnect the fan cable from the motherboard .. It does seem like it's stuck .. How can I take it apart, do I need noose pliers or other tools ?’

    Hamza AF -

  11. w2LIgB5ib2JYk4xH
    • The fans can now be removed from the device.

  12. wTXxlgFcJW6nFZJJ
    wTXxlgFcJW6nFZJJ
    3PTk2ZdVDJaSsV4j
    q6XjVYMOdMcS5unX
    • Disconnect all the ribbon cables highlighted.

    • Be sure to use the plastic opening tool when flipping the switches up on the cable connectors.

  13. JUjmBWyLMiWFCX5B
    JUjmBWyLMiWFCX5B
    DXXwmfMlEiHqGron
    dAGOyCbUZ5MErCYs
    • Unplug the wire the connects to the speakers.

  14. PTZ2sHfAiBYoKynR
    PTZ2sHfAiBYoKynR
    Fer1R4PiACHtpNZx
    • Unscrew the six 1.2 mm screws connecting the screen to the body using the #0 Phillips screwdriver.

    • Be cautious of where the screws come out from, some will only fit in the same location.

  15. 22EsJwwejgVj3kK6
    22EsJwwejgVj3kK6
    yQxZQSQVD5dMxkiP
    aYsLoewqAsMW2RSQ
    • Remove the tape holding the wires down

    • Disconnect the wires from the wifi chip

    • When removing the wires from the wifi chip, be careful to not damage the connectors.

  16. 2sJxANj5PvBKLVDS
    2sJxANj5PvBKLVDS
    RtsBTJr1twMmiwwB
    • Unscrew the two 1.2 mm screws holding the motherboard to the front panel using the same screwdriver.

  17. Kmr6kK3JXIuyGZUS
    • Lift the back of the motherboard up then slide the audio cable out between the heatsink and motherboard

  18. MqifYsDvMvuYRPPD
    MqifYsDvMvuYRPPD
    nYYfNkLfjNSlNQrr
    • Lift the back of the motherboard up again and remove the charging adapter.

    • This wire is located in a tight spot. Pull it straight out and do not bend it, this will cause irreparable damage to the device.

  19. XWQHZvEHA1km5LeB
    XWQHZvEHA1km5LeB
    nUdNrDOmwnu2Zd1E
    gmyrR2CZu1bEorVf
    • Slowly lift up the back of the motherboard.

    • The board is friction fit at the rotation point. Be careful to lift the board around this point.

    • The board will now lift out of the device.

  20. ATYo3HYIyrOchUJg
    ATYo3HYIyrOchUJg
    maGRpVZn2iCAV2bb
    61WNXj2gBhYKonWH
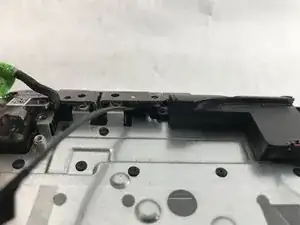
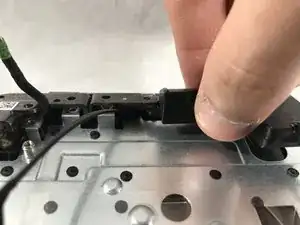
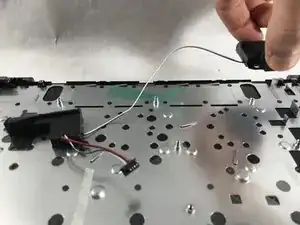
    • Lift up the keyboard panel of the device and set it back down.

    • The speaker in the top left hand corner can be taken out of its place.

  21. NQTKF4ISXScnqSJJ
    NQTKF4ISXScnqSJJ
    JUEGFMkidTnTEMKc
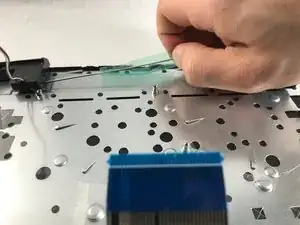
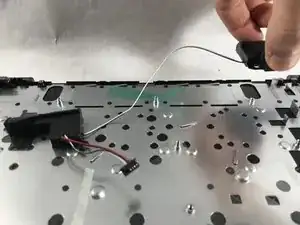
    • Remove the tape between the two speakers

    • The left speaker can now be removed.

    • The speakers can be disposed of if needed now.

Abschluss

To reassemble your device, follow these instructions in reverse order.
Dean Lee

Mitglied seit: 19/10/17

353 Reputation

0 Kommentare