Einleitung
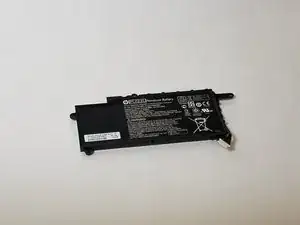
This guide will instruct a user on how to remove the battery in order to replace a potentially faulty piece of hardware. Be sure the device is turned off and disconnected from all power sources.
Werkzeuge
-
-
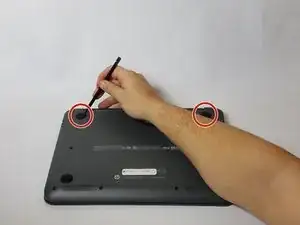
Use the nylon spudger to remove the rubber pads near the hinge of the screen, then remove the screws under the pads.
-
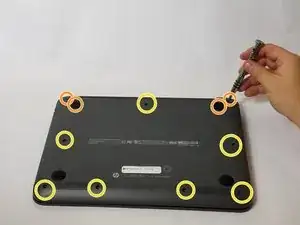
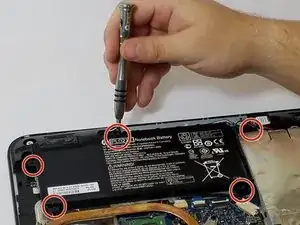
Use the Phillips #0 to remove four 9mm screws.
-
Use the Phillips #0 to remove seven 6mm screws.
-
-
-
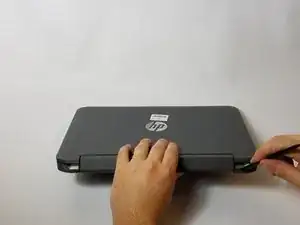
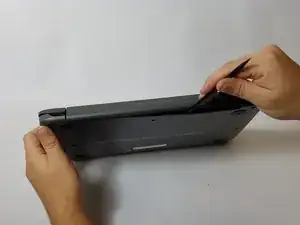
Use the nylon spudger to pry the back casing near the hinges for the screen.
-
Continue to pry along the edge of the back case until the back is ready to be removed.
-
-
-
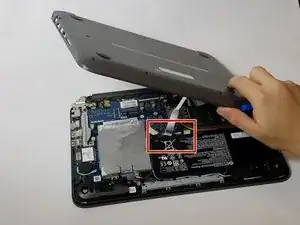
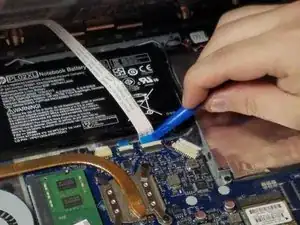
Use the blue plastic opening tool to lift up on the white tab that is holding the cable in place on the motherboard.
-
Now carefully pull the cable out of place and remove the entire back casing.
-
-
-
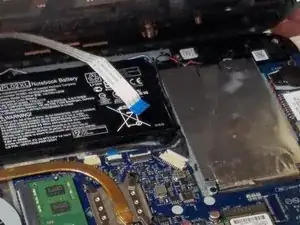
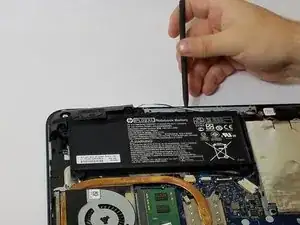
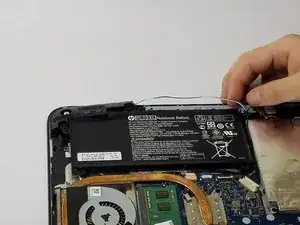
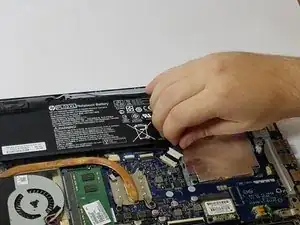
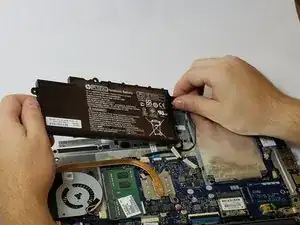
Use the nylon spudger to pry away the blue/white wire that is positioned near your battery.
-
-
-
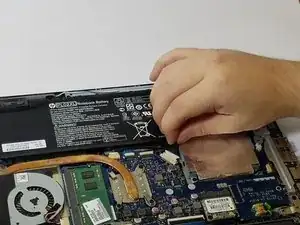
Disconnect the battery cable from the motherboard by carefully pulling on the black wire at the point closest to the white tab.
-
To reassemble your device, follow these instructions in reverse order.
2 Kommentare
Only four 6mm screws retaining battery, middle screw secures by passing through back cover. Otherwise very helpful.
i followed every step on this guide and when i was finished my laptop wouldn’t turn on
