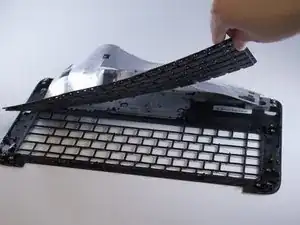
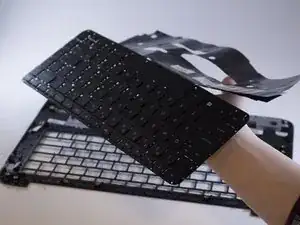
Einleitung
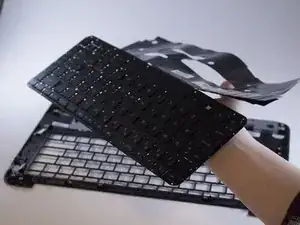
Replace your defective keyboard and restore the ease of being able to use your device. This guide provides a detail explanation of how to replace your device's keyboard. Before you begin, make sure you have adequately troubleshooted your broken keyboard using this Troubleshooting Page. In addition, make sure you have read through all the steps required and understand what you will be doing. Use caution when replacing the the keyboard, some of the parts have sharp edges and could be harmful. If you don't understand or feel comfortable completing any of the steps, find someone with more experience to assist you with this guide.
Werkzeuge
Ersatzteile
-
-
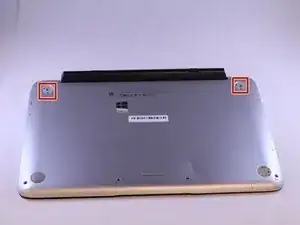
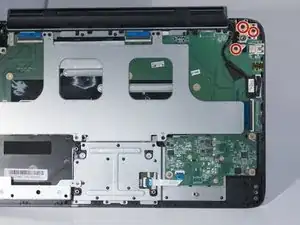
Remove two 6.0 mm Philips #00 screws from the back casing.
-
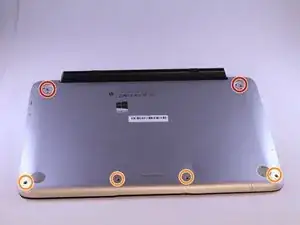
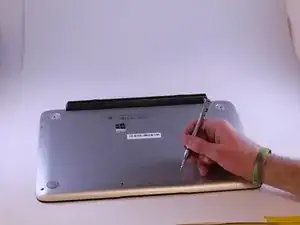
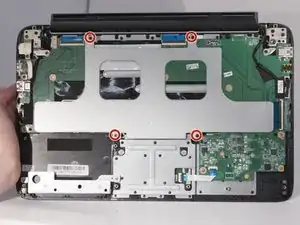
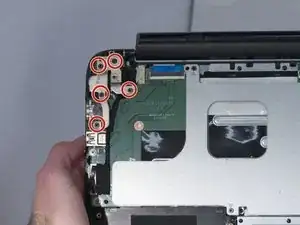
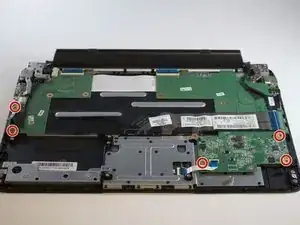
Remove four 5.0 mm Philips #00 screws from the back casing.
-
-
-
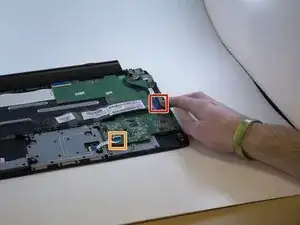
Unflip the lock on the wire tape and lift that end of the tape away.
-
Do the same for the small white piece of tape on the circuit board.
-
-
-
Lift the white pieces up.
-
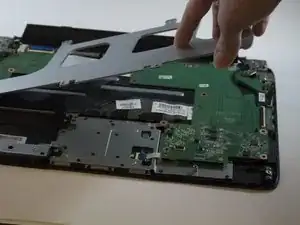
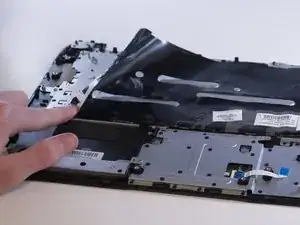
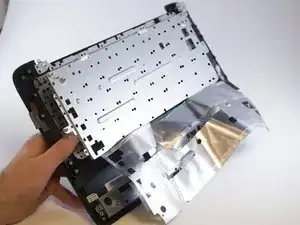
Once lifted, peel the black film away to reveal a metal plate with many black glue pieces.
-
-
-
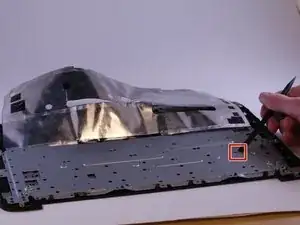
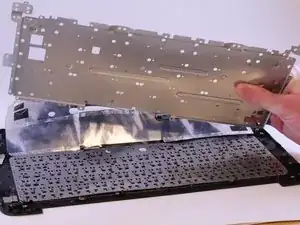
Using the spudger, pry each glue piece off of the metal brace. All glue pieces must be removed.
-
To reassemble your device, follow these instructions in reverse order.
