Einleitung

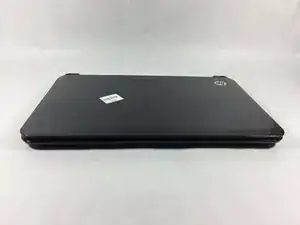
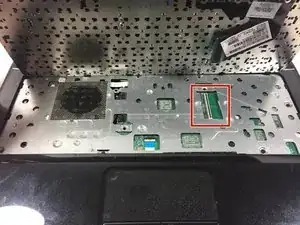
This Guide will be showing how to remove and replace and Wireless Card from the Motherboard using the iFixit J00 Screwdriver.

  1. XcNnLNvNoJqZKcW4
    • Power down the laptop and detach the charging cord (failure to do so can result in electrical shock).

  2. vXtigFaWa3eicWXH
    vXtigFaWa3eicWXH
    DSvOKABGHGAnRd3R
    1tmItTJduHVsOhmI
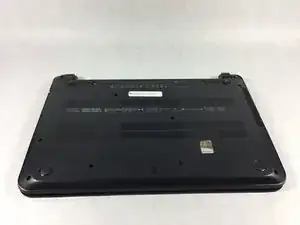
    • Flip the laptop upside down so that the bottom is facing you.

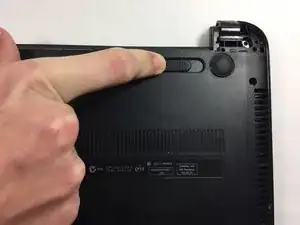
    • Push the slide on the right toward the center of the laptop, releasing the battery latch.

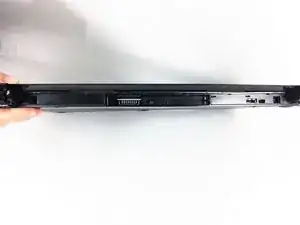
    • Lift the battery up and away from the laptop.

  3. 2kMB1AvVsGT5mDQT
    2kMB1AvVsGT5mDQT
    qKtvvANNO1MCIJgs
    wRNVBeruAaVxsb1X
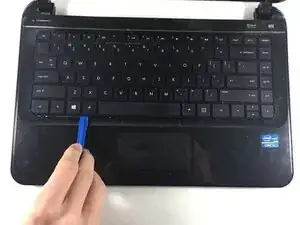
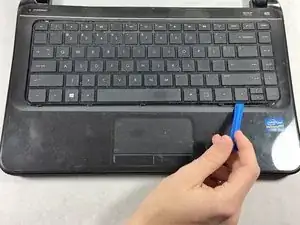
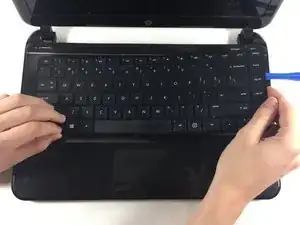
    • Insert the plastic opening tool between the keyboard and the palm rest.

    • Pry upwards until the keyboard section detaches from the laptop.

    • Repeat this around the edge of the entire keyboard.

    • Sections will make loud snapping noises as they detach from the palm rest - this is normal.

    there are 2 screws on the back that are marked with a mini keyboard. these have to be removed before lifting the keyboard

    John Bollman -

    Insert the opening tool at the back of the keyboard, not the front!

    Philip Le Riche -

  4. aNCrc5yfAjDuoXcC
    aNCrc5yfAjDuoXcC
    I3ZPChg1UqyTtmTt
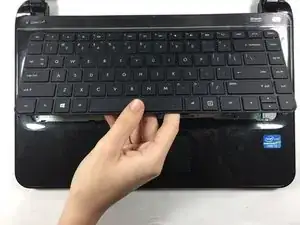
    • Lift the keyboard slowly up until the connecting cable is exposed.

    • Carefully lift the flap on the ZIF connector using a fingernail or plastic opening tool. This will release the cable.

    • Detach the cable.

    Lift the back of the keyboard, not the front!

    Philip Le Riche -

  5. ovgCEcMaj3hXTfxn
    ovgCEcMaj3hXTfxn
    ExvKwSoPHeZCJUA3
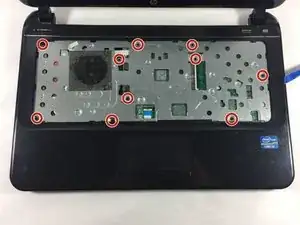
    • Unscrew the 10 6.0 mm screws under the keyboard housing with a Philips #0 head screwdriver.

    2 of these marked locations are the holes for the keyboard screws

    John Bollman -

  6. XoxHBDe1Vu16RV6A
    XoxHBDe1Vu16RV6A
    cJukWtMBo4pjwSpV
    KKBgLjVNsoxBpPXF
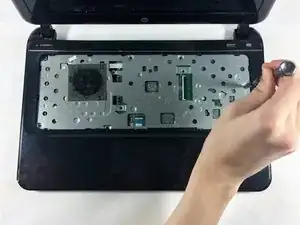
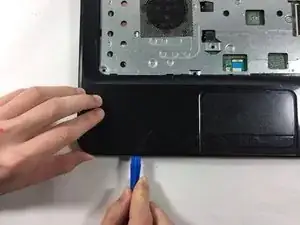
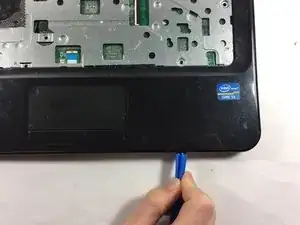
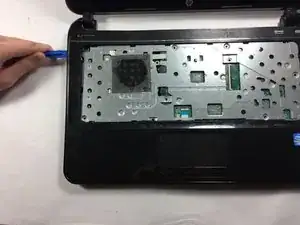
    • Insert the plastic opening tool into the seam between the palm rest and the laptop.

    • Pry upwards until the palm rest separates from the laptop.

    • Repeat this process around the entire computer.

    • These steps will be similar to the ones you took to remove the keyboard. Again, you will hear snapping noises.

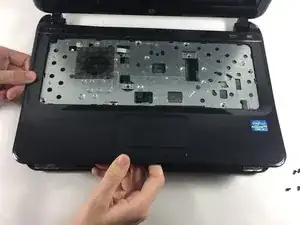
  7. UOCffdOWVsJJaOEC
    • Lift upwards to remove the palm rest.

  8. Hj4TiVvJ3ACaSIlv
    Hj4TiVvJ3ACaSIlv
    YnhC1JKsFNQIeAga
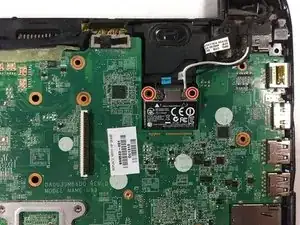
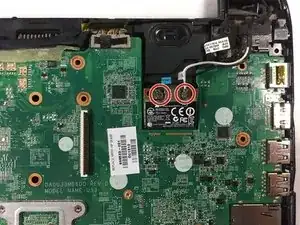
    • Remove the two 4.0 mm screws using a Philips #00 head screwdriver.

  9. QKpLMZWdRhyAovAQ
    QKpLMZWdRhyAovAQ
    pGynBsyiVHJtKjgZ
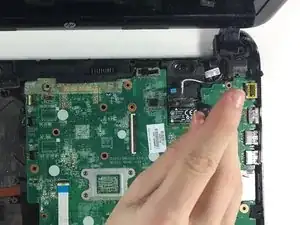
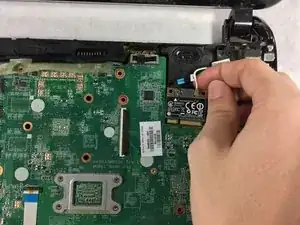
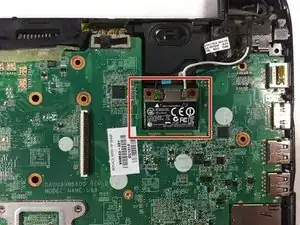
    • Detach the two wires connecting to the motherboard to the wireless card.

  10. ETEQLxQMd2YIAiHw
    ETEQLxQMd2YIAiHw
    WjZpclLLualPphTy
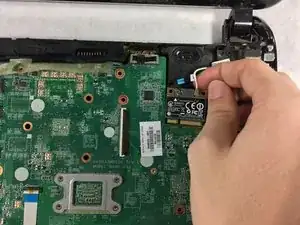
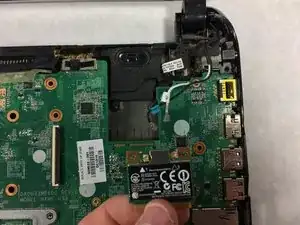
    • Slide the card upwards and outwards to detach it from the motherboard.

Abschluss

To reassemble your device, follow these instructions in reverse order.
Erin Lavalla

Mitglied seit: 19/10/16

458 Reputation

0 Kommentare