Einleitung

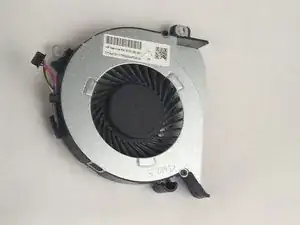
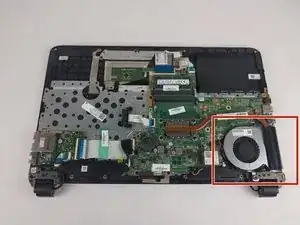
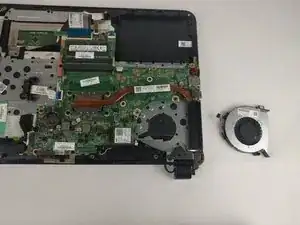
This guide will show you how to access the cooling fan and replace it. The cooling fan is necessary to keep your laptop from overheating.

  1. cCZEBsLaqFoKZCkO
    cCZEBsLaqFoKZCkO
    ayPkGVfJOdArr2X1
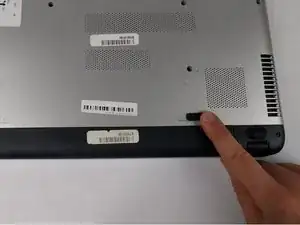
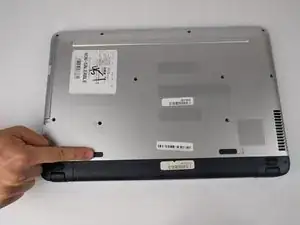
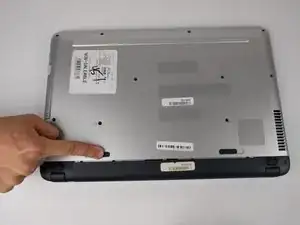
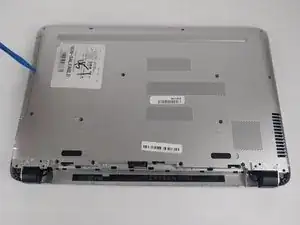
    • Slide the battery lock tab toward the center of the battery to the unlock position.

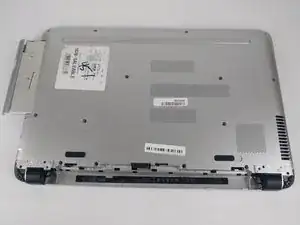
    Before starting, open the CD drawer and leave it open. This makes Step 5 - sliding out the CD drive - far easier. If left closed, prying open the CD drive can damage it. Power down the laptop and begin.

    Stuart -

  2. ZpbloCKN6ZJkygQB
    ZpbloCKN6ZJkygQB
    Yf3TNdbcNHURHMZG
    YRSlX6BMFkmGQTGO
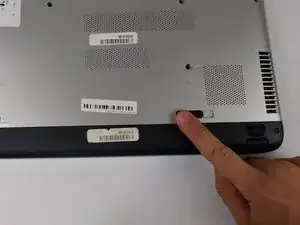
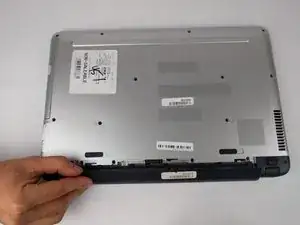
    • Slide the battery release switch to the right until the battery pops out.

  3. hcybEo1hEShYEHUW
    hcybEo1hEShYEHUW
    ugpXKSABK5wR1BHu
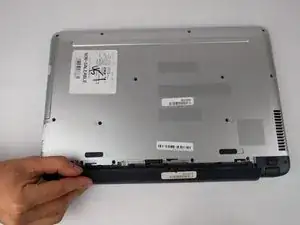
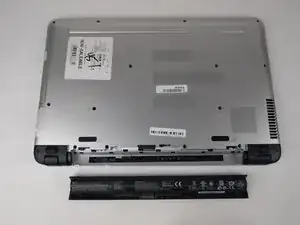
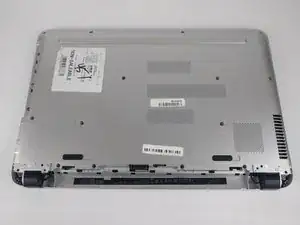
    • Grabbing the top edge of the battery, rotate it toward you and then lift upward to relieve the battery from its slot.

  4. qVDEYrBSMNi141LG
    qVDEYrBSMNi141LG
    bdwIHc3iu5bMOSDB
    nShSdKRul6Ad2DT3
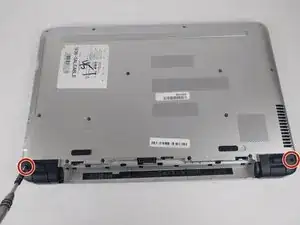
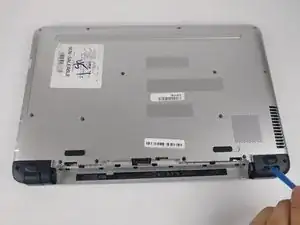
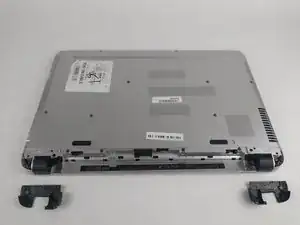
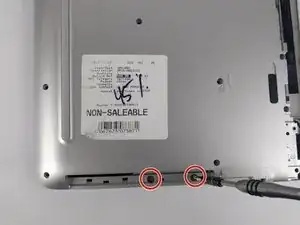
    • With the battery removed, remove both black plastic covers with a plastic opening tool. Unscrew both 7.5 mm screws from the tabs, using a PH1 screw driver. Using a plastic opening tool, pry off both covers.

  5. YcZZIFLRM3OCFTZ3
    YcZZIFLRM3OCFTZ3
    dYc3Ysx5QJgKtFQl
    1NVEDei3AooerSq6
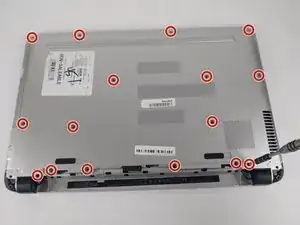
    • Remove all 16 of the 3.5 mm screws with a PH1 screwdriver and pry/slide the CD drive out of laptop.

  6. eFCSZVMJtdO3CNXw
    eFCSZVMJtdO3CNXw
    kGIBCjcgDOpLNTGb
    • With the CD drive removed, unscrew the two 2mm silver screws with a PH00.

    • These can strip easily, so take your time removing.

  7. JgsLHWfnkbC5PNTc
    JgsLHWfnkbC5PNTc
    qMxYjtWZ1FrTYoqM
    Asqt5JgpoYLs5SN3
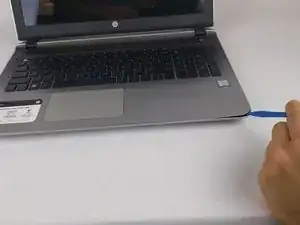
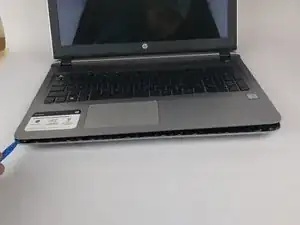
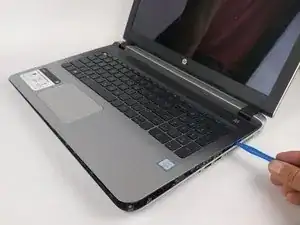
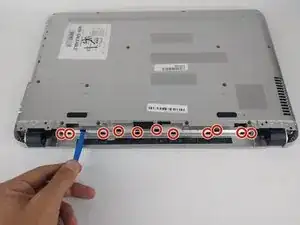
    • Using a plastic opening tool, begin to pry edge of case away from the laptop. Work around the edges until all sides, except back, are open.

  8. KOZjyUdP3YPfPSbO
    KOZjyUdP3YPfPSbO
    xFaNTmgH4y4rlKAB
    o5KP6nwOBQTHL3j1
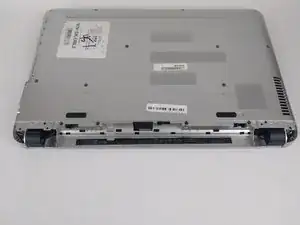
    • On the back side of the laptop, where the battery is, there are 12 black plastic clips. Use a plastic opening tool and pry all of these clips, unlatching them from the case.

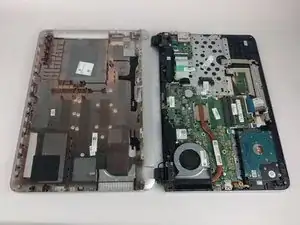
    • Once clips are free, open the laptop. Rotating the case off, around the hinges, works best to remove the case.

    To unclip the back of the case, I found I only had to free the 8 smaller clips in the battery compartment. The 4 larger ones seemed to be guides for reassembly.

    Neil Brown -

  9. nUGJtAL5hlrKnUub
    nUGJtAL5hlrKnUub
    MTXmlPFG1ejdeJ4j
    OVLdVcFDnOlw1puN
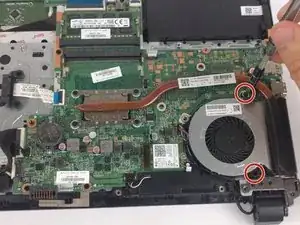
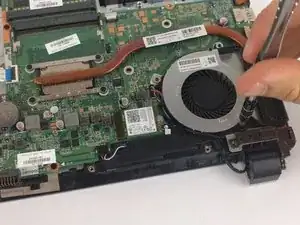
    • Use a PH00 screw driver to remove the two 3.5 mm screws holding the fan in place.

    • Careful with the lower screw, there are two screws side by side. The screw to the left side of the device is the one you want and is connected to fan, the one on the right side is not for fan.

  10. hGN2s5MyOZdHhb3U
    hGN2s5MyOZdHhb3U
    4SDUOLYJNrksDIhJ
    FONnHcmbroqv2bTS
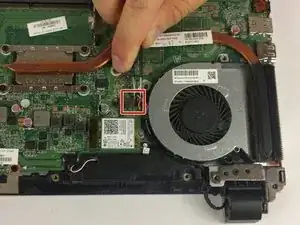
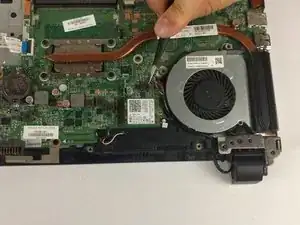
    • Use long nose tweezers to remove connector. Fan will lift out.

    The connector is very small. Make a mental note of which way around it went in before removing it and make sure the replacement connector goes in the right way around. Care: make sure the wires do not obscure the screw hole to the top right of the connector. This female recess is for one of the screws removed in Step 5 and the wire could easily be damage on re-assembly.

    Stuart -

Abschluss

To reassemble your device, follow these instructions in reverse order.

Alexander Bicigo

Mitglied seit: 14/02/18

942 Reputation

Ein Kommentar

Thank you for this Alex. Very clear instructions. Saved me a costly trip for a repair!

Stuart -