Einleitung
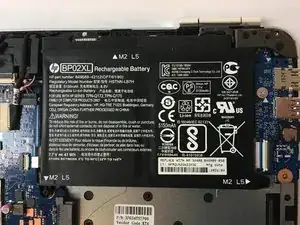
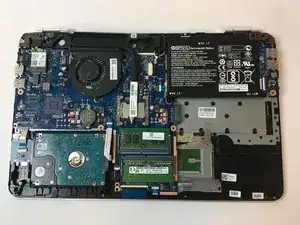
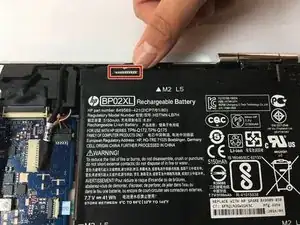
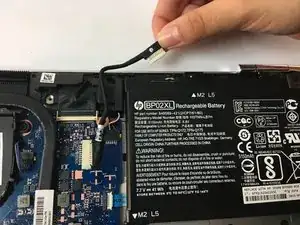
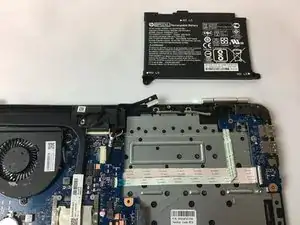
We will be removing the back panel and then removing the battery. Before you do any major hardware modifications to the laptop, it is important to remove the battery first. Once removed, further modifications are much safer.
Werkzeuge
-
-
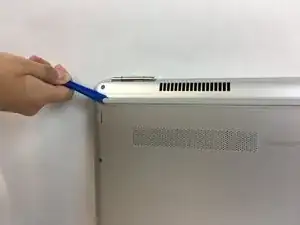
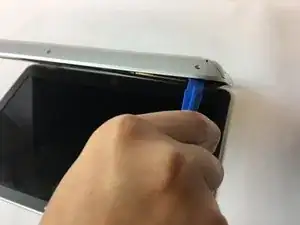
Using the plastic opening tool, remove the top rubber feet on the back panel as it hides one of the screws we will be removing.
-
-
-
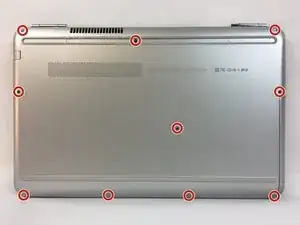
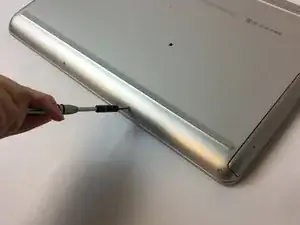
Using a PH0 screwdriver, unscrew the ten 4.4mm Phillips head screws located on the back panel.
-
-
-
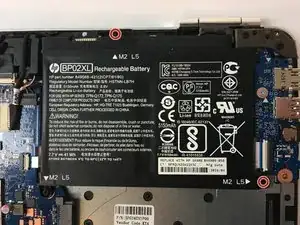
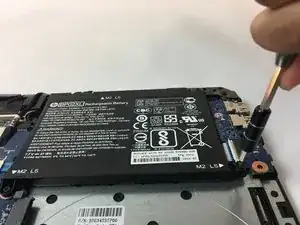
Using a PH0 screwdriver, unscrew the two 3.8mm PH0 Phillips head screws that hold the battery in place.
-
To reassemble your device, follow these instructions in reverse order.
6 Kommentare
That one screw under the rubber pad is a special kind of BS.
The screw in the middle of everything was hardest for me to reinstall because it has to hold the CD drive in place ,and that drive hole must line up with everything else _just right_. Also, prying the keyboard from the shell was harder than I expected. It’s snapped in there pretty tight.
kctipton -
The procedure should be modified to start with removing the center screw that retains the DVD drive and then pulling out the drive. That makes separating the case halves easier.
