Einleitung

This guide will show you how to replace the WLAN Module in a HP Pavilion 15-b109wm. This will take between 30-45 minutes, if done correctly. Remember to be careful and take your time since you will be working near the motherboard.

  1. oURuLC2QtLgcflUc
    • Power off the device and disconnect from any power source.

  2. V65uivOITMEgaUfp
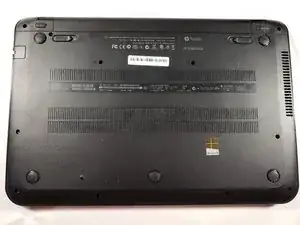
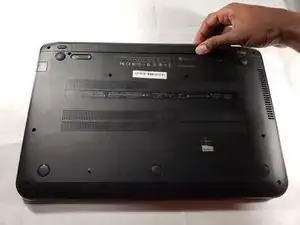
    • Turn the device upside down and ensure the back of the device is facing you.

  3. FpXufZAahGVBWKNJ
    FpXufZAahGVBWKNJ
    VIBvosyfEoUHf1iy
    nkaMii2C3ssDOfST
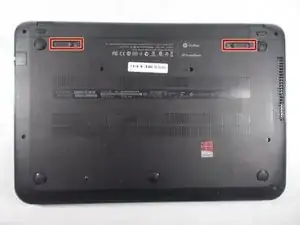
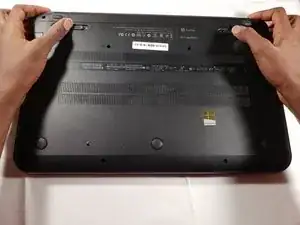
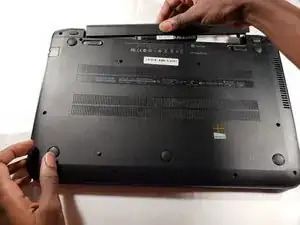
    • Push both buttons towards one another simultaneously. The battery slightly pops out.

  4. GUjJuwuNWMFYarQh
    GUjJuwuNWMFYarQh
    PJgZKqcWeUkYq3Ir
    QFwjGRBRwRcXZkWm
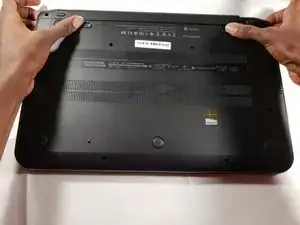
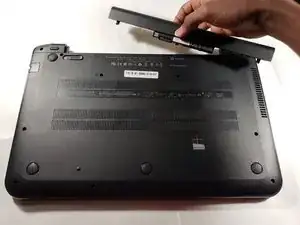
    • Pull out the battery from the device's battery slot.

  5. XOvaeYkVrSdaOIrg
    XOvaeYkVrSdaOIrg
    us36OD4Fd6WpMGuT
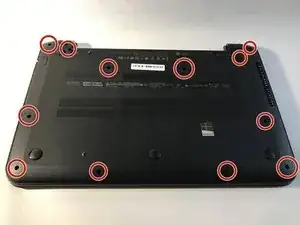
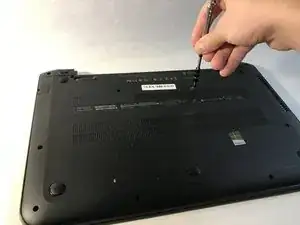
    • Use JIS #1 screwdriver to remove the eleven 6 mm screws.

  6. V2uPj3qu4RnpL6sR
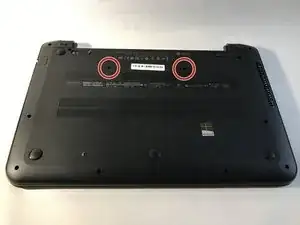
    • Locate the two screw holes that allow access to removing the keyboard.

    • There is a keyboard sign beside both keyboard access holes.

  7. AgPuO4KZCOuZL2Sd
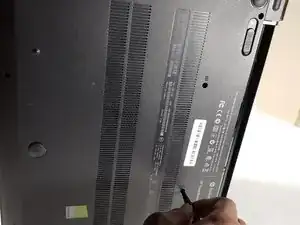
    • Turn the device onto its side.

    • Using a heavy duty spudger, gently disengage the keyboard.

  8. nLngJqbga4BAt12U
    nLngJqbga4BAt12U
    6JVSksVTyy63DuZD
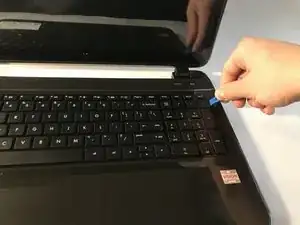
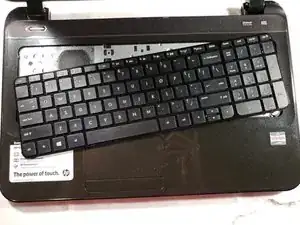
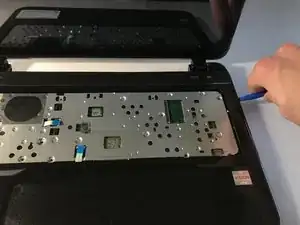
    • Using a plastic opening tool, release the keyboard clips.

  9. YrjALpCwDxEUM5Rb
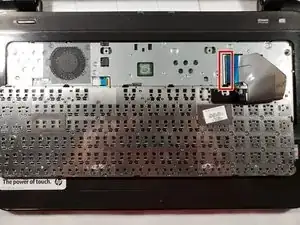
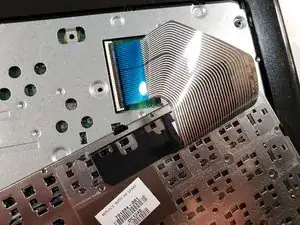
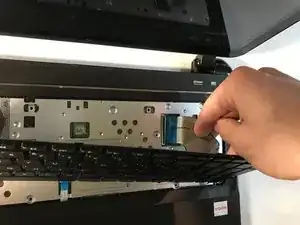
    • Tilt the keyboard to expose the Zero Insertion Force connector to which the keyboard cable is attached.

  10. bR64UdKULSZCKLaq
    bR64UdKULSZCKLaq
    2f3OuTayTkJoQy11
    MZauH1yiFI2WRJBf
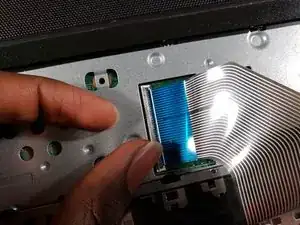
    • Disconnect the keyboard cable from the motherboard by detaching the Zero Insertion Force connector.

    • To detach the connector, release by lifting the black plastic tab up.

  11. vhMBmCU1XKpEUfLs
    vhMBmCU1XKpEUfLs
    AEgBpgrbsAiMtxpS
    EXMCMhVNsgKJlKUN
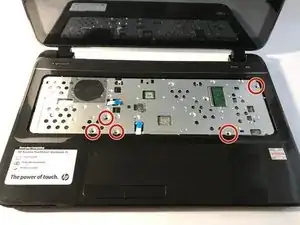
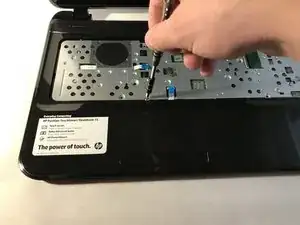
    • Using a JIS #1 screwdriver, remove the five 5mm screws.

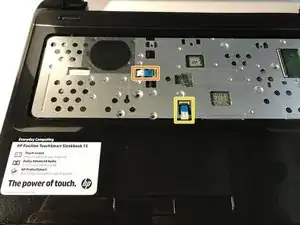
    • Detach the power button cable.

    • Detach the touch pad cable.

  12. 4NOUYMCLecFirVWU
    4NOUYMCLecFirVWU
    aRjxSHLqNFXZnF21
    YyRKmJUipZYxrOKw
    • Using a plastic opening tool, pry open the top cover.

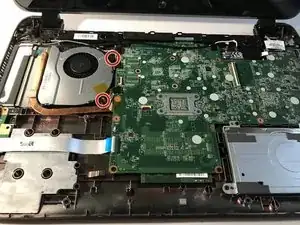
    • Unscrew the two 5 mm screws using a JIS #1 screwdriver.

    • Gently, pull to detach the fan cable.

    • Be careful so you do not damage the motherboard.

  13. SGH1cQb3YmkYBVyP
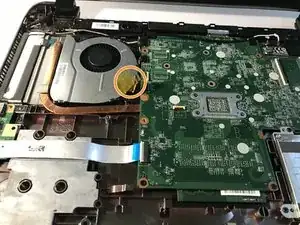
    • Carefully remove the fan from its slot.

  14. UxYtheRpDXsKPEPS
    UxYtheRpDXsKPEPS
    LZlfXpmSwQpspcvw
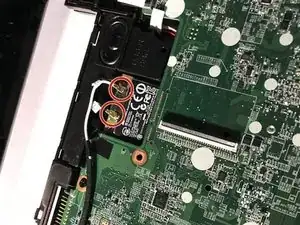
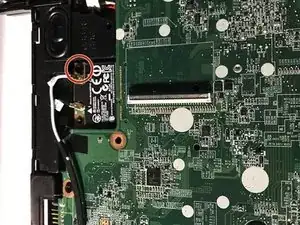
    • Remove the 5 mm screw using a JIS #1 screwdriver.

  15. 1w3EWvAnuNqnxQUj
    1w3EWvAnuNqnxQUj
    RM2tpKDZZSgX6VcO
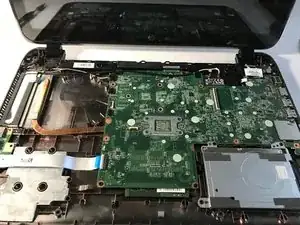
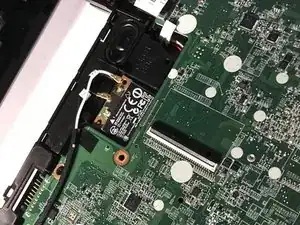
    • Detach the WLAN Module cords.

  16. 5bKyUpQeGtMIxE2S
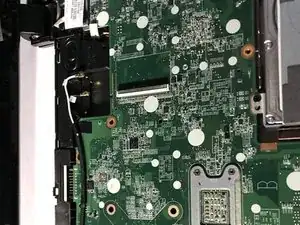
    • Remove the WLAN card and replace it with a new one.

Abschluss

To reassemble your device, follow these instructions in reverse order.
Stephen Gacioch

Mitglied seit: 26/10/18

437 Reputation

0 Kommentare