Einleitung

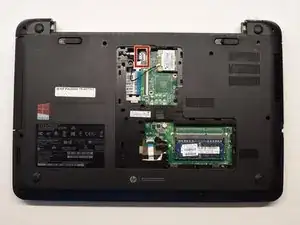
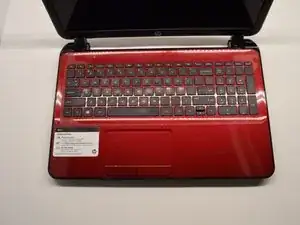
This guide will walk through the steps to replace the Motherboard of the HP Pavilion 15-d017cl. The Motherboard allows communication and power throughout the computer through accessing memory and CPU. This guide requires a Phillips #1 screwdriver, spudger, tweezers, and an iFixit opening tool.

  1. cPxRuJ1LBQafOPr5
    cPxRuJ1LBQafOPr5
    XBlDADCUMOoYRLVb
    BNidOK4wYbCFsnVG
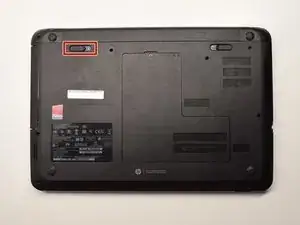
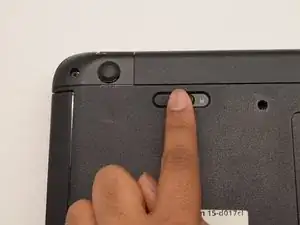
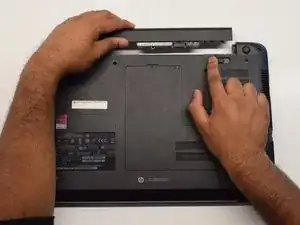
    • To unlock the top left latch, place your finger on the black latch and slide toward the center of the computer.

    • You do not need to hold this latch when removing the battery.

  2. kxDjSFw5RjTnDuMR
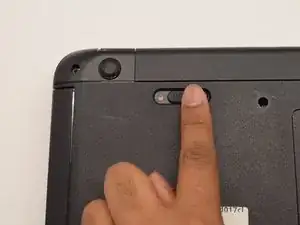
    • To unlock the top right latch, slide the black latch towards the center of the computer.

  3. AIGLH1gpZpyoByQl
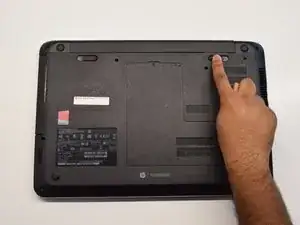
    • The right latch is spring loaded, hold the latch towards the center of the computer.

    • To remove the battery, pull the battery bar away from the computer.

  4. JBgOFlJkZoQpdTdE
    JBgOFlJkZoQpdTdE
    WkVgTE5eqUgkQZCW
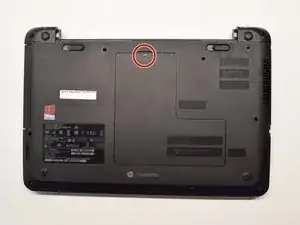
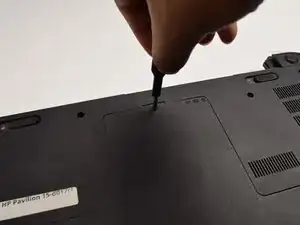
    • Flip the laptop onto its back in order to have access to the back panel.

    • Using a Phillips #1 Screwdriver, unscrew the 5mm screw until the L-shaped panel feels like it can be removed.

  5. 5Nu5pHyobKlToe1P
    5Nu5pHyobKlToe1P
    hhbH1Cxv4cvaVYDv
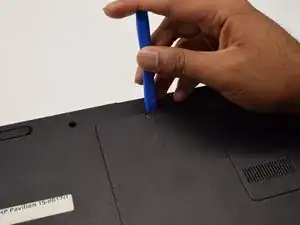
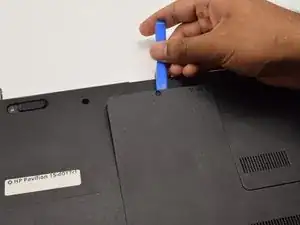
    • To remove the L-shaped panel, use the plastic opening tool to pry the panel from the back of the laptop. Make sure to move the tool the entire way around the panel.

    • This may require a good amount of strength to loosen the panel. As the opening tool is moving around the panel, clicking noises will be heard.

  6. QsgDXYRLVFQhVILZ
    QsgDXYRLVFQhVILZ
    5GcBiFU45KJADNs6
    imPaasVwnnNia5t3
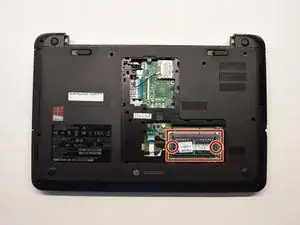
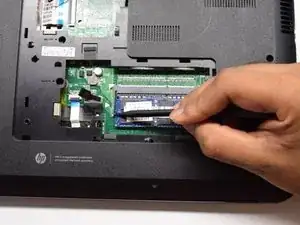
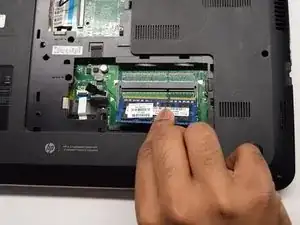
    • Using a spudger, press down on the silver latches that are holding the RAM in place. The RAM looks like a blue rectangle and has a size of about 1 x 2 inches. A slight click will be heard, and the RAM should pop out. You can then pull it away from the laptop.

    • Now that the old RAM has been removed, the new RAM can be inserted back into the laptop by pressing it gently into the place where the old RAM was.

  7. D2tsdpMGegnopaRk
    D2tsdpMGegnopaRk
    d4lkchCNXDP62mYx
    Xt2aaY1MaidWNlAH
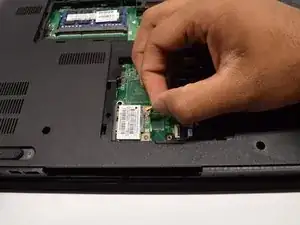
    • Detach the connected chord with your fingers from the motherboard.

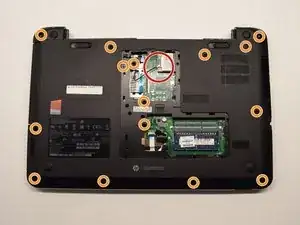
    • Remove the fifteen (15) 5mm screws using the Phillips #1 Screwdriver from the case.

  8. xPlT4DIMHXfHYqTL
    xPlT4DIMHXfHYqTL
    nMOkMmUZ3MTvl6ca
    vr56lWZmUEJJCAZi
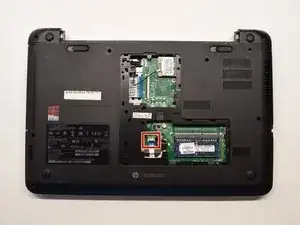
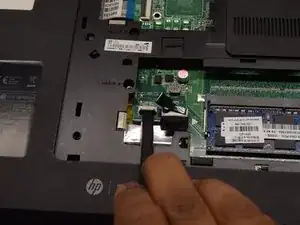
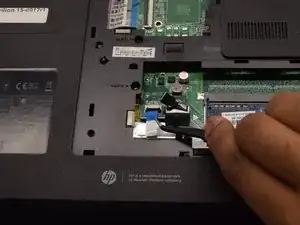
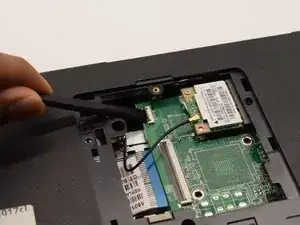
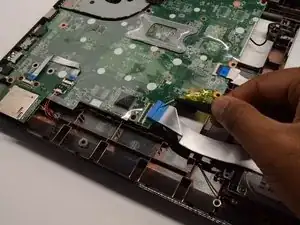
    • Remove the attached ribbon cable to the left of the RAM.

    • Using the Spudger, place the flat end in between the latch and ribbon cable and lift up.

    • Use the Tweezers to pull the ribbon cable out of the latch.

  9. 1gDvZgVRGLKduMR5
    1gDvZgVRGLKduMR5
    Q3hCO34MSMVX4FPe
    MaZQPeY4HoApHFbC
    • Remove the second attached cord at the top of the removed panel.

    • Using the Spudger, lift the latch to unlock the ribbon cable.

    • Using the Tweezers, pull the ribbon cable out of the latch.

  10. W2HsVkMR3v23cnZv
    W2HsVkMR3v23cnZv
    T62LfSH3HYVdQtH3
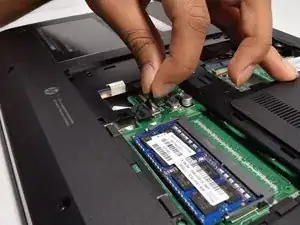
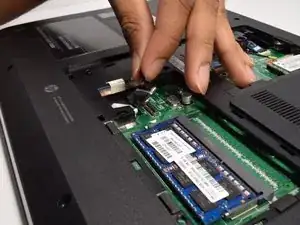
    • To the left of the RAM, pull up on the black tab to disconnect it from the motherboard.

  11. seJDZwTZE3VKftDO
    seJDZwTZE3VKftDO
    xOZlfBvNDGTqCRyL
    PforoJfw5W6KYmrk
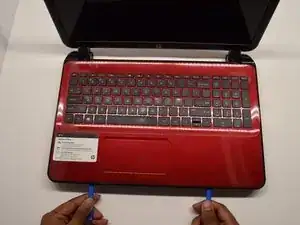
    • Flip the Computer over so the screen and keyboard are showing.

    • Using the opener tools, pry around the edges of the computer in between the keyboard and the base.

    • Apply enough pressure to unlatch the keyboard but be cautious of the parts under it.

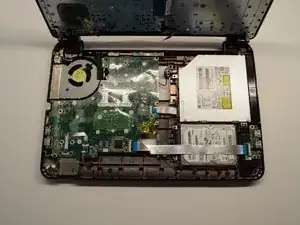
    • Flip the keyboard up toward the screen to access the motherboard.

  12. k1doBMcZ53AbrThM
    k1doBMcZ53AbrThM
    y4AYPOHVxWruYDCl
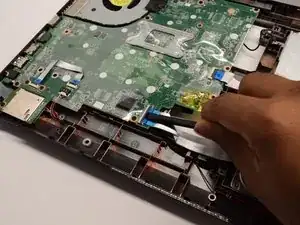
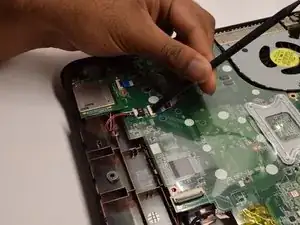
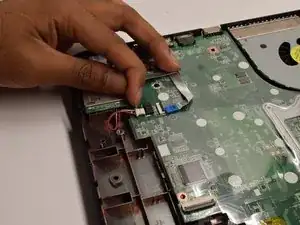
    • Using the Spudger, press into the silver latch and lift it up.

    • Using the Tweezers, pull the Ribbon Cable out of the silver latch.

  13. KJrYc1BXBFynG2vD
    KJrYc1BXBFynG2vD
    fdArmoS4GZXLgnTJ
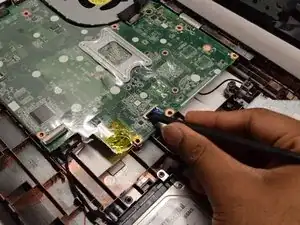
    • Remove the second Ribbon Cable to the right of the red and white cord.

    • Using the Spudger, lift up on the silver latch until the Ribbon Cable is unlocked.

    • Use the Tweezers to pull the Ribbon Cable out of the latch.

  14. Yo5VSUfvLY6IbHZd
    Yo5VSUfvLY6IbHZd
    TJ1KapC3PNqDqwjp
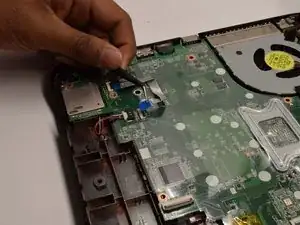
    • Using your finger, disconnect the cord from the black latch.

  15. jMp4nLab6USSfrF5
    jMp4nLab6USSfrF5
    YI1QyDsDQTdZH6JY
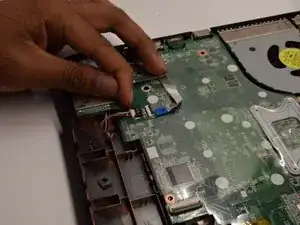
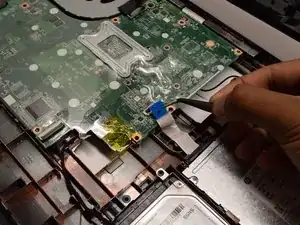
    • Using the Spudger, press into the silver latch and lift it up to unlock the latch.

    • Use the Tweezers to pull the Ribbon Cable away from the latch.

  16. TODIdBWqQKlbRocv
    TODIdBWqQKlbRocv
    6GWwDQSkaBEVvUiM
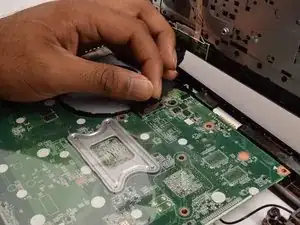
    • Remove the black tab to the right of the cooling fan.

    • Pull up on the black tab until it disconnects from the motherboard.

  17. BQB5GFWXjNaOKyHS
    BQB5GFWXjNaOKyHS
    GVG4HpeMZX4wcCJF
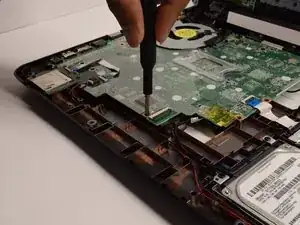
    • Remove the ten (10) 5 mm screws with the Phillips #1 Screwdriver on the Motherboard until the Motherboard loosens.

  18. 3iESWek1yLjuKZuX
    3iESWek1yLjuKZuX
    3k41Y13J5JlTSGm6
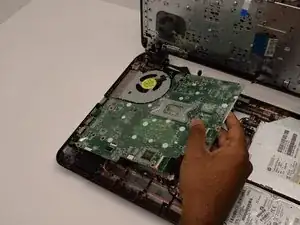
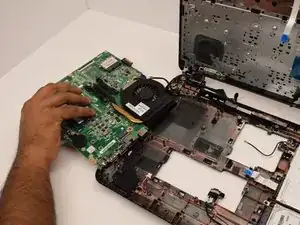
    • Lift the tight side of the Motherboard and flip it toward the cooling fan showing the back of the Motherboard.

  19. AEvBBy2nirYcx5pI
    AEvBBy2nirYcx5pI
    bFSMvH1dWop2YqMh
    ESr2UXVHkBVbOnqM
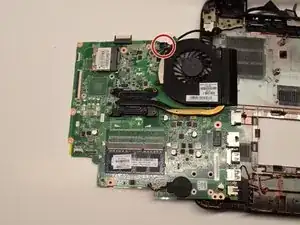
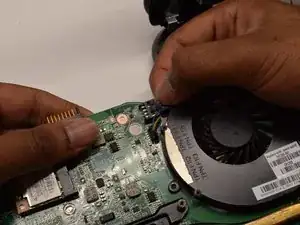
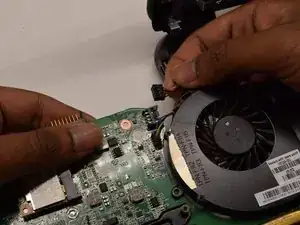
    • Remove the connected cord to the left of the cooling fan.

    • Pull the cord towards the cooling fan removing it from the black latch.

  20. XLaDlmQVrxZAWCLD
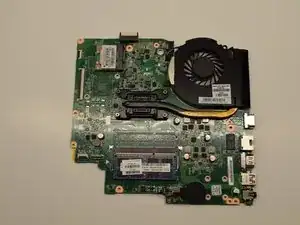
    • The Motherboard is now removed from the computer and can be replaced.

Abschluss

To reassemble your device, follow these instructions in reverse order.
Emma Arsenault

Mitglied seit: 24/09/19

285 Reputation

0 Kommentare