Einleitung

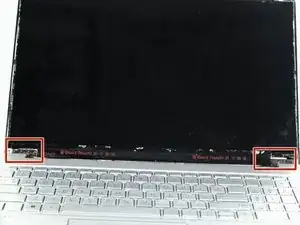
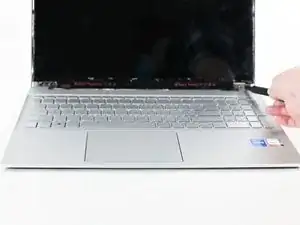
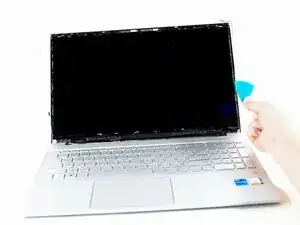
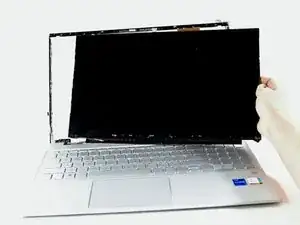
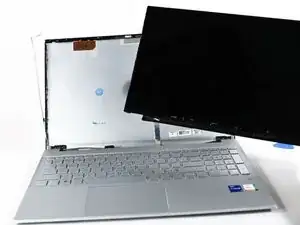
This guide will show you how to remove your HP Pavilion 15-eg0025nr screen if you need to replace it.

The screen is also known as the display panel, and is the part of the laptop that emits light and shows you pictures and websites. The screen is held together by the display bezel, the frame surrounding the screen.

You may need to replace your screen if it is cracked or if there are large, black spots on your screen. Try our troubleshooting page for the HP Pavilion 15-eg0025nr to find out if your screen needs to be replaced.

Removing the screen is difficult. Be careful to not bend or snap the screen as you remove it, and always make sure the laptop is unplugged and powered off before repairing.

  1. hqOhISeMdMA2yBWJ
    • Unplug and turn off the laptop before removing the back panel

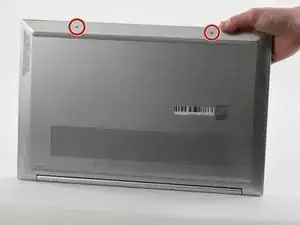
    • Flip over the computer so that the back panel is facing upwards.

    • Remove the two silver screws on the bottom of the laptop using a Phillips #00 screwdriver.

  2. 6GHjCiB5xsPKHHe4
    6GHjCiB5xsPKHHe4
    2TxDODtKoTSRIuRP
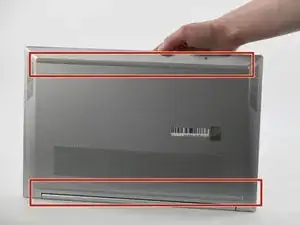
    • Peel up each end of the two gray rubber stoppers using your fingers or an opening pick.

    • This may be difficult if it is your first time removing them.

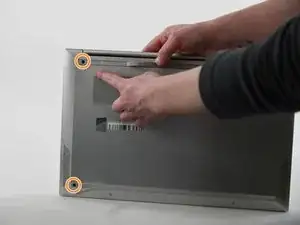
    • Remove the two black screws underneath the rubber stoppers with the Phillips #00 screwdriver

  3. efOCmtUWLUBhTJnl
    efOCmtUWLUBhTJnl
    RWtCriQ3PmhUgbrO
    qAPRjmVXJKLcopS6
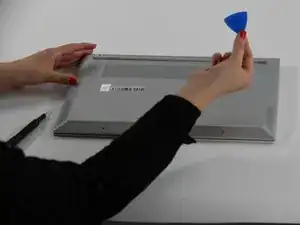
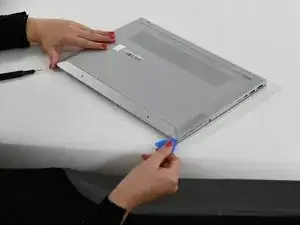
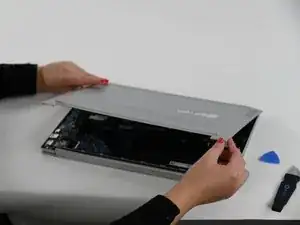
    • Slide the opening pick around the edges of the laptop where the chassis has a seam.

    • You will hear a clicking noise as you undo the clips of the chassis.

    • It may be easier to start with the four corners of the laptop, and then follow through with the sides.

  4. YwZGARldTvLGKmOv
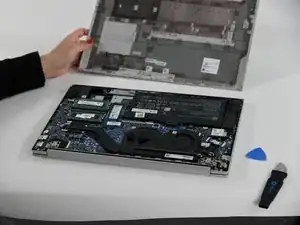
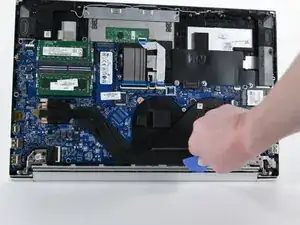
    • Remove the back panel completely.

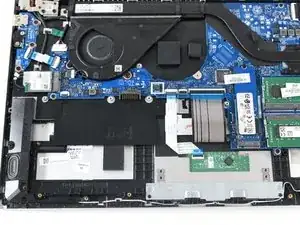
    • With the back panel removed, you can now access parts of the laptop such as the fan or the battery.

  5. duoFVVg5iOlBKRao
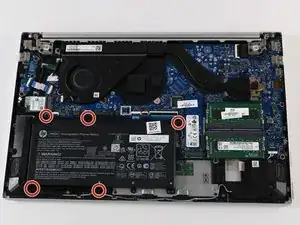
    • Remove the five screws from the battery using a Phillips #00 screwdriver.

  6. 2lLIbTkWroEFQJlK
    2lLIbTkWroEFQJlK
    RjEvesDa2ImveGwg
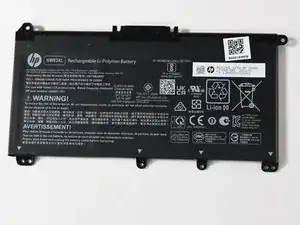
    • Remove the battery from the laptop.

  7. QFmDXfefnvRm1PSE
    QFmDXfefnvRm1PSE
    OudEwt5vR3hcPs22
    lWfdmcUU4h3ZIH4K
    • Do not attempt to remove the screen without first removing the back panel and battery. Ensure that the laptop is powered off before removing the screen

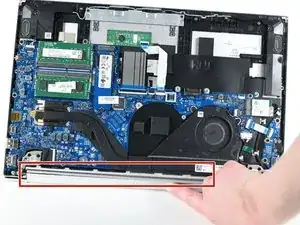
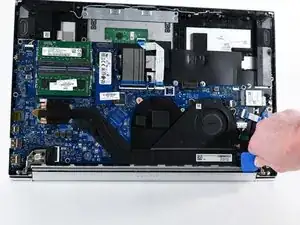
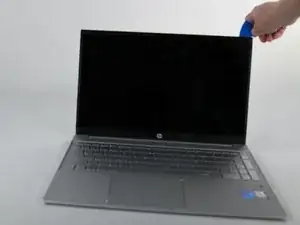
    • Find the hinge bezel where the display bezel meets the back panel.

    • Using an opening pick, unclip the hinge bezel by sliding the pick along the hinge.

  8. nBGGJxAQo5ZIst1x
    nBGGJxAQo5ZIst1x
    c1a6TCUjywJsJXW5
    UTLQknIyKRnQ1Wju
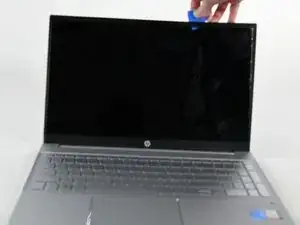
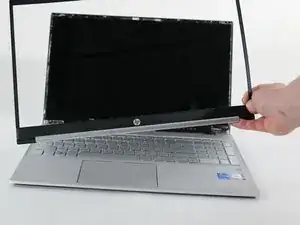
    • Using an opening pick, pry open the top, sides, and bottom of the display bezel.

    • Remove the display bezel and set aside.

  9. NuRxAduOOrvglGkA
    NuRxAduOOrvglGkA
    JdeXvtgpvStqPUIb
    UpEk5FfAwAYL1wAm
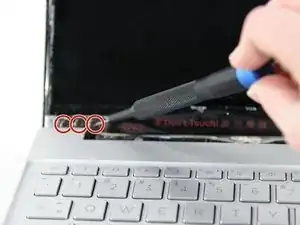
    • Remove the six golden screws with a Phillips #00 screwdriver and set aside.

    • There are three screws on each side.

  10. QLTZME2XB5MGKHAX
    QLTZME2XB5MGKHAX
    cyXDoRtgmiMXMwQl
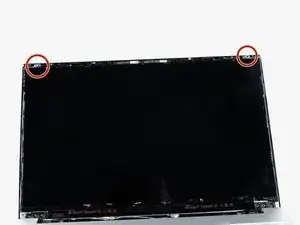
    • Remove the two silver screws at the top of the display panel with a Phillips #00 screwdriver.

  11. AoNQyIroTY2oeZCe
    AoNQyIroTY2oeZCe
    1RAt2CCaYWvOJTch
    VGN1wUYfKdhmNFXC
    • Using an opening pick, carefully pry the screen from top, sides, and bottom of the display panel.

    • Be cautious to not bend or snap the screen as you pry it out.

    • Remove the screen and set aside.

Abschluss

To reassemble your device, follow these instructions in reverse order.
Elaina Bonner

Mitglied seit: 06/09/22

298 Reputation

0 Kommentare