Einleitung
If your hard drive no longer works on your HP Pavilion 15-p046nr, you’ve come to the right place. This guide will walk you through how to replace your notebook’s hard drive. You may need to change your hard drive if a loud noise can be heard every time the laptop attempts to access the hard drive or if your laptop refuses to turn on and shows an error message indicating an issue with hardware. You will need a magnetic project map, Phillips 00 screwdriver, T5 Torx screwdriver, and plastic opening tool for this replacement. Before you get started, be sure to completely disconnect power from your device.
Werkzeuge
-
-
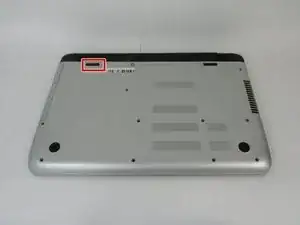
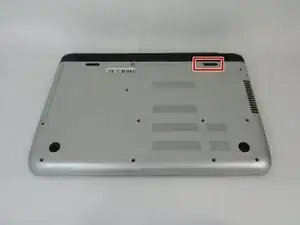
Flip the laptop over so the bottom is facing up.
-
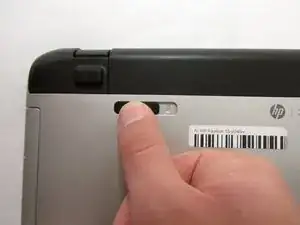
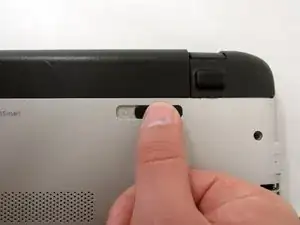
Place your finger on the top left-hand slide button with the lock symbol.
-
Slide the button to the right so that an unlocked symbol is visible.
-
-
-
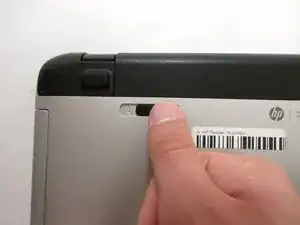
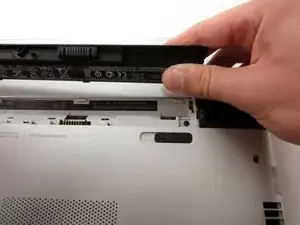
Place your finger or thumb on the top right-hand slide with the battery symbol visible.
-
Slide the button to the left.
-
Lift the battery off the computer with your thumb.
-
-
-
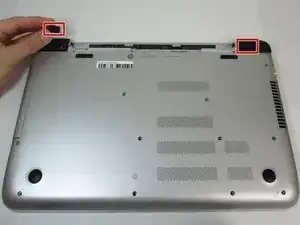
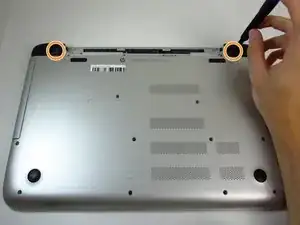
Remove screw covers from the hinge covers on the upper left and right side.
-
Unscrew one 7 mm screw from each hinge cover using the Phillips #00 screwdriver.
-
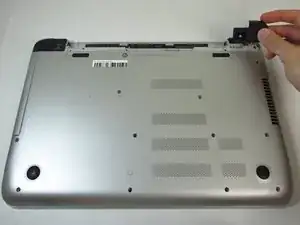
Remove hinge covers by pulling up and out on the top of the cover.
-
-
-
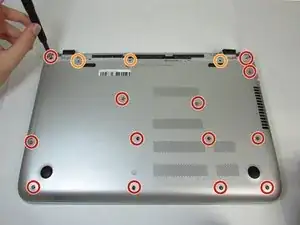
Remove thirteen 7 mm screws from the back panel using the Phillips #00 screwdriver.
-
Remove three 5 mm screws from the back panel using the Phillips #00 screwdriver.
-
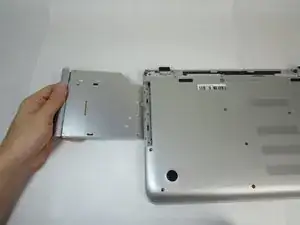
Grab the disk drive on the left side and pull the disk drive out completely.
-
Flip the laptop over and open the display.
-
-
-
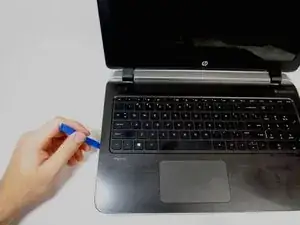
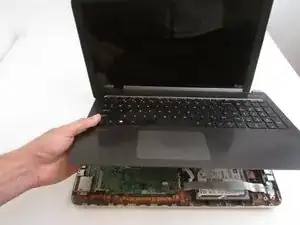
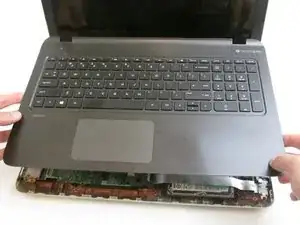
Run the plastic opening tool along the entire edge of the keyboard to separate the keyboard from the base of the laptop.
-
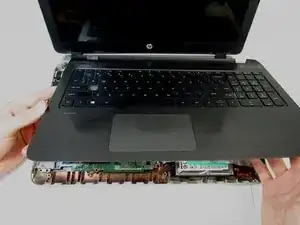
Gently lift the keyboard tray up.
-
-
-
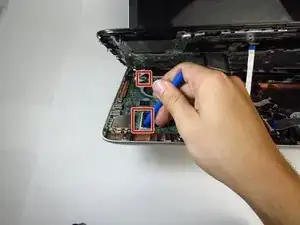
Use the tip of the blue plastic opening tool to gently flip-up the grey locking flap of the two ribbon cables connecting the keyboard to the device.
-
Grab the ribbon cable and gently pull away from the socket.
-
-
-
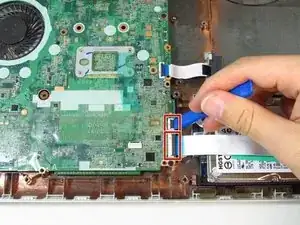
On the bottom right corner of the mother board, use the tip of the blue plastic opening tool to gently flip-up the grey locking flap of the bottom two ribbon cables.
-
Grab each ribbon cable cable and gently pull away from the socket.
-
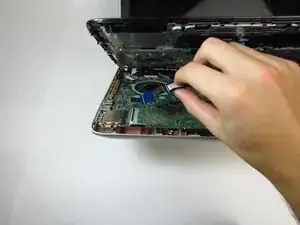
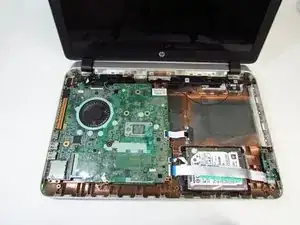
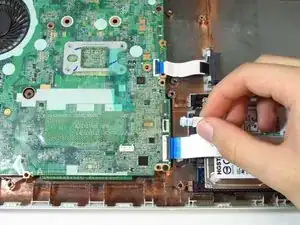
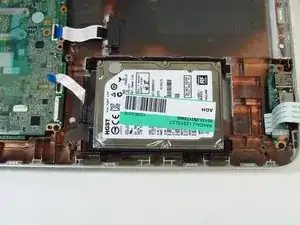
Uncover the hard drive by moving the bottom ribbon cable to the far right.
-
-
-
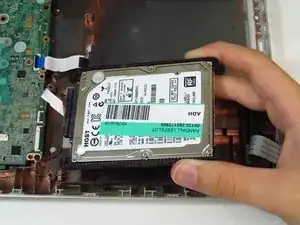
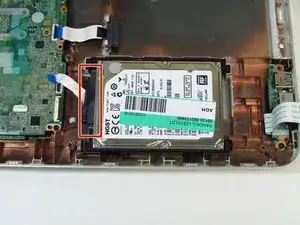
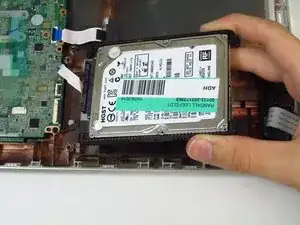
Lift the hard drive directly up and away the device, unplugging it from the cable interface as it's removed.
-
To reassemble your device, follow these instructions in reverse order.
