Einleitung

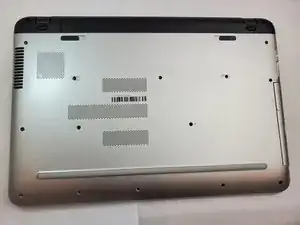
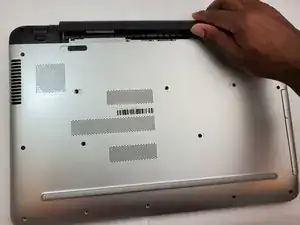
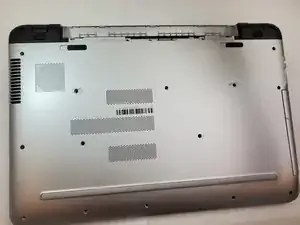
This guide will teach you how to remove the back cover of the laptop. This guide will be important for a lot of other replacement guides.

  1. 2Wl2WeaUL2v2ebBQ
    2Wl2WeaUL2v2ebBQ
    jvv2S4ymsKTCUANk
    SJpg2aSwjZRFYFry
    • Turn off the laptop.

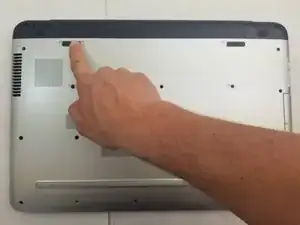
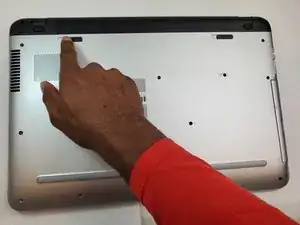
    • Slide the battery lock to the right until you see the open lock symbol.

  2. LDrohS2LUBDBpkr3
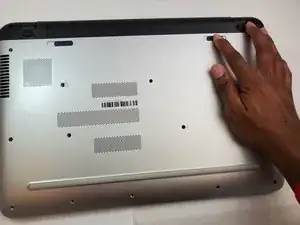
    • Slide the battery release to the left until the battery pops up.

    • This may require significant force.

  3. AIoKqAmoGuVGCjqK
    AIoKqAmoGuVGCjqK
    vPxYNoxbOxdUdYBX
    • Lift the battery up.

  4. mNpQR321VWkdgFAY
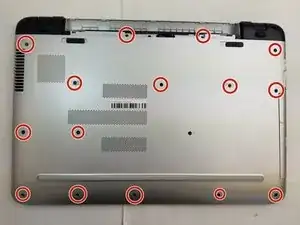
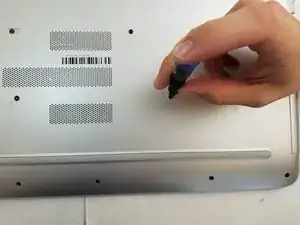
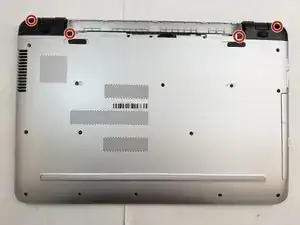
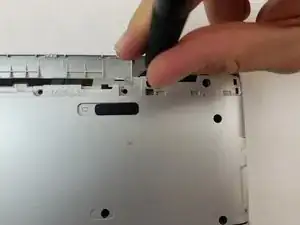
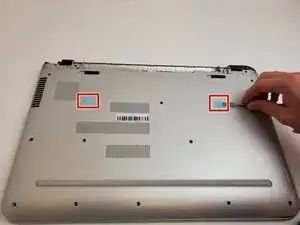
    • Using the metal spudger, pry up the screw covers.

  5. 6HlCEQ1L6uiKuJ2A
    • Remove the fifteen 7mm screws holding the back casing on using the Phillips #00 screwdriver.

  6. SxsuBkDSgLDKNocM
    SxsuBkDSgLDKNocM
    oAWGhjCYrQTS4kEZ
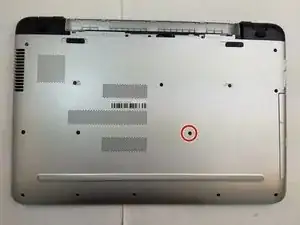
    • Remove the 7mm screw holding the disc drive in place using the Phillips #00 head screwdriver.

  7. TflhjBA6DjmLNmHi
    TflhjBA6DjmLNmHi
    CpLngel4GPfvYUNK
    hHHnX2QV1eLg5d5v
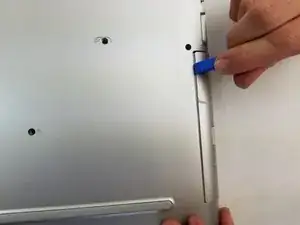
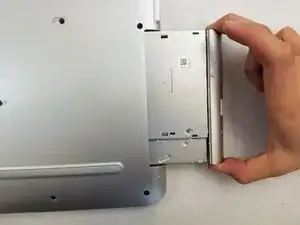
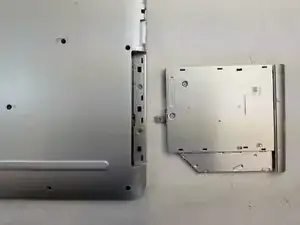
    • Using an iFixit opening tool, push the disc drive away from the outer case.

    • Once the disk drive is out far enough it easily slides out.

  8. jr3pqFTeHIIERPOQ
    jr3pqFTeHIIERPOQ
    KJLmiESfVWxWbaIx
    alVgE3XaYTkiSHhp
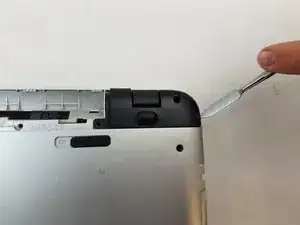
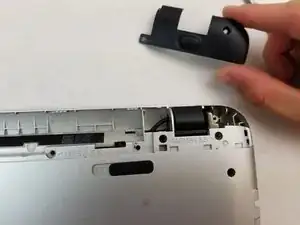
    • Remove the four 7mm screws holding the back resting plates on using the Phillips #00 screwdriver.

    • Using a metal spudger lift up on the back resting plate until it pops off.

  9. KWHClhgSJarHBgtY
    KWHClhgSJarHBgtY
    XCBxHGKsr3bQib3G
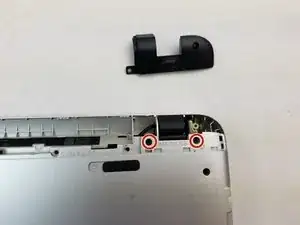
    • Remove the two 7 mm screws behind the plate using a Phillips #00 screwdriver.

  10. dOOGWHGofXOcDfMF
    dOOGWHGofXOcDfMF
    BiraHi4wjbkK6MTW
    vyAaWXbNp5XjnR1C
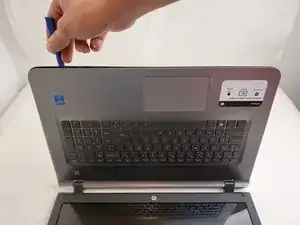
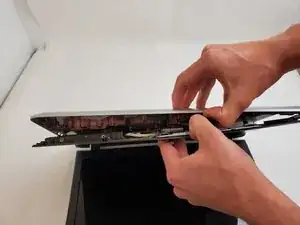
    • Pry up on the case with an iFixit opening tool until you can feel a snap.

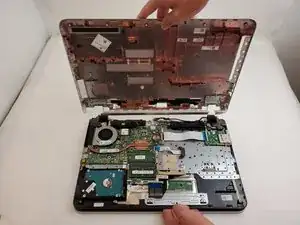
    • Pry around the remainder until you can separate the case from the keyboard with your hands.

    • Gently separate the two.

Abschluss

To reassemble your device, follow these instructions in reverse order.
Larry Christian

Mitglied seit: 20/09/19

273 Reputation

0 Kommentare