Werkzeuge
-
-
Watch before attempting! Be sure to read all steps before attempting. Strongly advise getting the "Essential Electronics Toolkit IF145-047-1" from Ifixit.com if you are lacking proper tools for working on tiny screws and prying apart stubborn and fragile plastic stuff.
-
Don't complain about the video to me. I did not create it. He kinda glosses over the connector part of this process in my opinion. All the connectors are the latching ribbon style except a few that are male/female pin types.
-
The one connector that kind of scared me was the video connector which has a little flexible ribbon handle to pull it off vertically from the main board up close to the hinge area. Putting it back on is kind of spooky too but I had no real problems with it.
-
-
-
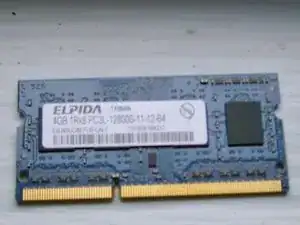
8GB 1600MHz DDR3 SDRAM <br/> PC3-12800 Non ECC Unbuffered 204-Pin SODIMM
-
The above 8GB memory module was sourced from memoryamerica.com, but you may find better deals elsewhere.
-
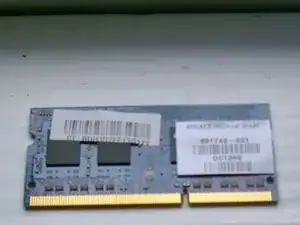
The pictured module is the original 4GB one in use prior to upgrade.
-
-
-
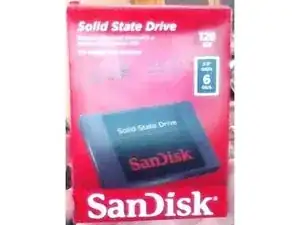
SanDisk 128GB SATA 6.0GB/s 2.5-Inch 7mm Height Solid State Drive (SSD) With Read Up To 475MB/s- SDSSDP-128G-G25
-
Above SSD was sourced from amazon you may find a better deal elsewhere.
-
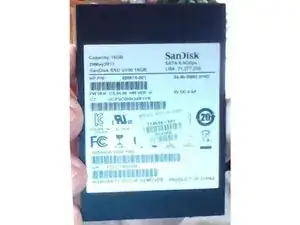
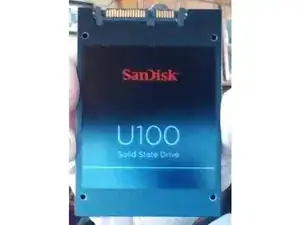
Actual original SSD is pictured. However box shown is the upgrade SSD box.
-
-
-
Perform the operations in this step BEFORE installing your upgrade parts into the chromebook!!!!!!
-
-
-
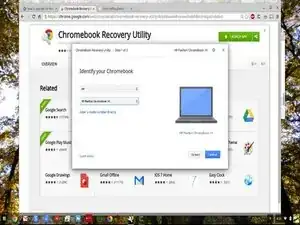
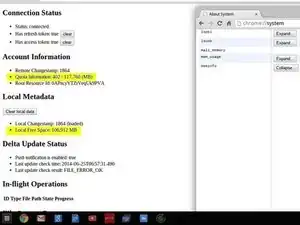
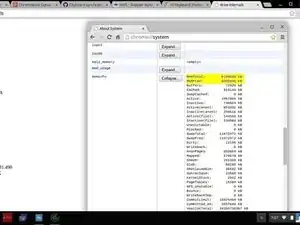
The images show you where to look to see if your upgrades are working in the chromeos system URL. Just threw this in FYI
-
If all is well, like my screen shots indicate, you can install crouton and ubuntu and virtualbox and do real computing with your chromebook now!!!!!
-
To reassemble your device use reverse order of disassembly.
8 Kommentare
How big should be the partition?
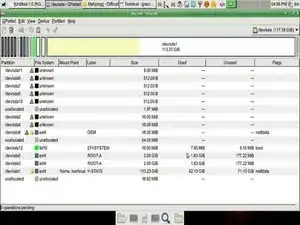
The partition size is governed by the size of the SSD you install. ChromeOS does this for you when you restore from your ChromeOS image media. I got 107 GB of free formatted space from a 128 GB SSD as you can see above. This seems about right given the original SSD was 16 GB.
tcagle53 -
I have this model and I want a SSD with more storage, this model to be specific: http://www.bestbuy.com/site/seagate-1tb-...
Is it compatible?
That link is to a SSHD not an SSD. A SSHD is still a rotating magnetic media drive. As such it will drain your battery even faster than the stock drive does. It also doesn't give any dimensions for the device. I am not sure if all 2.5" drives have the same dimension in the thickness (smallest) of the three dimensions. I believe the SSD I used was 10mm thick. If you can find the dimension specs and it is similar it will work but you may find your battery life of your chromebook suffers to some extent. If you just want a little more storage the SD card slot is an much easier way to get more storage.
tcagle53 -
I just checked my original guide and I gave the thickness of my upgrade drive as 7mm NOT 10mm. If any drive you are considering is thicker than 7mm you can forget it because it won't fit in the chromebooks thin drive compartment.
tcagle53 -
I looked up the model number of that unit on google and found the dimension for thickness of that drive is 9.5mm so..... no it won't fit.
tcagle53 -
Would there be any benefit / downside to using a 16Gb RAM to this motherboard?
John R -
