Einleitung

While rare, audio drivers and sound boards may fail with time. While replacing the audio driver may take time, taking care to avoid damaging the fragile cables involved will mitigate most issues with this repair.

  1. sXR3NevhGoeM4tJu
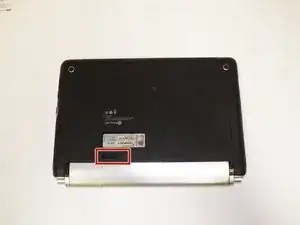
    • Place the laptop upside down on a stable surface and locate the battery ejection switch.

  2. uLvpBxc6pv6lUZFo
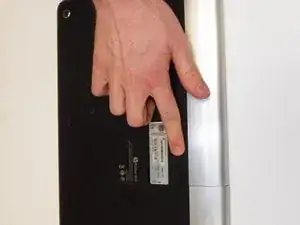
    • Eject the battery by sliding the switch sideways.

  3. 1N4upQdYPiB4wK6t
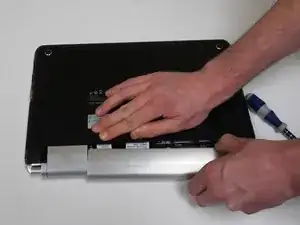
    • Pull the battery outwards.

  4. WVSOZX4VsQILNWPY
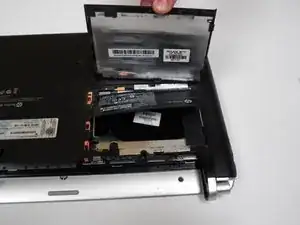
    • Remove the 2 plastic panels covering the internals of the laptop.

    • The rectangular panel can be removed by sliding the latch.

    • The square panel is removable once the battery is removed.

  5. eX3xeQgQRmyHDbFK
    • Removing the square panel reveals the location of the hard drive.

  6. 4QJsAxvIcSIRSS5g
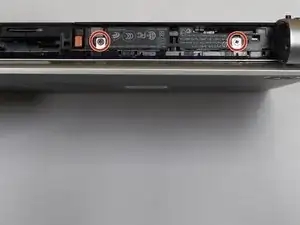
    • Locate the two screws located on the side of the hard drive mounting hardware.

    • This is accessible from the back of the laptop, where the battery was located.

  7. Uvbq2KEpJpP2ynbd
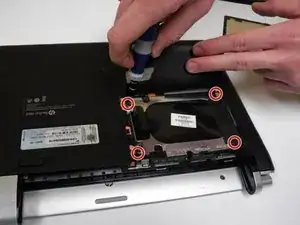
    • Locate the 4 additional screws on the top of the mounting hardware for the hard drive.

    • Remove and set aside these screws.

  8. 5KLLUYPKUJPit2v4
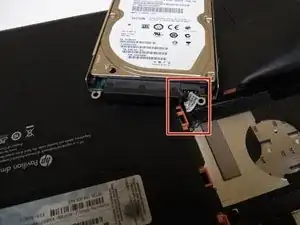
    • Pay attention to the SATA cable connecting the hard drive to the motherboard. It can be damaged if handled roughly.

    • Pull the SATA cable out of its receptacle and set the hard drive aside.

  9. o5cx2XZ4nZGOIGOl
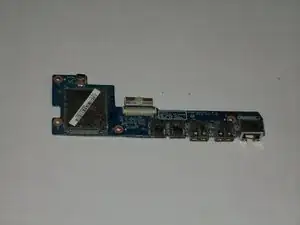
    • The picture shows the HP Pavilion DM3-3000 Series Audio USB Card Reader Board w/Cable.

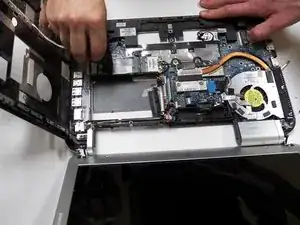
    • With the hard drive removed, open the laptop and set it down in the position for normal use.

    • Locate the seam between the top panel of the laptop and the frame.

    • The seam is on the left side of the laptop when the screen is facing you.

    • Pull the top cover, including keyboard, up from the left side of the laptop.

  10. QRkMAEUWTSBMSLqU
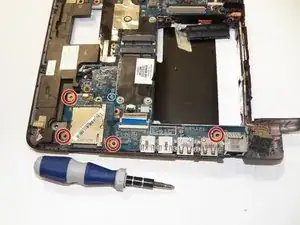
    • Dismount the audio driver by removing the 4 highlighted screws.

    • The audio driver is located on the right side of the laptop while the screen is facing you.

  11. SNkHeduRmCxB3Hcq
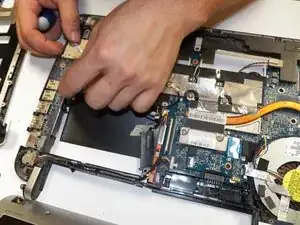
    • The audio driver and surrounding components are susceptible to damage if handled incorrectly.

    • Carefully pull the audio driver upwards, away from the motherboard.

    • The laptop is now ready to receive the replacement audio driver.

Abschluss

To reassemble your device, follow these instructions in reverse order.
michael mannen

Mitglied seit: 30/01/15

446 Reputation

0 Kommentare