Einleitung
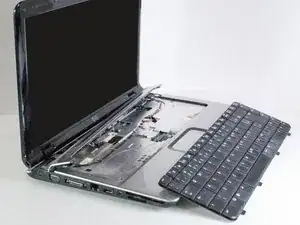
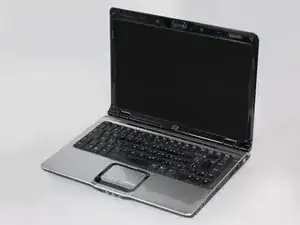
If you're having any issues with your keyboard, use this guide to disassemble your laptop and access the keyboard for repair or replacement. This installation requires loosening some screws and carefully using the iFixit plastic opening tools.
Werkzeuge
-
-
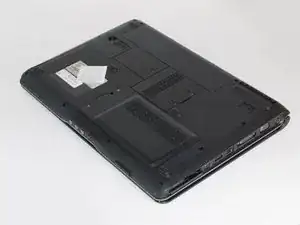
Locate the battery compartment at the rear of the device.
-
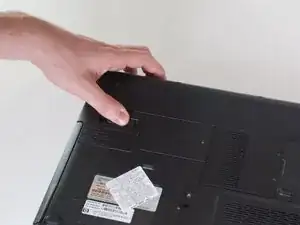
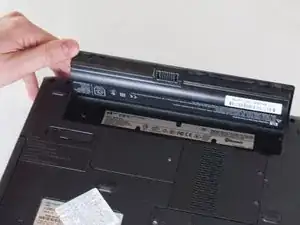
There is a slider button located under the left side of the battery compartment. It is indicated by a battery symbol. Move the slider to the left and lift the battery out.
-
-
-
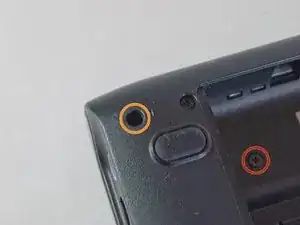
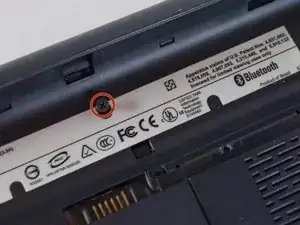
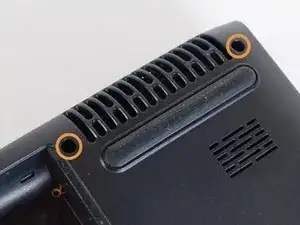
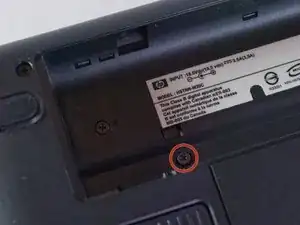
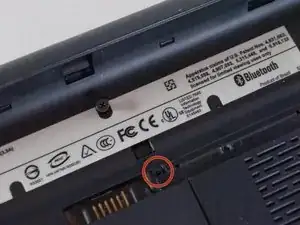
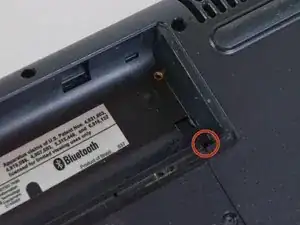
Unscrew the 5 screws along the top edge of the laptop’s back panel and inside the battery compartment.
-
The two screws inside the battery compartment are 5mm Phillips #1.
-
The three screws outside the battery compartment are 9mm Phillips #1.
-
-
-
Unscrew the three 6mm Phillips #1 screws that are marked by a keyboard symbol. These screws are holding in the keyboard itself.
-
-
-
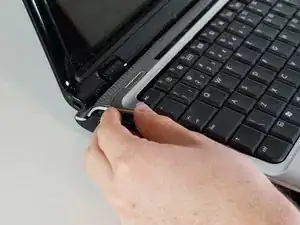
Using a blue plastic opening tool, remove the bezel by sliding the tool along the edges.
-
The bezel is held in place by plastic tabs, which you will hear snapping out of place as you slide the plastic opener tool.
-
-
-
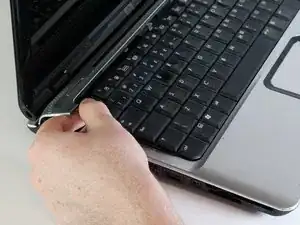
Lift the keyboard from the device, starting from the top sides and pulling it away from the bottom end gently.
-
-
-
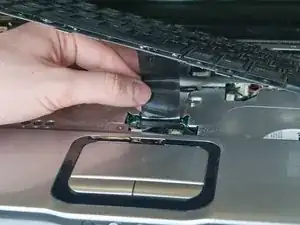
Disconnect the ribbon cable by gently pulling it out of the connector in the direction of the screen.
-
To reassemble your device, follow these instructions in reverse order.
