Einleitung
Werkzeuge
-
-
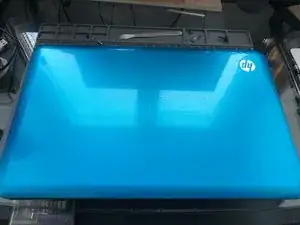
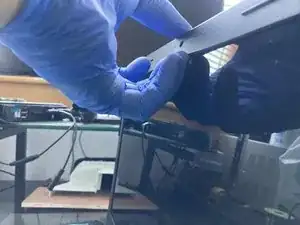
Close the laptop and flip it over.
-
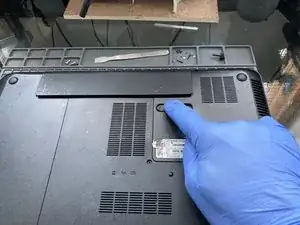
Slide the release pin to pop the battery.
-
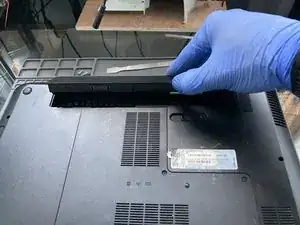
Remove the battery completely.
-
-
-
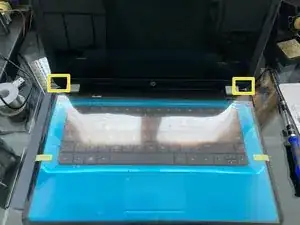
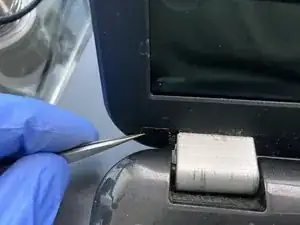
Open the laptop and locate the screw covers.
-
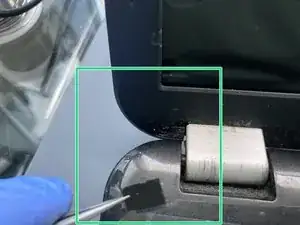
Remove the screw covers at the bottom of the screen with tweezers.
-
-
-
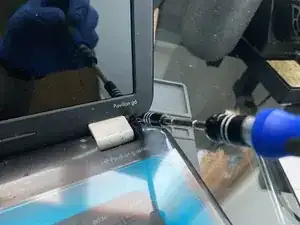
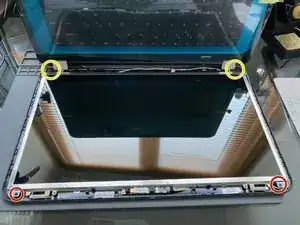
Unscrew the exposed 2 x Philips screws and set them aside.
-
Starting from the top, pry up the plastic frame with your fingernails or a pry bar.
-
Finally, remove the frame.
-
-
-
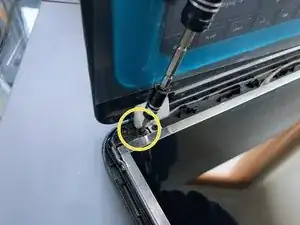
Remove the black Philips screw from the top on each side.
-
Remove the bottom screw from the hinge to make an easier access to the screws on the side of the screen.
-
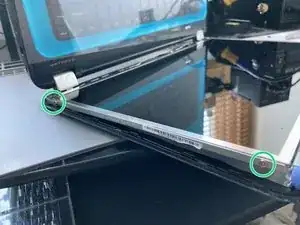
Now that the frame is loose, you can remove the 4 x Philips screws holding the screen in the frame.
-
-
-
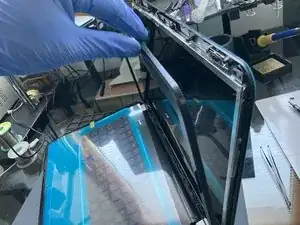
Turn the laptop back up and carefully tilt the screen out from the frame and rest it on the keyboard.
-
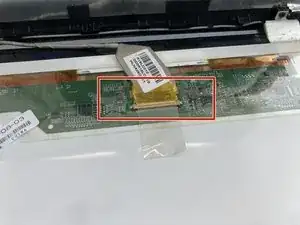
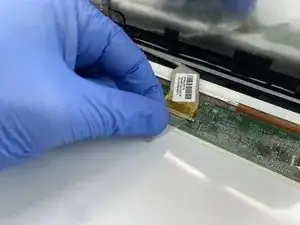
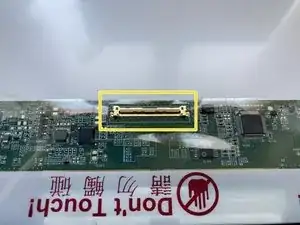
Gently lift up the adhesive and disconnect the screen connector. That is the screen released and ready for a change for a new one.
-
-
-
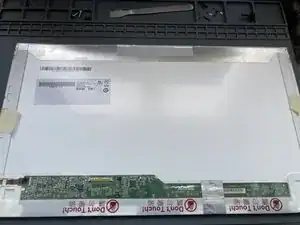
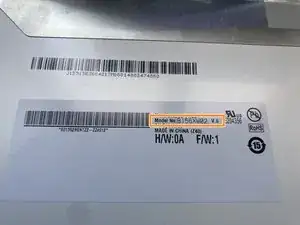
Before ordering a new screen make sure that you order the correct model number that is compatible with your old screen.
-
Check the cable connector to make sure you order the correct screen with the correct number of pins.
-
To reassemble your device, follow these instructions in reverse order.
