Einleitung

  1. LDnXY1Gt4Qr5pBu2
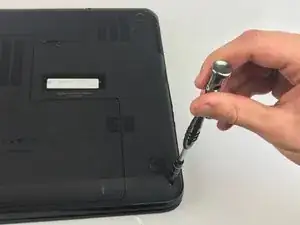
    • Flip the laptop over and remove six 7.25mm screws.

  2. slAiZJCGKirCjBho
    slAiZJCGKirCjBho
    txjZHvLhepcLHqkv
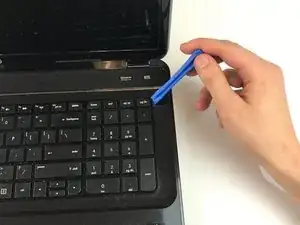
    • Using the plastic opening tool or spudger, separate the keyboard from the frame of the laptop.

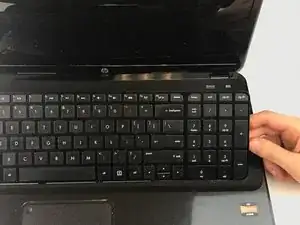
    • Gently pull the keyboard away from the laptop, toward you, until it is completely separated from the laptop.

  3. Bfv1tNOpdCRGwKdG
    Bfv1tNOpdCRGwKdG
    2ACS5RJshi6CVqBq
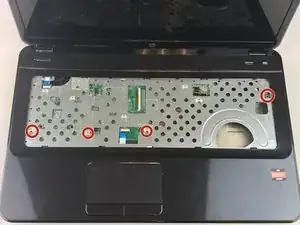
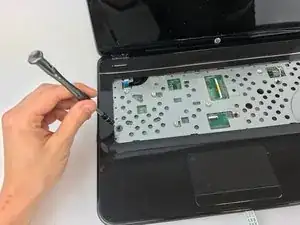
    • Remove the four 7.25mm screws located by the red markers.

  4. YIBlwRaZLJLpwwI1
    YIBlwRaZLJLpwwI1
    bZQFuTxWIW6dnbNr
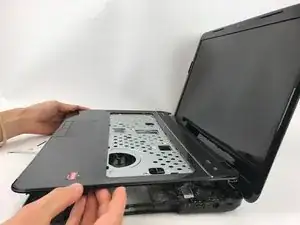
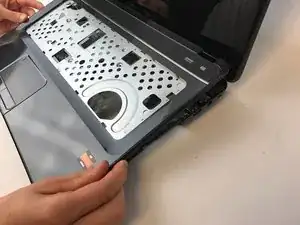
    • Gently lift the panel up, exposing the inside of the laptop.

  5. ABgcv4YFAHQ5KU3j
    ABgcv4YFAHQ5KU3j
    r1VGKALSKQRe24fQ
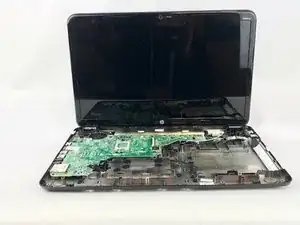
    • The fan is located in the top, left hand corner. Now, it can be gently lifted out using your hands.

  6. 1WLbDZ3UVTWXUclt
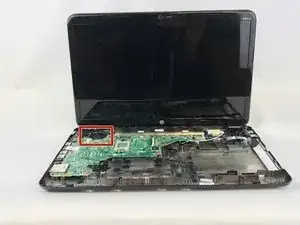
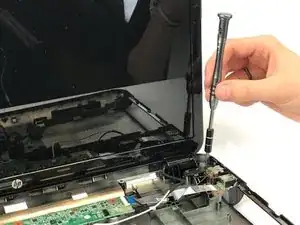
    • To remove the laptop's screen, you will have to remove a total of four 7.25mm screws.

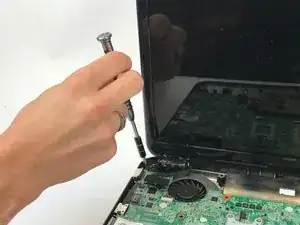
    • First, remove the two 7.25mm screws found in the upper right corner as shown.

  7. KdoIf15xHnyFtiKj
    KdoIf15xHnyFtiKj
    icY5BbCPYBQY3ata
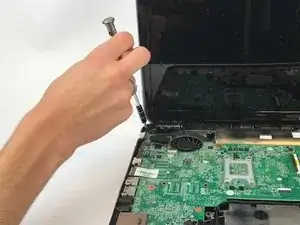
    • Next, unscrew the two 7.25mm screws in the upper left corner of the laptop as shown.

  8. uSop5FvJY3asjxtI
    uSop5FvJY3asjxtI
    qlnuNJhTReKhaOkd
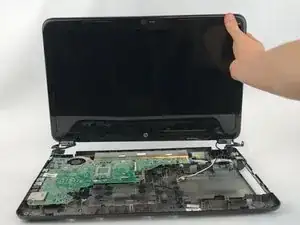
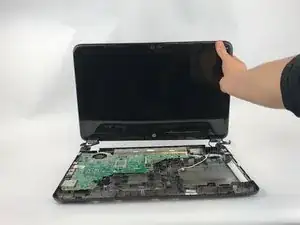
    • Once all of the screws have been removed, gently lift the laptop's screen from the base of the computer.

Abschluss

To reassemble your device, follow these instructions in reverse order.
Bre'Anna Sanders

Mitglied seit: 11/10/16

68 Reputation

0 Kommentare