Einleitung
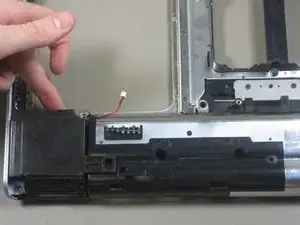
How to get remove/replace the speakers.
Note: This is one of the more difficult fixes. Make sure to keep track of your screws and everything you remove from the device as you take them out. Not doing so may cause worse problems than faulty speakers.
In order to do this, it would be wise to keep a tray with several compartments and some sticky notes to separate and label screws from specific locations on the device as you remove them.
Werkzeuge
-
-
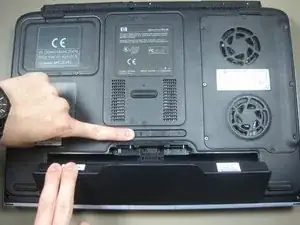
Slide the battery release switch to the right while simultaneously lifting up the battery.
-
-
-
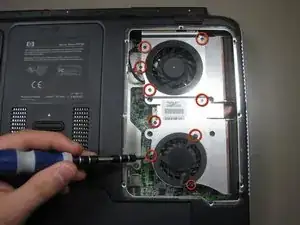
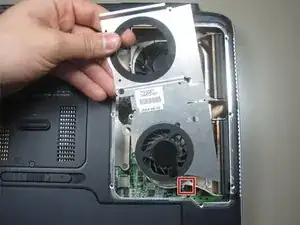
Disconnect the lower fan connector from the motherboard.
-
Remove the metal plate and lower fan.
-
-
-
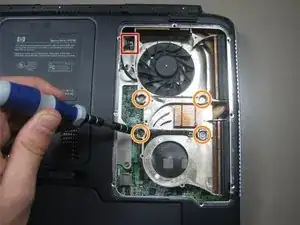
Disconnect the upper fan connector from the motherboard.
-
Remove the four spring loaded screws holding the heat sink assembly to the motherboard.
-
-
-
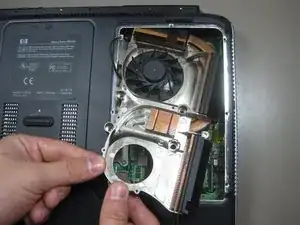
Slide the heat sink assembly including the upper fan out by pulling it down and left simultaneously.
-
-
-
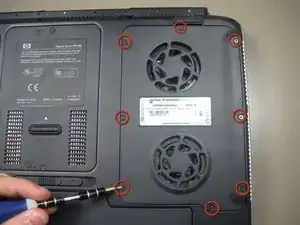
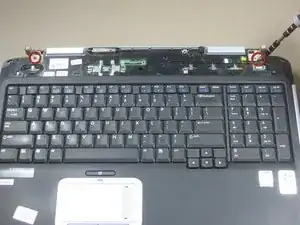
Remove the screws holding the keyboard to the chassis.
-
Unplug the wire just below the right screw shown and the small white connector to the left of that screw.
-
-
-
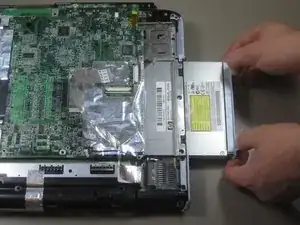
The far end of the keyboard bezel may still be held by two screws that can only be accessed by removing the optical drive (as mentioned in Step 9).
-
-
-
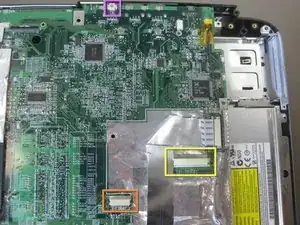
Disconnect the three ribbon cables attached to the motherboard.
-
See images 2 and 3 for a closer look.
-
-
-
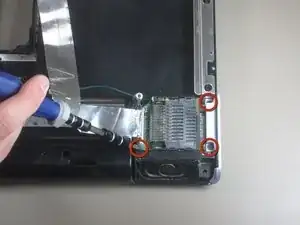
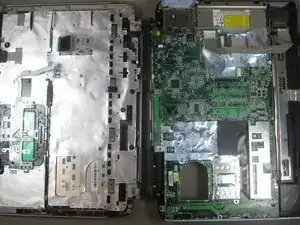
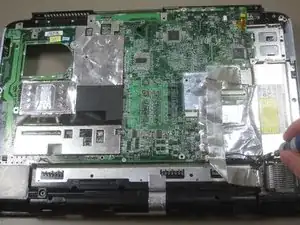
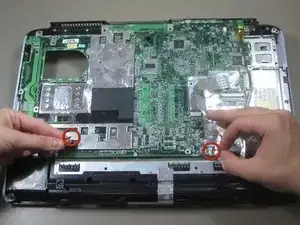
Remove the screws from the motherboard.
-
There are many different sizes and types of screws here. Make sure you are keeping track of where they all belong.
-
-
-
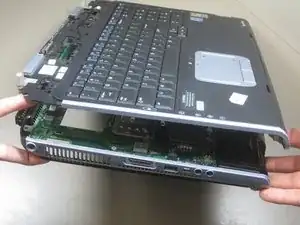
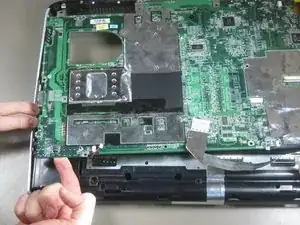
Pry the frame off the laptop outwards while simultaneously lifting the motherboard out of it.
-
To reassemble your device, follow these instructions in reverse order.
