Einleitung
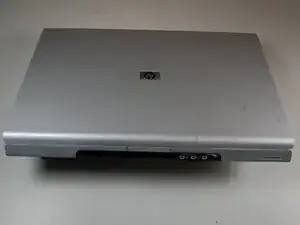
Replacing the hard drive in HP's dv1000 is not complicated and requires no prior experience with electronics to complete successfully.
Werkzeuge
-
-
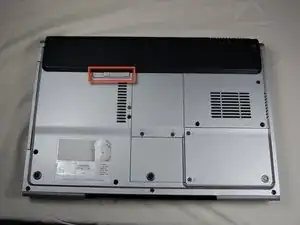
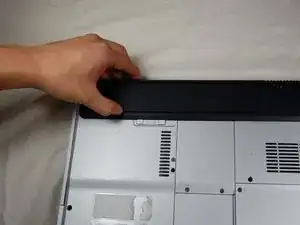
Locate the gray sliding tab next to the black bar where the battery is located.
-
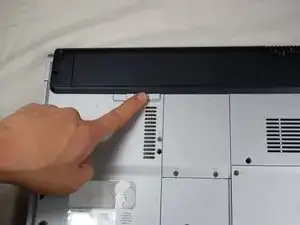
Slide the gray sliding tab to the left until you hear a distinct click.
-
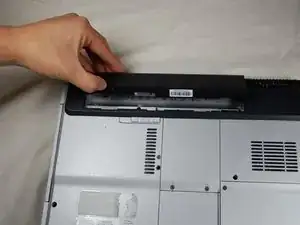
The inside edge of the battery should pop up.
-
-
-
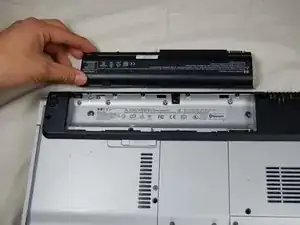
Grasp the inside edge of the battery.
-
Lift the inside edge of the battery up to detach the battery from the laptop.
-
-
-
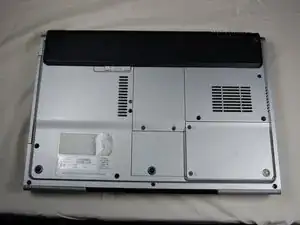
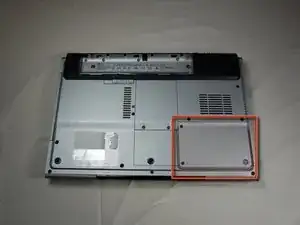
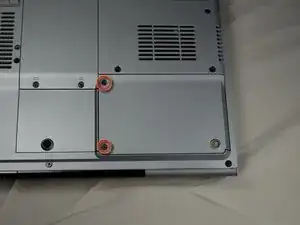
Identify the two screws that attach the hard drive access panel.
-
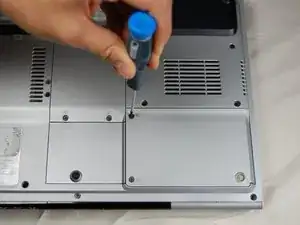
Remove the identified screws with your #00 Philips screwdriver.
-
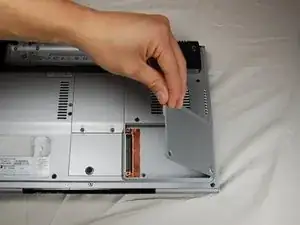
Lift the left edge of the access panel up and to the right to detach the hard drive access panel from the laptop.
-
-
-
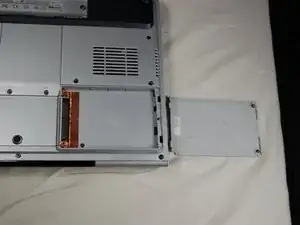
Identify the plastic tab located on the left side of the hard drive.
-
Grasp the tab, gently lift up, and slide the tab to the left to remove the hard drive from the laptop.
-
To reassemble your device, follow these instructions in reverse order.

