Einleitung

If the hard drive on which your OS is installed fails, you will see a system error screen. If so, you will need to replace your main hard drive.

  1. 1WiL4KvHvVUlNKbr
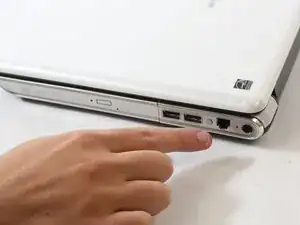
    • Turn off your laptop and disconnect the power adapter before doing anything else with your computer.

  2. fVcNkVVDod1b2IUn
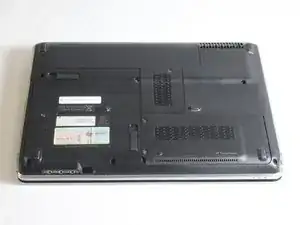
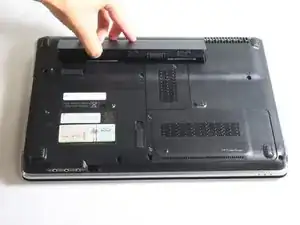
    • Turn your laptop over so the bottom of your laptop is facing up and the hinge is located away from you

  3. M1TMMvOqqftpNxi2
    M1TMMvOqqftpNxi2
    fGNNWRtlgKYCGqHZ
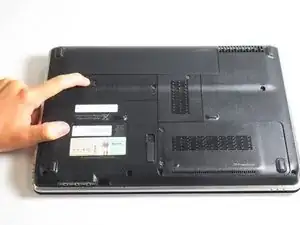
    • Slide the lock switch to the left.

    • The lock switch is located by the bottom left side of the battery.

    • The battery should pop up after you move the switch.

  4. x6wBvoBLMEyp6W4C
    x6wBvoBLMEyp6W4C
    EoD2H4m2aaMrvboG
    q6lVEwidN3ON1Rqa
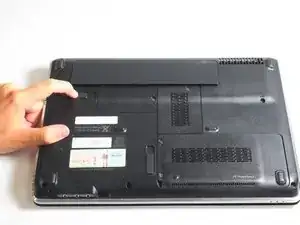
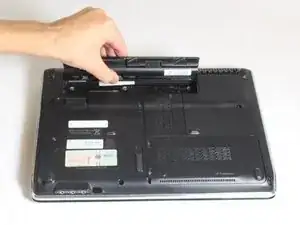
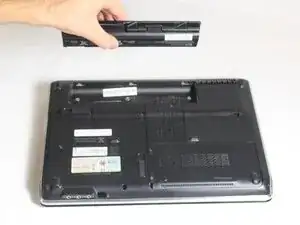
    • Lift up the released battery by rotating it up and away from you.

    • Pull the battery out.

    • The battery is held in by a latch in the front of the battery socket and by tabs in the back. When putting the battery back in, line the tabs back up with the grooves located in the back of the socket and rotate the battery towards you. When in place, push the battery in until you hear a click.

  5. 1mAjSSBtPjy44xYs
    1mAjSSBtPjy44xYs
    BYyGUEkIvAsHOBK5
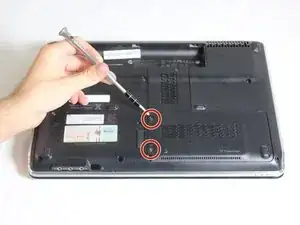
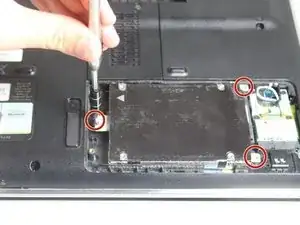
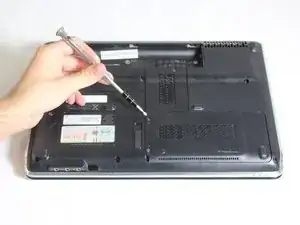
    • Locate two 7.5 mm screws on the hard drive case plate.

    • Use the Phillips #0 screw driver to loosen both 7.5 mm screws.

    • These screws do not come out of the case plate; they only loosen and tighten.

    • Be sure to place the screws somewhere they will not roll away so that you do not lose them.

  6. Qy6YdANQKCu4jDfE
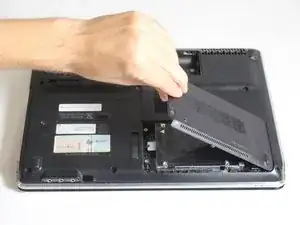
    • Remove the hard drive case plate.

    • You may use a thin object under the leftmost edge to pry open the case plate if you have trouble opening the hard drive socket.

  7. MJGLDsqbBYRTaCSl
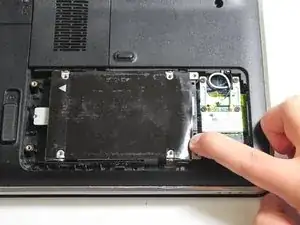
    • Using a Phillips #0 screwdriver, remove the 3 2.5 mm securing screws.

    • These screws are not the only screws located inside the hard drive/wi-fi card compartment, so be sure to only select the ones illustrated in the image.

  8. ou1UN5MxSRoJKXIH
    ou1UN5MxSRoJKXIH
    OPNffJtutdPloxi5
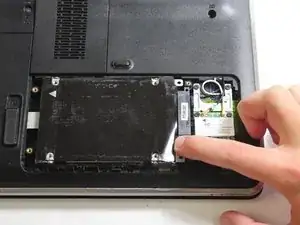
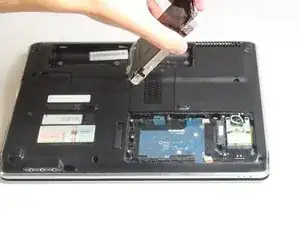
    • Slide the hard drive horizontally to the left.

    • The hard drive may be difficult to push. If so, use a rigid tool to push the hard drive.

  9. 6BkHN24BvkXRZ1NX
    6BkHN24BvkXRZ1NX
    5ygRGRPfbHa4HGgK
    • Remove the hard drive from the socket

Abschluss

To reassemble your device, follow these instructions in reverse order.
Megan Todd

Mitglied seit: 23/09/15

600 Reputation

0 Kommentare