Einleitung
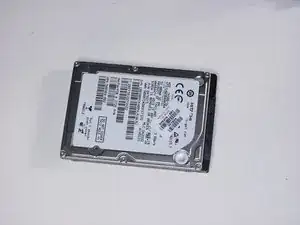
All your files are stored on the hard drive. People usually replace them when they need more storage. Before delving into this guide, make sure your computer is unplugged and completely turned off.
Werkzeuge
-
-
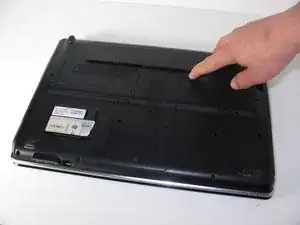
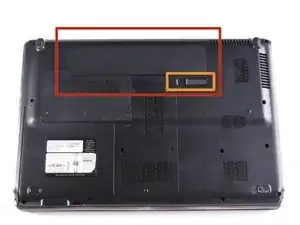
Locate the battery on the bottom side of the laptop.
-
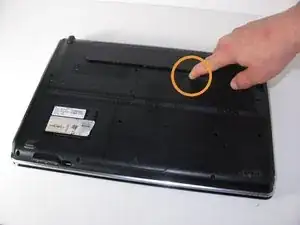
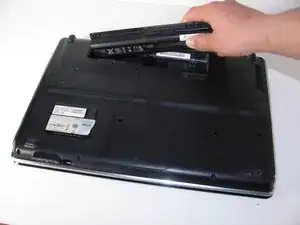
Slide the release switch and the battery will pop out.
-
Remove the battery
-
-
-
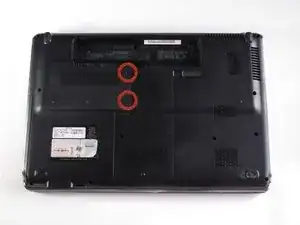
Use a Phillips #1 screwdriver to loosen the two 6mm captive screws that secure the hard drive port bezel cover to the computer.
-
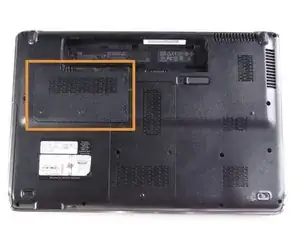
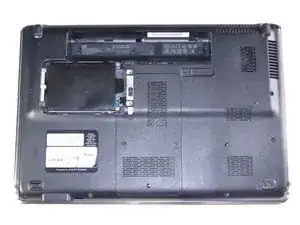
Lift the right side of the hard drive port bezel cover, swing it up and to the left, and remove the cover.
-
-
-
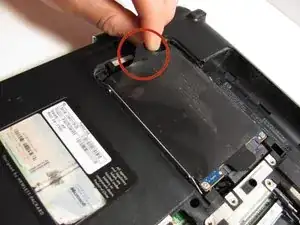
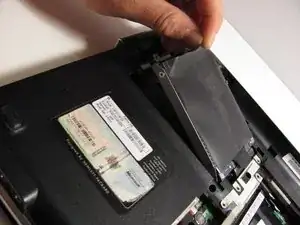
Use the Mylar tab to lift the hard drive up, and then slide out to release it from the hard drive bay.
-
-
-
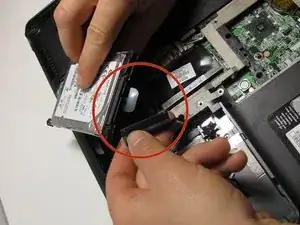
Disconnect the hard drive cable from the system board.
-
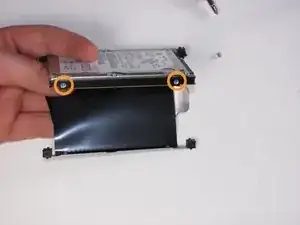
Remove four 4mm screws from the hard drive case.
-
To reassemble your device, follow these instructions in reverse order.
