Einleitung
Werkzeuge
-
-
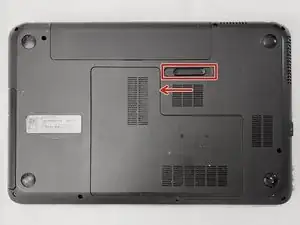
REMOVING THE BATTERY: Flip the laptop over with the battery side facing up.
-
Slide the battery release latch to release the battery.
-
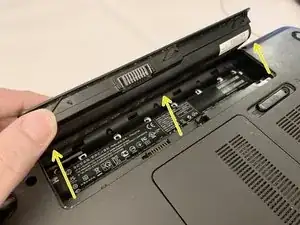
Pivot the front edge of the battery up and back.
-
Remove the battery.
-
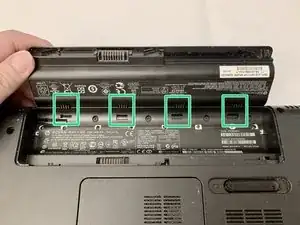
REPLACING THE BATTERY: Align the tabs on the rear edge of the battery with the notches on the rear edge of the battery bay.
-
Pivot the front edge of the battery down into the battery bay until it is fully seated. (The battery release latch will automatically lock into place.)
-
Battery part number: 593554-001
-
-
-
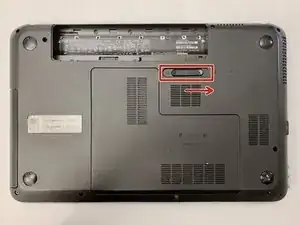
Slide the service cover release latch to release the service cover.
-
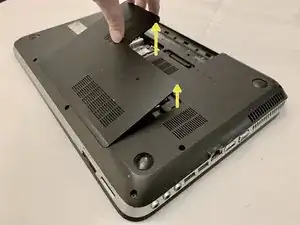
Lift the rear edge of the service cover up and forward until it rests at an angle, being careful not to break the small plastic tabs that hold the cover in place. (A plastic spudger can be used to release the tabs)
-
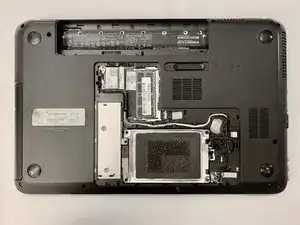
Remove the service cover.
-
-
-
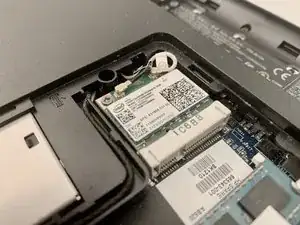
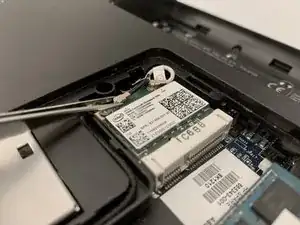
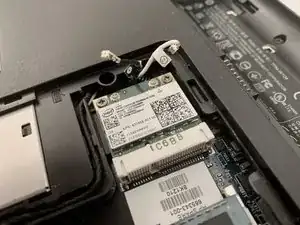
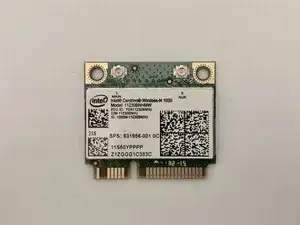
Using a pair of tweezers, carefully disconnect the WLAN antenna cables from the terminals on the WLAN module.
-
-
-
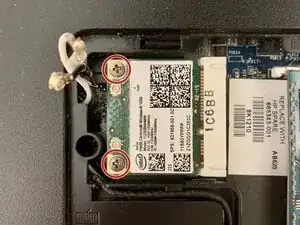
Remove the two Phillips PM2.0×4.0 screws that secure the WLAN module to the system board. (The WLAN module tilts up.)
-
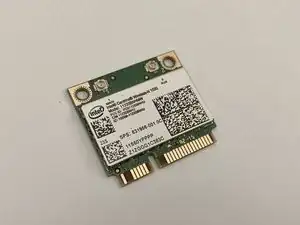
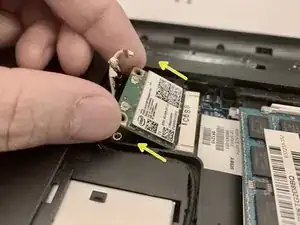
Remove the WLAN module by pulling the module away from the slot at an angle.
-
To reassemble your device, follow these instructions in reverse order.
